I got an advertisement the other day for AstroPanel 4. The software was intriguing and the price was right so I clicked the button. The software is a plug-in that works in your Photoshop.
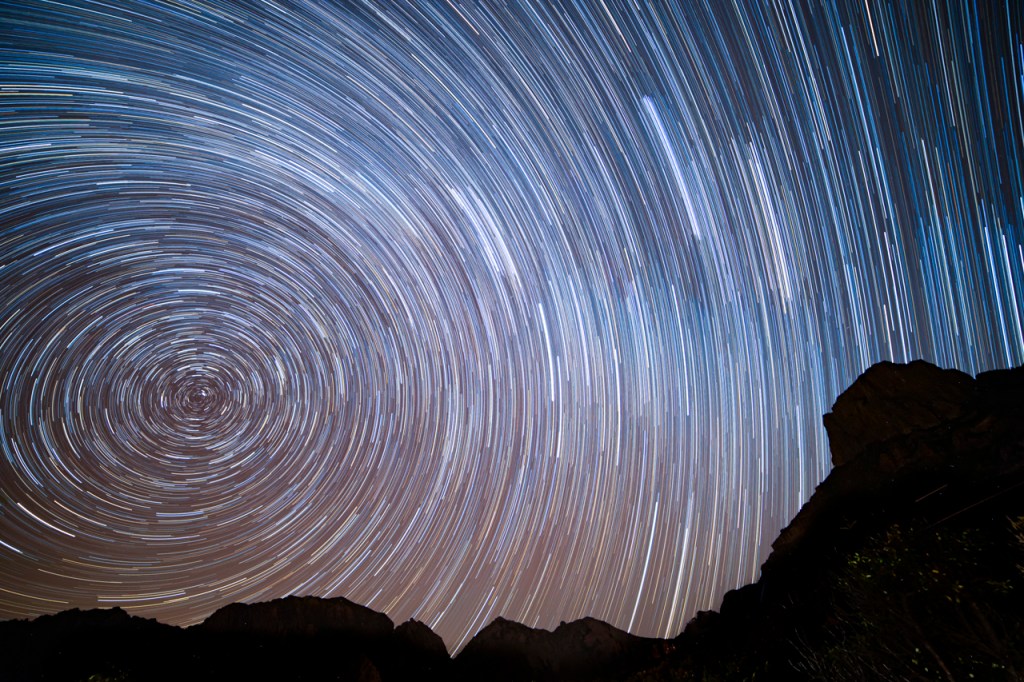
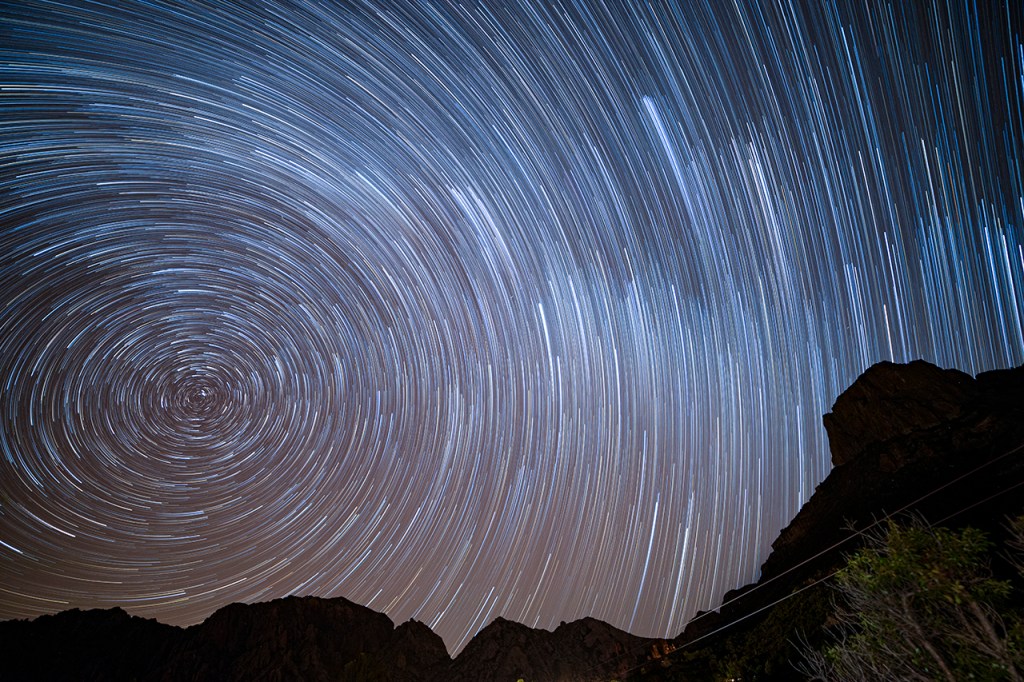
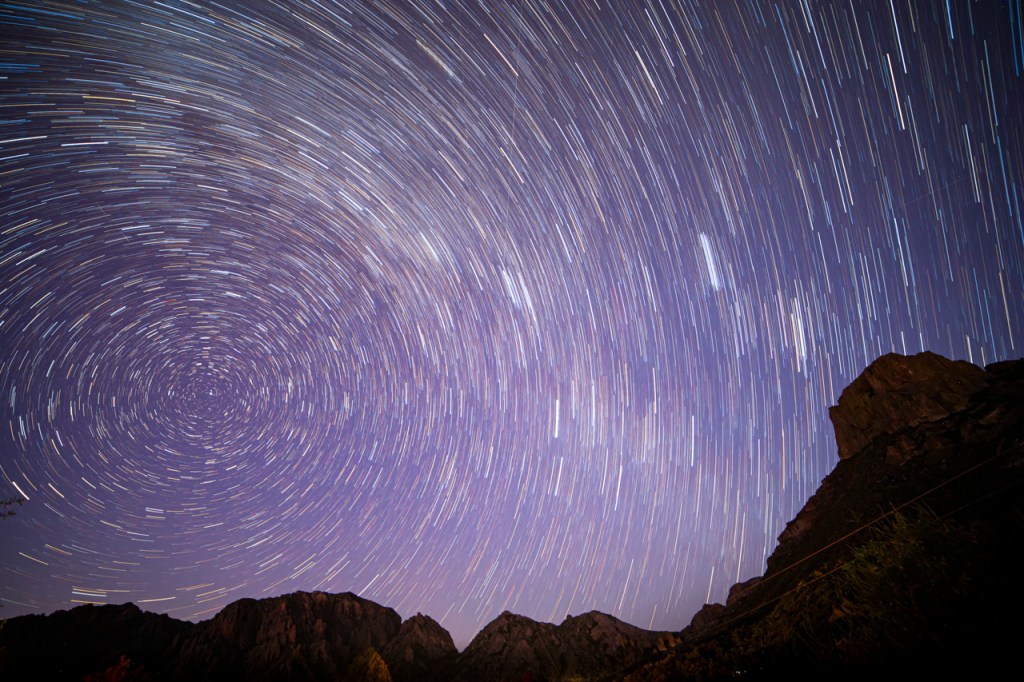
Star Trail with my usual processing.Star trail with AstroPanel processing. This has a feature called “Comet Star Effect” turned on. There appears to be an emphasis on the first star trail in each series.Star Trail with my usual processing.Star trail same photos as above with AstroPanel processing. No “Comet Star Effect” turned on.
After a few hours of playing — excuse me, working — I’ve think this is a plug-in worth exploring.
Download was quick.
Install was pretty simple. There’s a YouTube video in case you get stuck.
The user’s manual is a PDF.
Instructions are clear and simple.
I was up-and-running in less than an hour.
My only negative is that the final photo is delivered as a flattened TIFF. I usually work on individual layers before flattening my star trails. This is my chance to remove a stray light in one frame, for example. With AstroPanel, I’ll need to do that work prior to letting the plug-in do its work.
I suspect there are a lot of other features in this plug-in. Watch this space for updates.
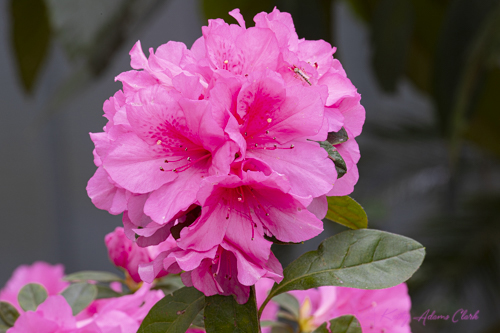
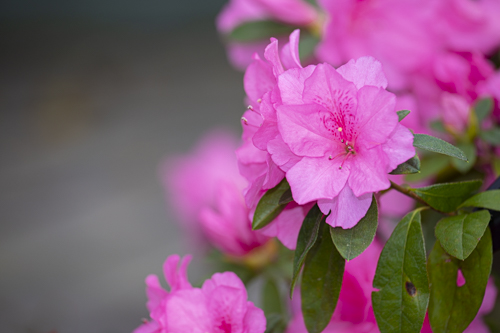
Azaleas are the first major bloom of spring where I live in east Texas. Every year in mid-February the azalea bushes start setting buds and then blooming. Bare, wintery-looking yards suddenly have lovely mounds of pink, white, or red blooms. It’s a sure sign that spring is around the corner.
My neighbor’s backyard is lined with azalea bushes. I can see them from my living room window. For a week, the huge pink flowers have been calling me.
“Come photograph me” they seem to say. “Get out here and photograph us!” they started shouting as the blooms became more profuse. My brain responded with the usual “it’s to cold” and “it’s too windy today.” But those amazing flowers kept calling to me to get out there and photograph them.
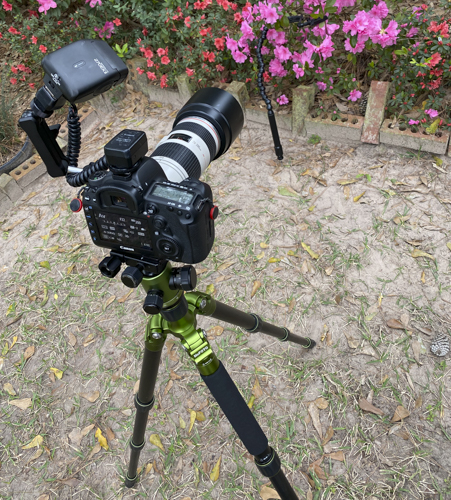
Yesterday I grabbed the camera and tripod to head outside. It was breezy so I grabbed some handy gadgets from my friends at Wimberley.
Below are all my gadgets.
Wimberley PP-200 The Plamp II
Wimberley PP-210 The Plamp Extension Rod.
Wimberley PP-200 The Plamp II with the Extension Rod attached.
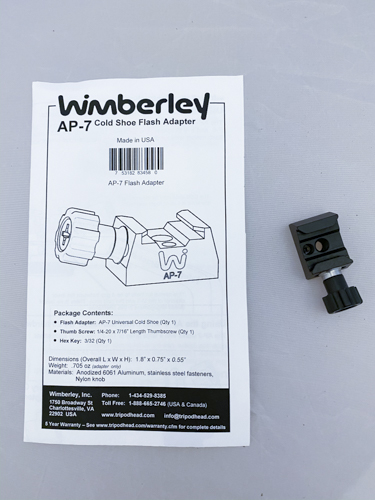
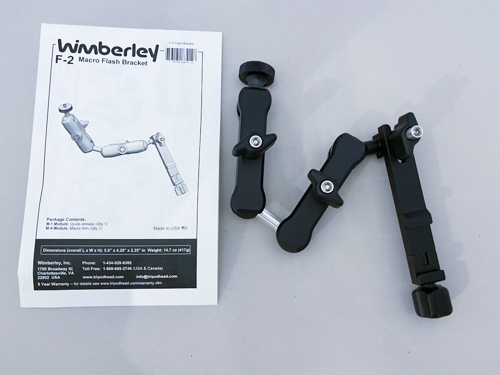
Wimberley AP-7 Cold Shoe Flash Adapter.
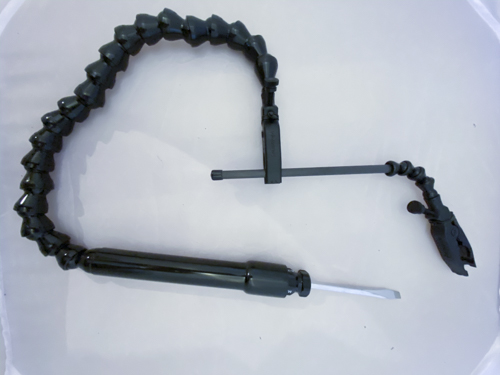
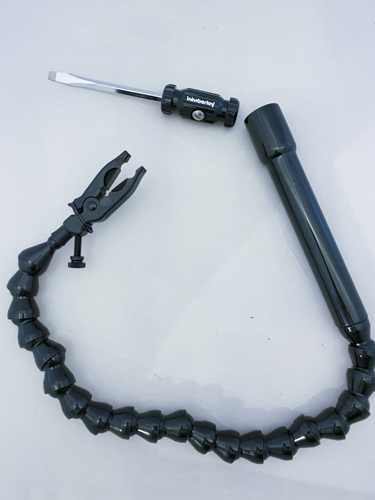
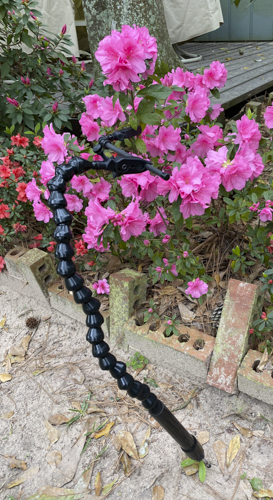
Wimberley PP-400 The Ground Plamp with screwdriver inserted.
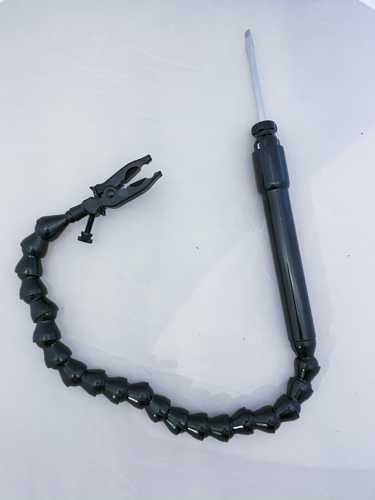
Wimberley PP-400 The Ground Plamp with screwdriver pulled out.
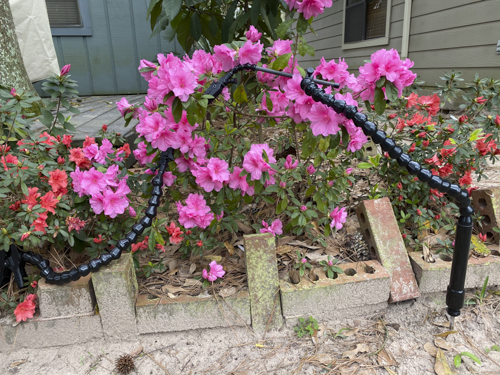
PP-210 Plamp Extension Rod was needed to get the bloom into position.
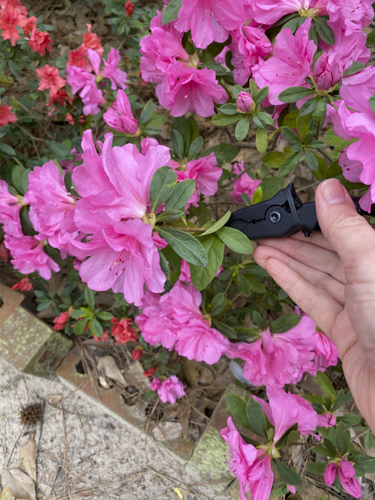
Clips Don’t Squeeze Tender Vegetation
The PP-211 Plamp II Thumbscrew Clips have a groove that secures around the plant stem.
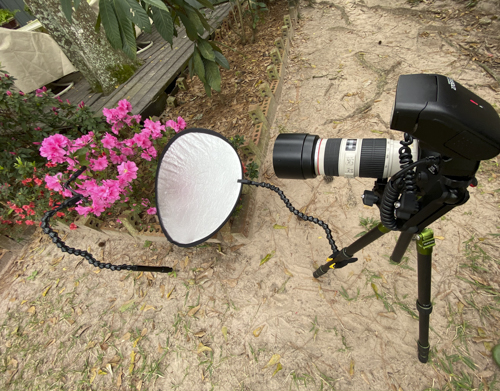
Basic set-up. Camera on tripod. Macro flash bracket (F-2) holding the flash off to the left side. Bloom held in place with The Ground Plamp (PP-400).Same as above but The Plamp II (PP-200) holds the reflector under the bloom.Basic set-up with camera on tripod. Macro flash bracket (F-2) holding the flash off to the left side. Bloom held in place with The Ground Plamp (PP-400). The Plamp II (PP-200) is pushing a bloom into the bottom-middle of the frame.
Could I have done the photography without the Wimberley gadgets? Maybe — if it wasn’t windy or if I had an assistant to hold things. But, it was great to be out there alone with my camera and gadgets.
Photographing through a crystal ball is a lot of fun. There are some basics that have to be mastered and then you’re free go wild and be creatives.
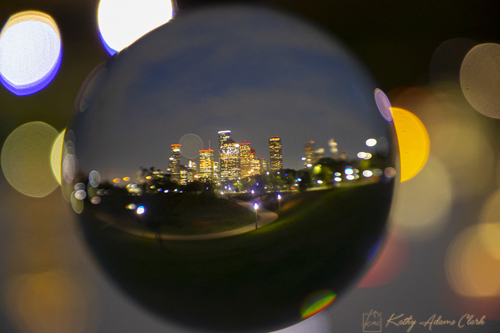
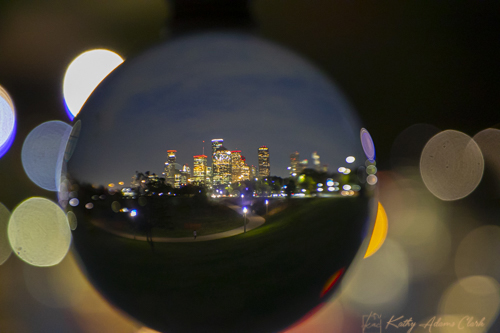
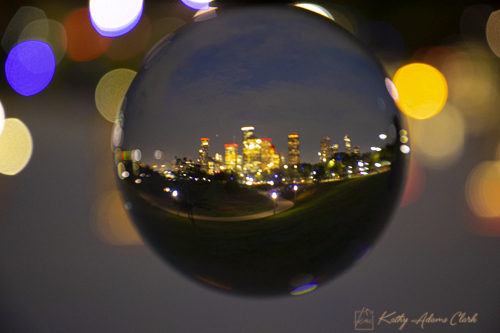
F/stop makes a difference in the photograph. Here’s the skyline of Houston photographed with f/5.6. Notice that the edges of the crystal ball are soft. Nice bokeh, though.Same set-up but the f/stop has been changed to f/22. The edges of the crystal ball are sharp and defined. Notice that there’s more detail in the buildings in the background. We get so caught-up in photographing that we don’t notice distracting lights in the background. The bright white lights in the upper left are caused by car headlights on a nearby road.Same shot as above but I’m paying more attention to the moving traffic in the background. The image in the ball has to be in focus. Some lenses or cameras don’t focus well in the dark. You’ll have to manually focus when this happens. Try using one focus point and put that point on something contrasty. Many cameras/lenses need this to help lock focus.
All photographs taken with a Canon 5D Mark IV, Canon 24-105mm lens.