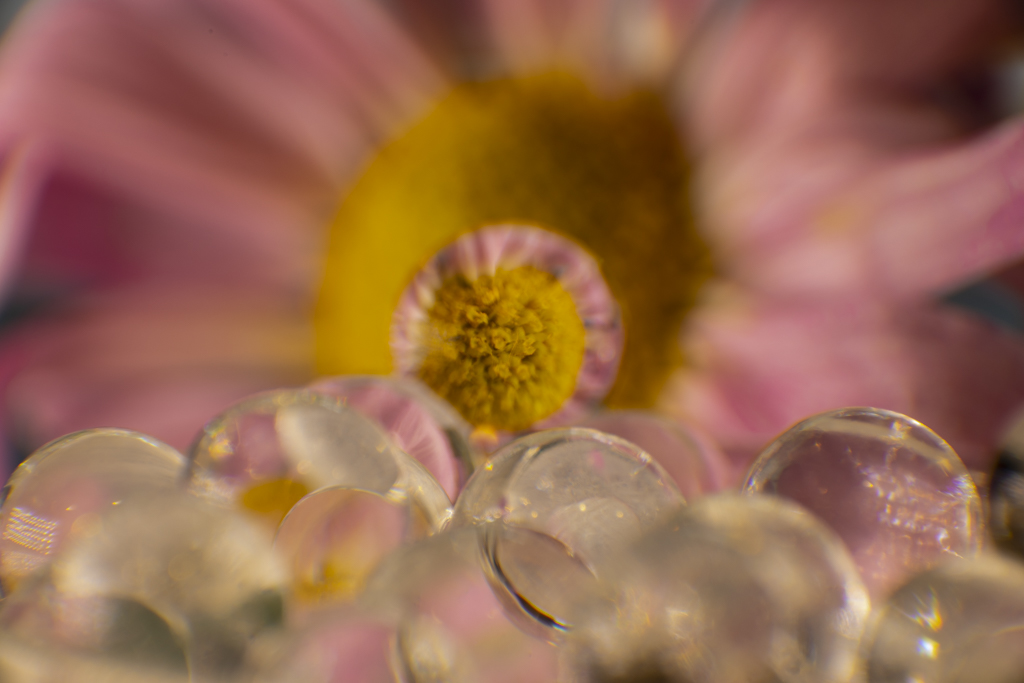
The image above was captured with a MOVO EXT-C5 Reverse Auto-focus macro lens adapter. The adapter lets you attach your lens to your camera backwards. This turns any lens into a super heavy-duty macro lens.


Indianmeal moth 1/4 inch long 
Peacock feather 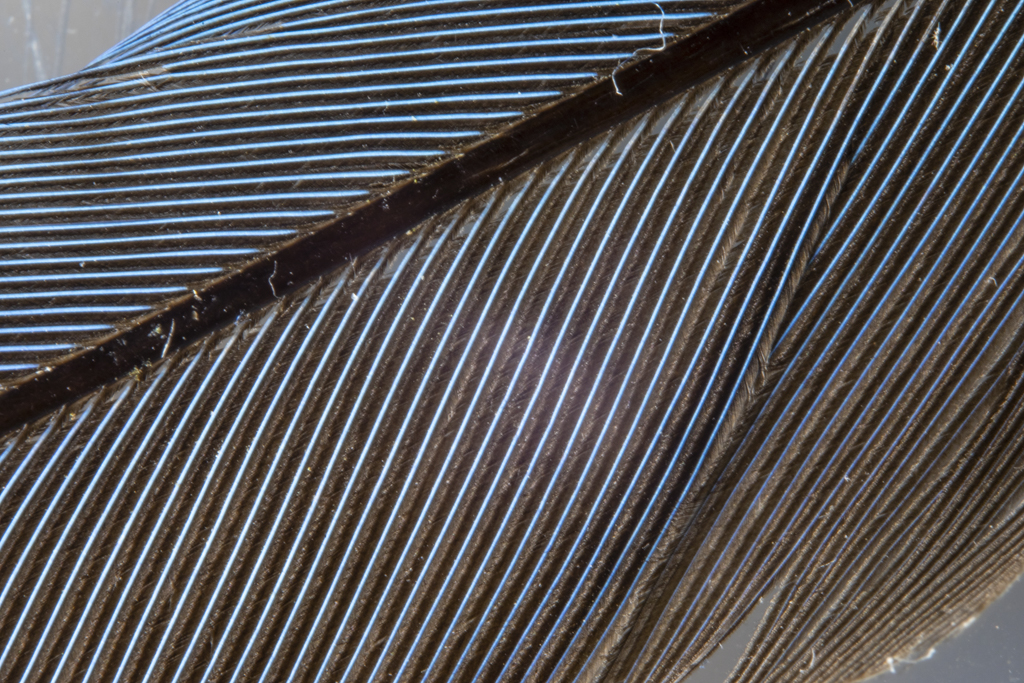
Blue jay,feather 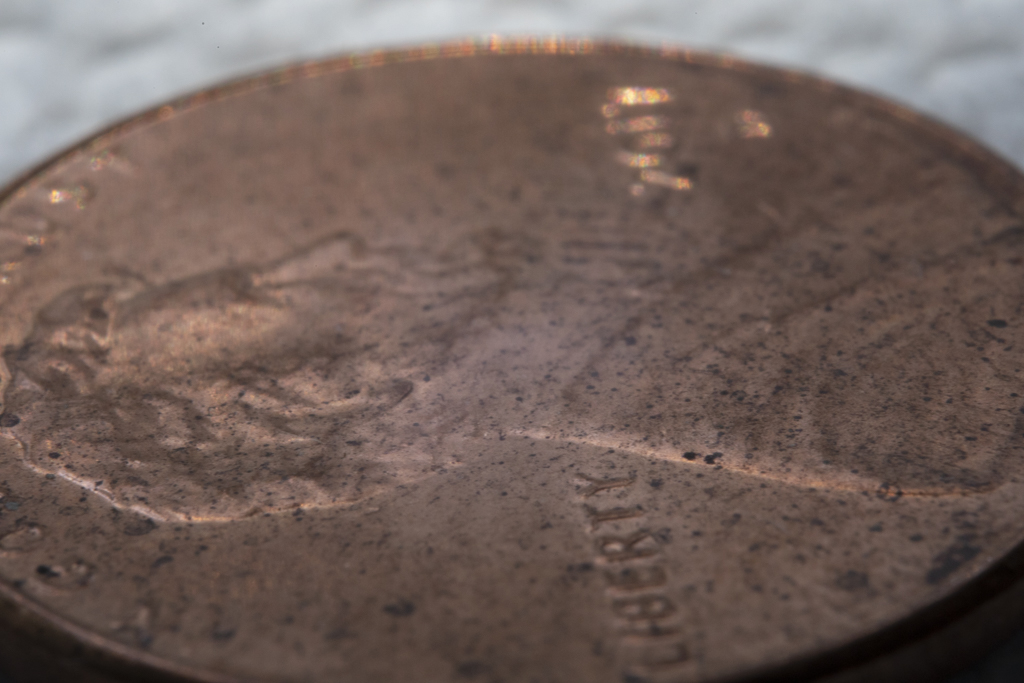
Penny to show depth-of-field at high magnification at f/22
While the MOVO EXT was fun to play with there are drawbacks. Depth-of-field is extremely narrow even at f/22. Camera shake ruins most images even when the camera is mounted on a sturdy tripod.
An alternative is adding an extension tube and/or close-up filter to your existing lens.
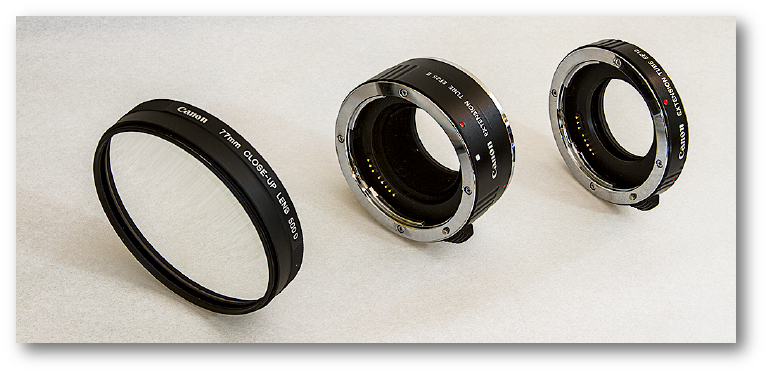
I’ve used the items above for years when I wanted to photograph something up-close. I find the extension tubes, close-up lens, or combination a lot easier to use than the MOVO EXT.
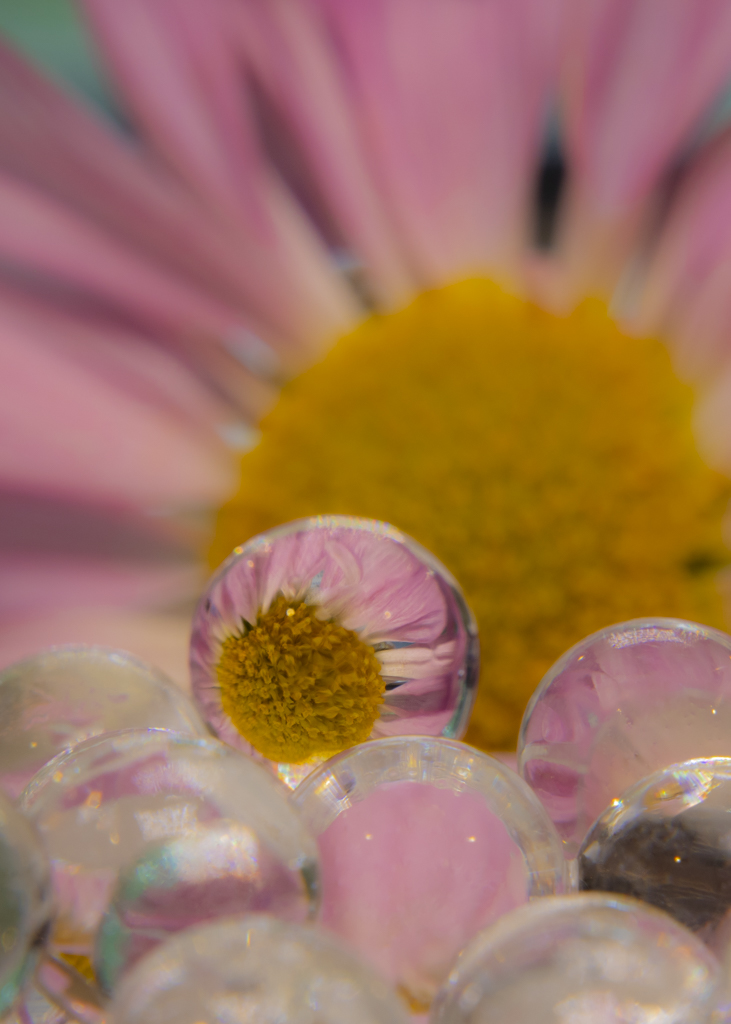
Here’s a link to my old blog with a better explanation about a close-up lens.