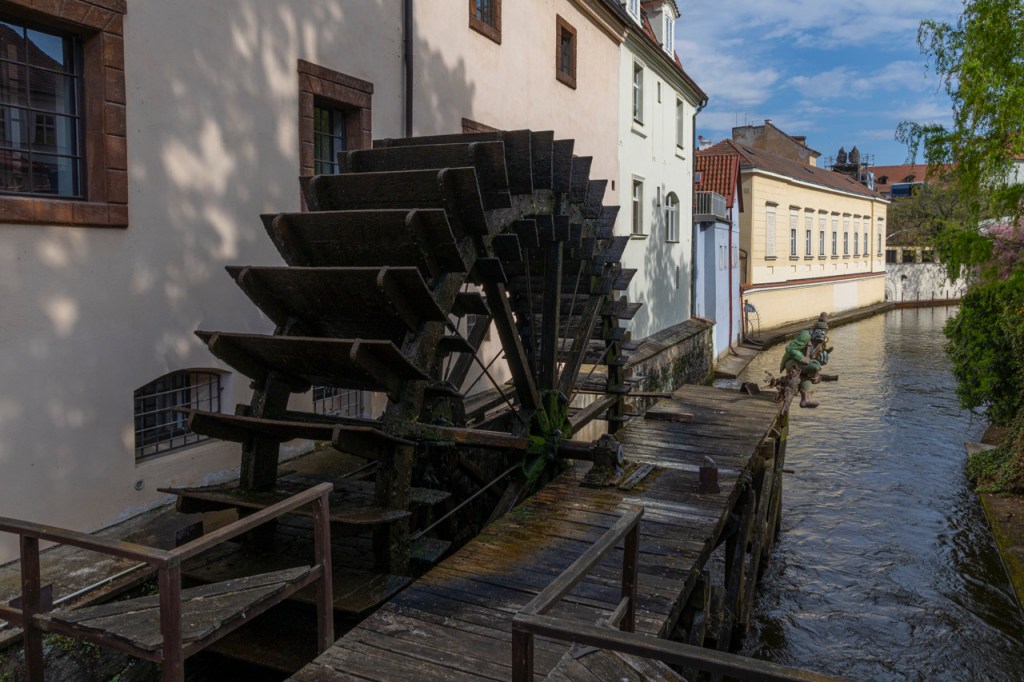
Image straight out of the camera on the left. On the right is my processing. Shadow slider to the right, highlight slider of the left, 20-30 each on Saturation, Vibrance, and Texture in Lightroom or Adobe Camera Raw.
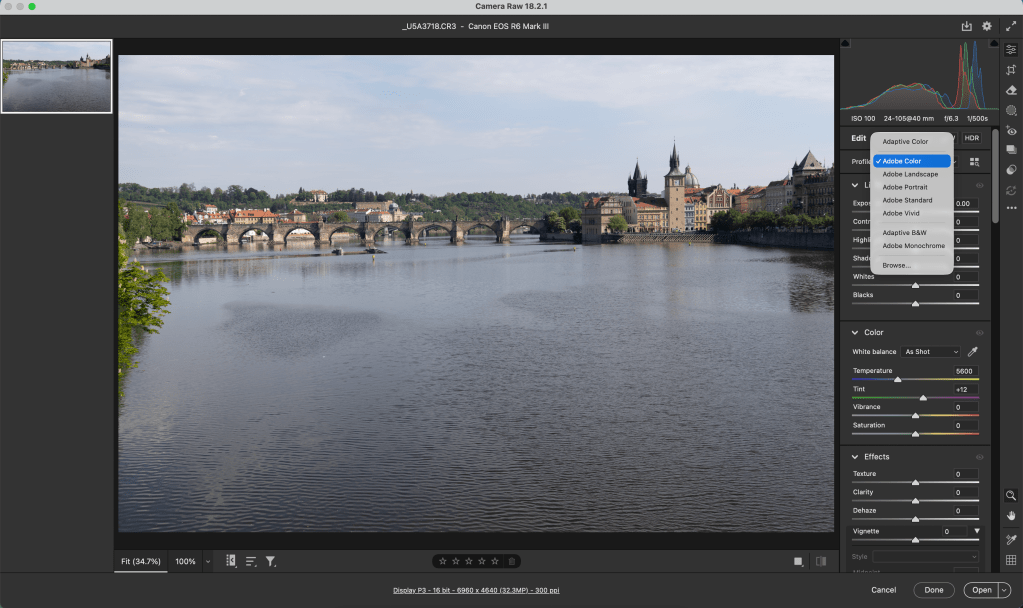
Auto processing on the left. Adaptive Color on the right. Both buttons found in Lightroom or Adobe Camera Raw.
Just in case you’re not familiar with Auto or Adaptive Color, here’s a screen capture. These are “presets” that process your images for you. Or, maybe give you a starting point.
Do you see a preference? The differences are subtle. Let me know your thoughts.
In May of this year, Adobe gave us the Texture slider. You can find this in Adobe’s Lightroom Classic or Adobe Camera Raw.
The Texture slider enhances or reduces texture in a photo. Texture would be bird feathers, animal fur, tree bark, alligator skin, stucco, etc. The Texture slider does not enhance details in our nice blurry backgrounds. The Texture slider is a game changer on certain photos.
I’ve been a real champion of the Clarity slider since that tool was introduced by Adobe. Almost all my processing began with Clarity slider to 20, Vibrance to 20, and Saturation to 20. “Go to CVS first” was the line we used in class.
The Clarity slider, though, worked on details and textures throughout the image. Minor details in the blurry background were often enhanced.
Texture slider only works on textures. It’s a pretty smart tool that can really bring out key details in our photos.
The Texture slider is also available under the Adjustment Brush tool. This allows us to enhance or reduce the texture in one area of a photo.
Pretty neat tool. Give it a try. I’m sure you will like it and find many uses for the Texture slider.
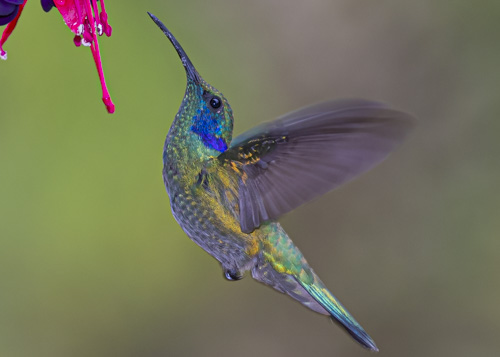
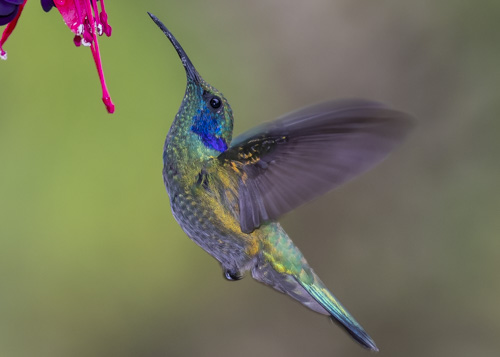
Green violetear or Lesser violetear with the Texture slider blown up to 100%Same photo as above with the Clarity slider blown up to 100%. Notice how the background at top right has more detail. Not as soft as the image processed with the Texture slider. Same as above with no Clarify or Texture slider. Nice soft background thanks to a shallow f/stop. We don’t want to mess with that background during processing.
Texture on the left image. Clarity on the right image.