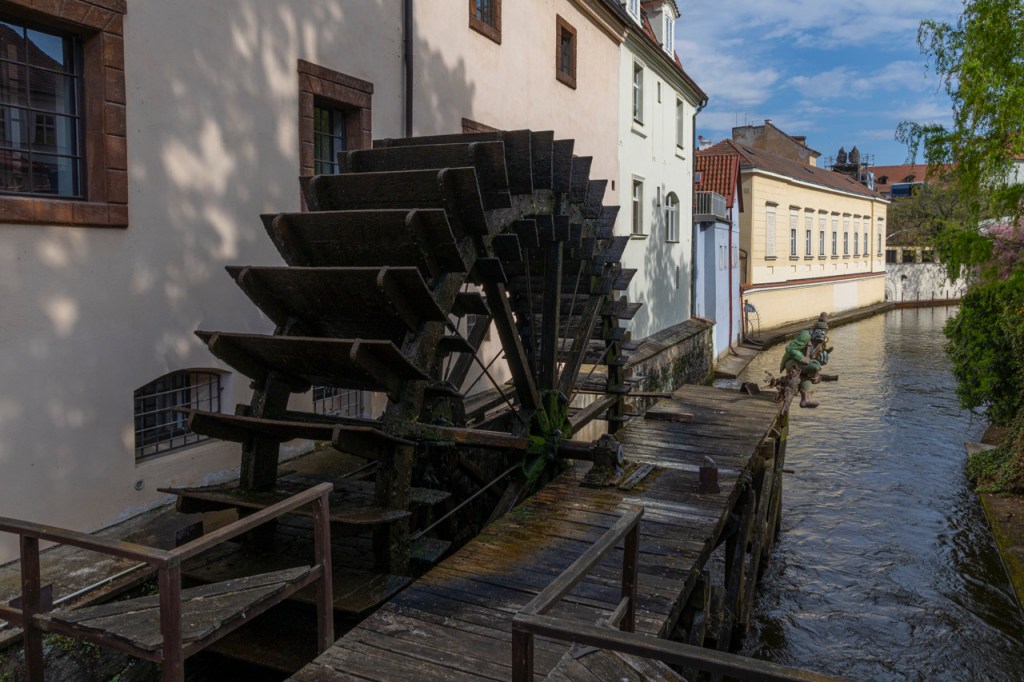
Image straight out of the camera on the left. On the right is my processing. Shadow slider to the right, highlight slider of the left, 20-30 each on Saturation, Vibrance, and Texture in Lightroom or Adobe Camera Raw.
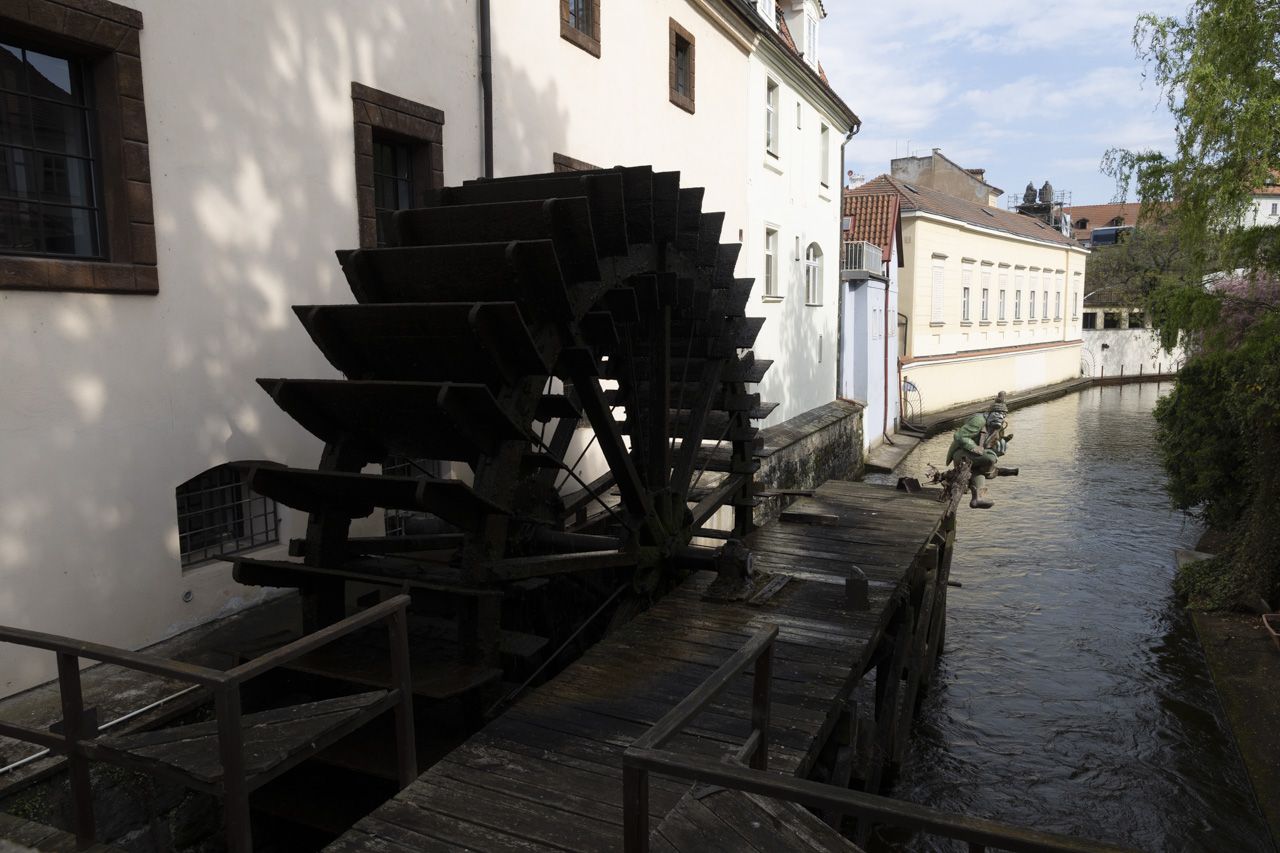
Auto processing on the left. Adaptive Color on the right. Both buttons found in Lightroom or Adobe Camera Raw.
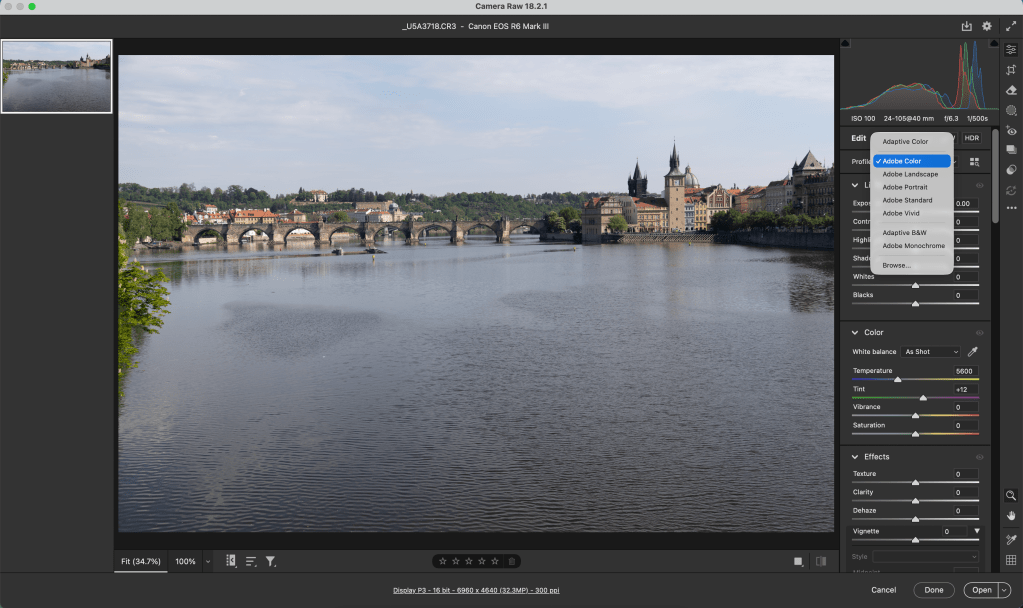
Just in case you’re not familiar with Auto or Adaptive Color, here’s a screen capture. These are “presets” that process your images for you. Or, maybe give you a starting point.
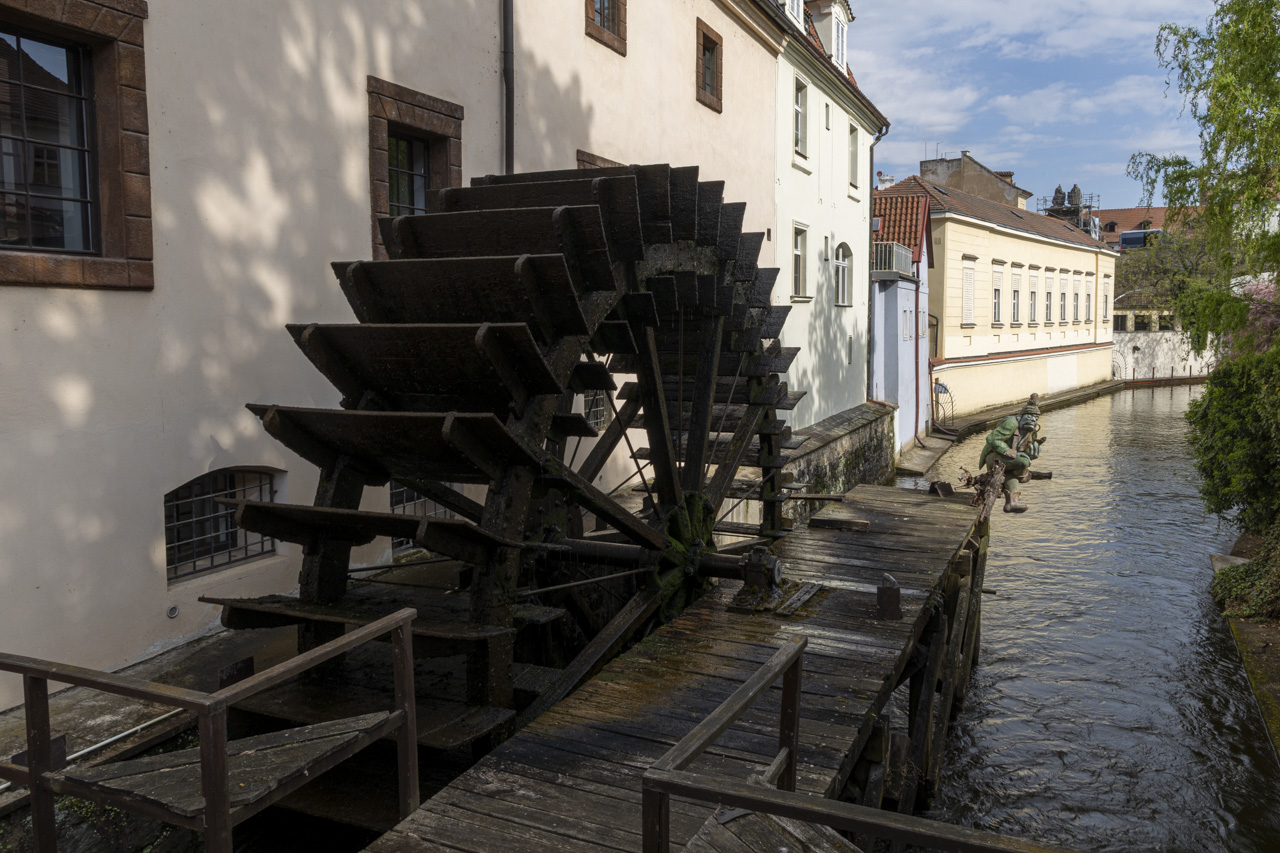
Do you see a preference? The differences are subtle. Let me know your thoughts.
Photoshop came first from Adobe. Everything that any creative person needed in one place.
The Photoshop program is becoming less and less needed. At one time, all the tools were in Photoshop.
Then Bridge and Adobe Camera Raw came along. Organization and sliders in Adobe Camera Raw to process our photos.
Then Adobe made Adobe Camera Raw (ACR) and moved Photoshop’s photography tools into sliders. We had everything we needed to process our photos in one place. Adobe gave us Bridge as a “light table” where we could layout all our photos and work with them.
Then Adobe made Elements and put photography tools into sliders.
Then Lightroom came along from Adobe
Then Adobe made Lightroom and put those same photography tools into sliders. Lightroom took the Bridge concept to a new level. Lightroom’s Library is a database so you can layout lots of photos from different folders onto a “light table” and work with them.
Lightroom’s Library is super-powerful and super-complicated. I recommend the Scott Kelby book to learn and understand Library. Life gets complicated when you update computers, work on two external hard drives, merge or split catalogues, etc. Sometimes you have to call in an expert because the Library is a mess.
Thanks to Adobe we have three programs to process our photos.
· Bridge/Adobe Camera Raw,
· Elements, or
· Lightroom.
The one you choose is up to you. Bridge/Adobe Camera Raw and Lightroom do exactly the same thing when it comes to processing. The difference is interface.
Bridge/Adobe Camera Raw lets you file your photos the way you want.
Lightroom files your photos for you and you need to understand what it’s doing. Hence the need for Scott Kelby’s book, lots of online videos, The Lightroom Queen, etc. I tell people on my workshops “I will not help you find your lost photos in Lightroom. I will help you process your photos in Lightroom.” If you use Lightroom, take time to understand the Library feature. In my experience, this happens in only 25% of Lightroom users.
Personally, I find the Bridge/Adobe Camera Raw combination easier to use. I copy my pictures from my card to a folder under My Pictures, open Bridge, go to that folder, start processing. Simple and easy. The 25% who understand Lightroom’s Library say the same thing about Lightroom. (The Lightroom versus Adobe Camera Raw argument is amazing among photographers. More powerful than Mac vs. PC or Canon vs. Nikon.)
But what about Photoshop? Photoshop has Layers and we still occasionally need layers. There are still photographers who use layers to make vignettes even though we have a slider for vignette in Lightroom and Adobe Camera Raw. There are still photographers who use Layers to open shadows despite the great shadow slider in Adobe Camera Raw and Lightroom.
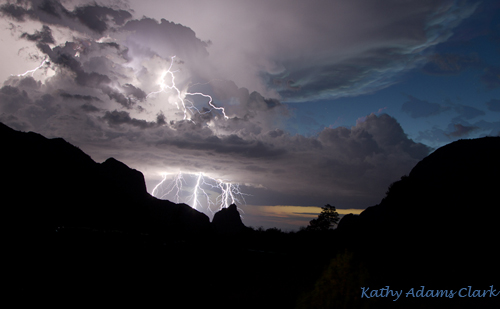
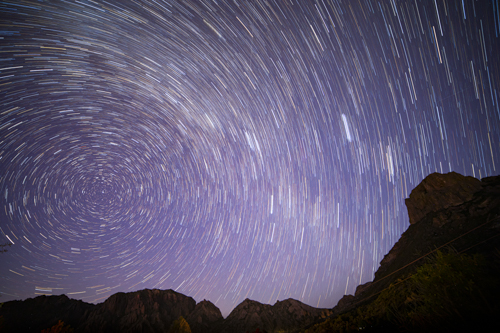
Layers in Photoshop are needed for a lot of advanced processing. Merging star trails, for example. Merging lightning strikes for a more dramatic photo, for example. Photos with light painting need layers. We can make a mat for our photos in Layers. Good stuff happens in Layers and we can only get that in Photoshop.
We need Photoshop Layers to blend multiple photos like this lightning storm or star trails.
At one time, we could only get panoramas with Layers. Now we have a feature in Lightroom and Adobe Camera Raw for that.
I’ll offer a Photoshop Layers class in the coming weeks. Layers is a powerful tool but has a steep learning curve. I’m not a master but know how to get what I need – most of the time.
I’m putting all photos on external hard drives now. Photos are so big that they take up a lot of space. I am not putting photos on my laptop’s hard drive or my desktop’s hard drive. All photos are on external hard drive.
I’ve gone pretty extreme. My iMac is my main desktop computer. It has a 4TB hard drive attached that has photos, documents, etc. All documents were moved off the iMac’s hard drive to the external hard drive.
My Macbook Pro has a 4TB hard drive that has the same. I work on photos in the field and at home on the laptop. No documents or photos are on the computer’s internal hard drive.
Once I am finished processing a folder of photos or all the photos from a trip, those photos get copied to a Drobo 15TB storage unit in a folder. Those folders are numbered and named. The folder might be “#1057 Costa Rica 2018 A_C”.
The photos are then imported to my database (or Lightroom) for the catalogue. This means that the only photos on the big 15TB storage device are finished photos. The photos on my laptop or desktop hard drives are unfinished.
I try to get photos off the desktop and laptop hard
drives as soon as I can. Doesn’t always
work because some trips/outings take longer to process than others. I try though.
I’m now using BackBlaze to put my photos in the cloud. My MacBook Pro wants to put everything in the cloud so some photos are in iCloud.
Applications like Photoshop, Bridge, Adobe Camera Raw, Lightroom, Word, Excel, etc are on each computer’s hard drive. It’s faster to use software that resides on my computer. I also have the software where I can use it if we have a power failure, hurricane, or disruption to the internet like in Africa or Peru.
So – in a nutshell – each computer has an external hard drive. Photos are processed and then moved to the Drobo 15TB storage unit. Those photos are the master catalogue.
I’ve created Favorite folders that reside on the external hard drive. These are a nice way to get photos quickly to attach to an email or upload to social media.
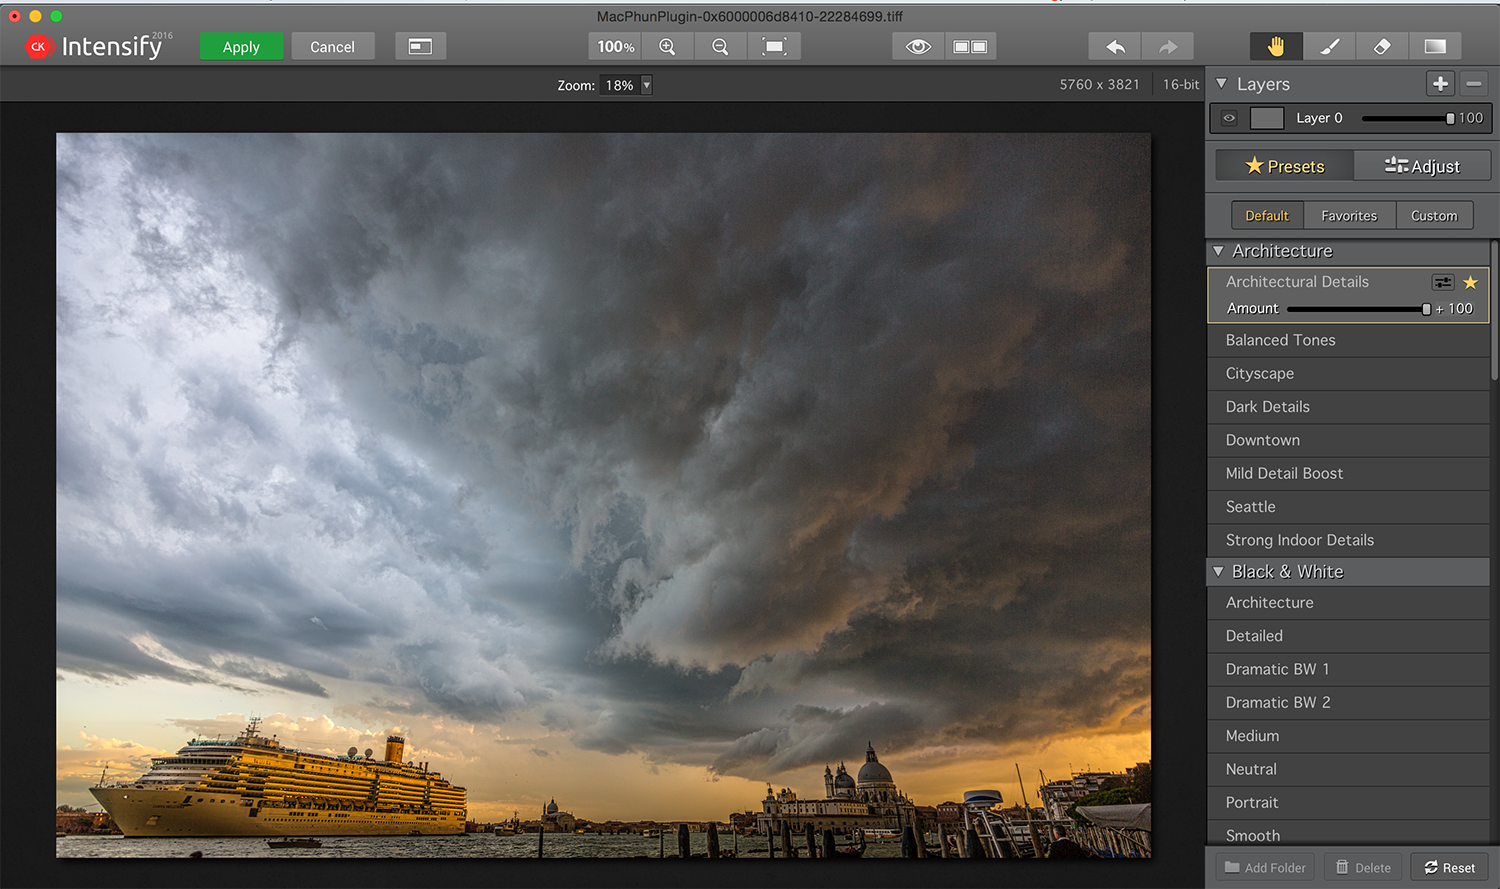
I’m having fun exploring Macphun’s Intensify. This is a plug-in that works with Photoshop or Lightroom
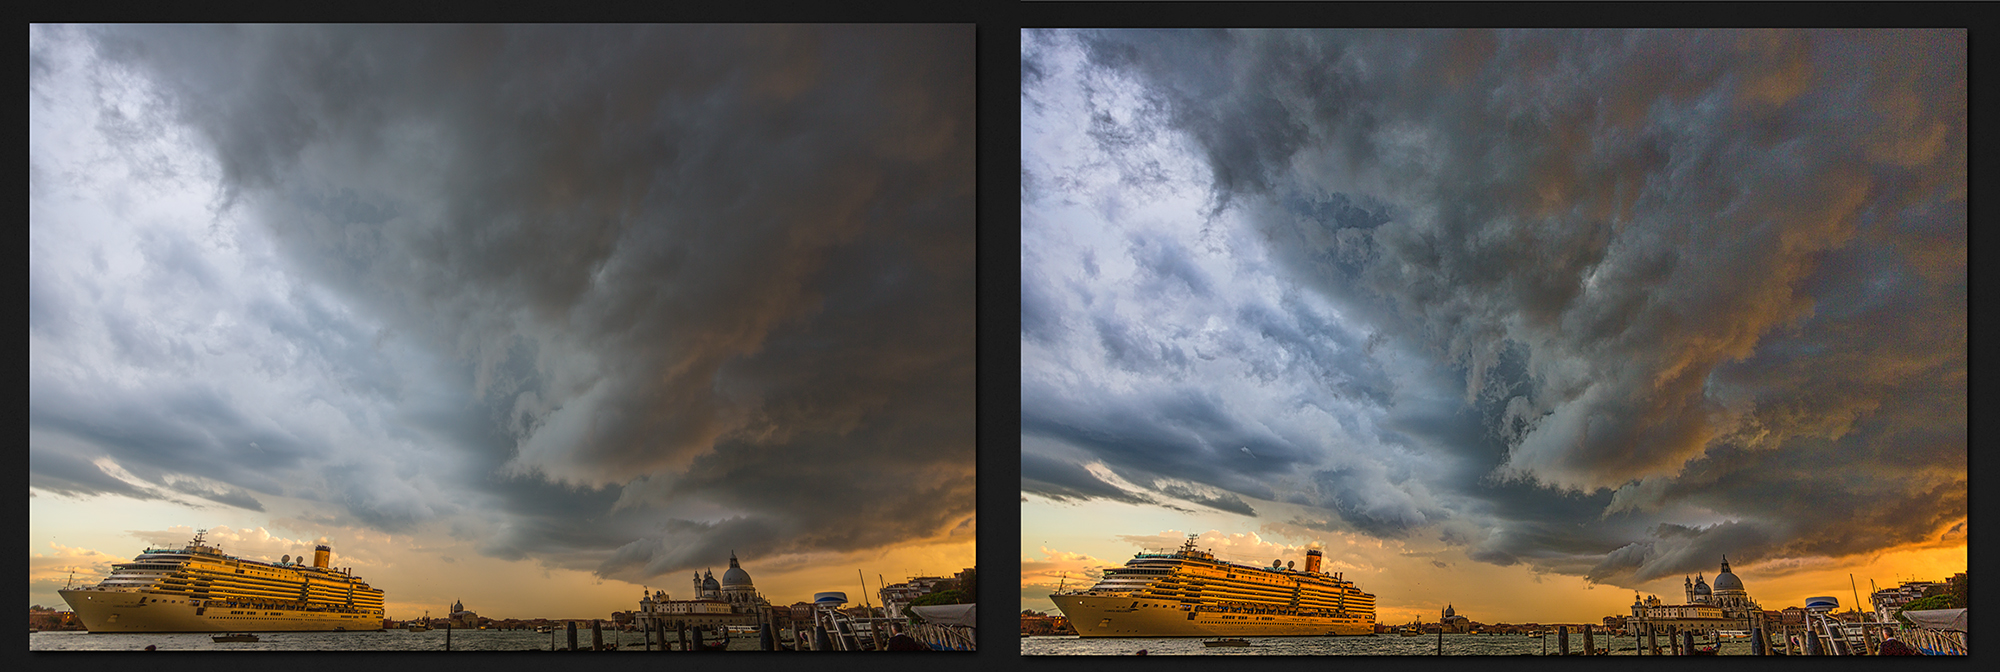
Watch what happens to this image that I took in Venice two years ago.
This is my photo of a magnificent storm over Venice. I’ve processed the image in Adobe Camera Raw and then opened it into Photoshop.
With the image open in Photoshop, I click Filters and open Macphun Intensify. A screen capture is above.
The first slider I selected was Architectural Details. Notice the details in the clouds.
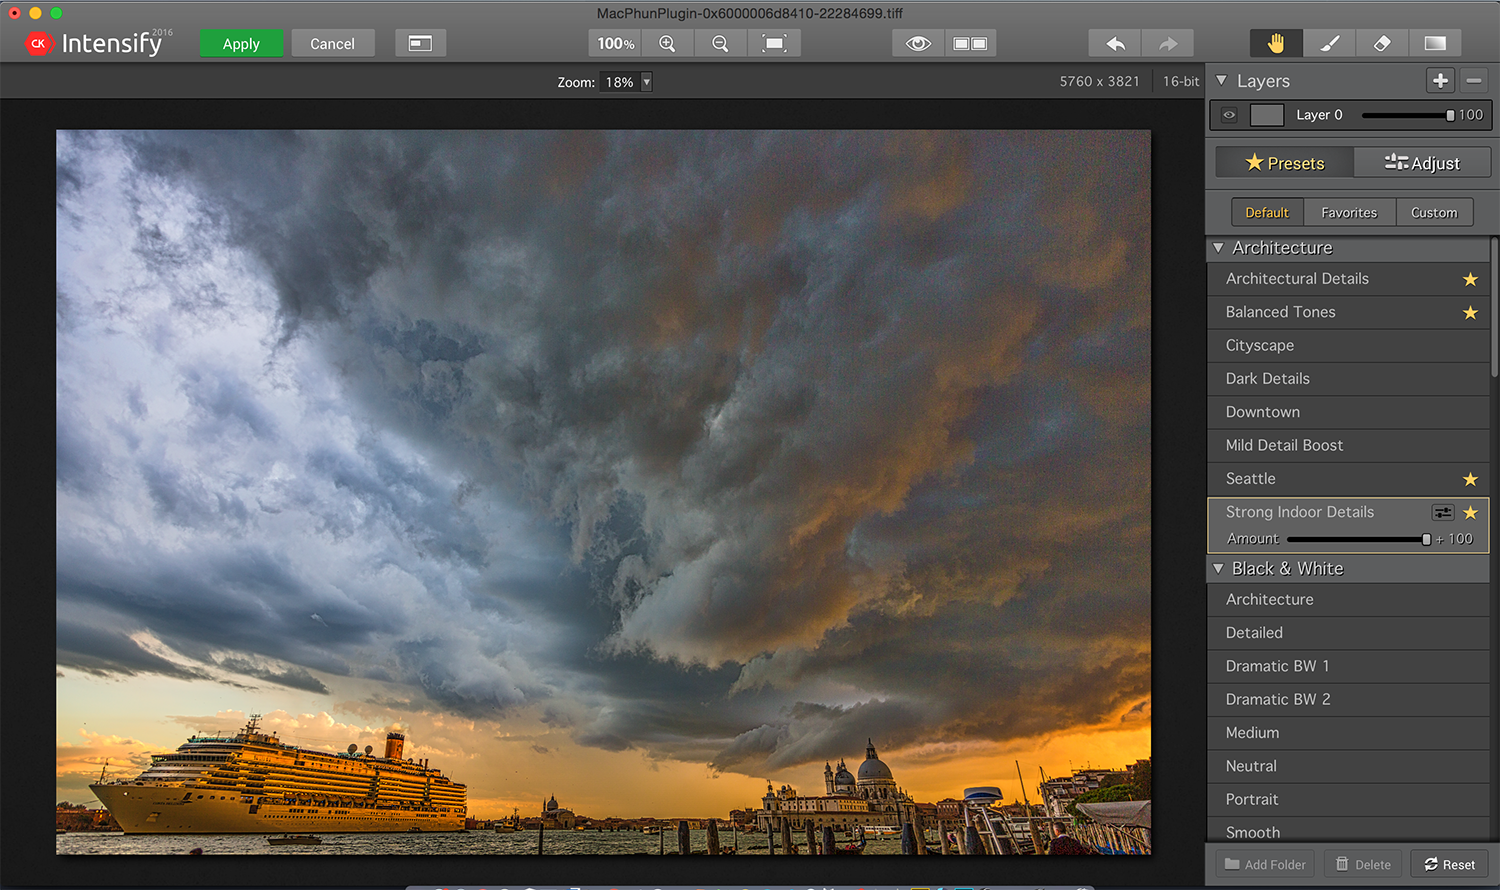
The second slider that I used was the Balanced Tool slider. Notice how this slider brings out the gold on the edge of the clouds on the right side. It was too much at 100% so I moved the slider to 49%.
Then I selected the Strong Indoor Details slider. The change is pretty subtle but there’s a bit more detail in the buildings.
Here’s the before and after. Macphun Intensify is pretty amazing.