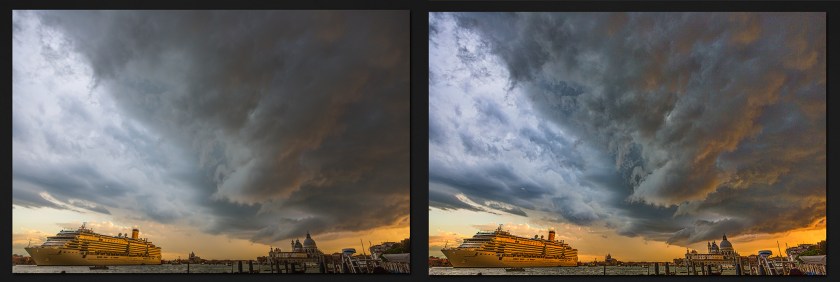
This comparison illustrates that Macphun Intensify can give us the great results we loves with Google’s NIK Color Efex Detail Extractor.
This comparison illustrates that Macphun Intensify can give us the great results we loves with Google’s NIK Color Efex Detail Extractor.
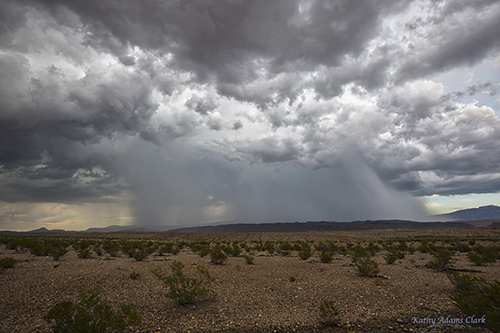
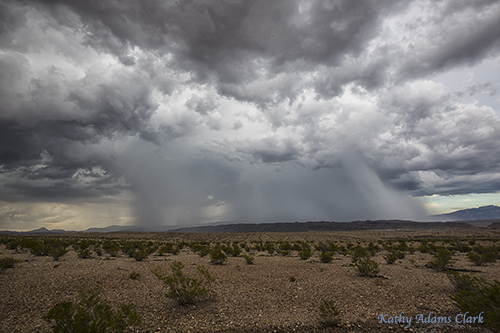
We had some great desert lightning storms during my recent workshop in Big Bend National Park. Each of the images below is a composite of several lightning strikes to make the scene more dramatic. The images have then been processed with Macphun Intensify to bring out the details in the clouds.
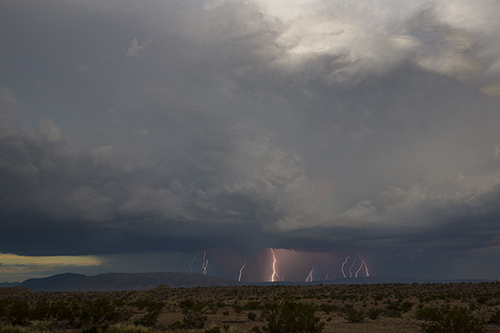
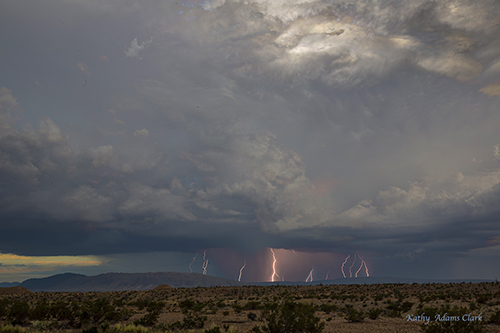
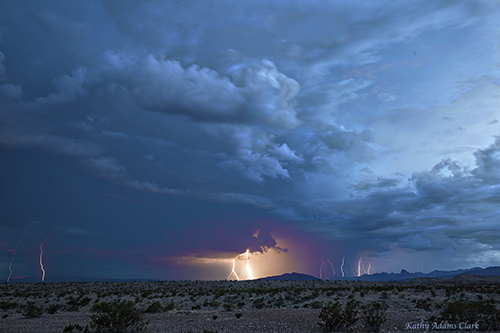
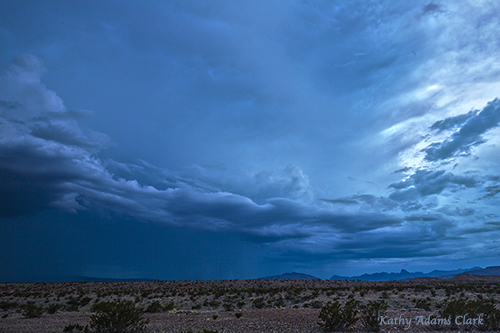
I love what Macphun Intensify does to bring out details in a photo. Thanks to a full range of sliders, I can bring out details and drama that enhance my photos. Intensify really does “bring out the hidden beauty” of a photo.
It’s interesting to compare images processed in Adobe Camera Raw then enhanced with Nik Color Efex Pro 4 versus Macphun Intensify. I’ve done pretty simple processing on each of the photos you see below. Each was processed in a minute or so — if that much.


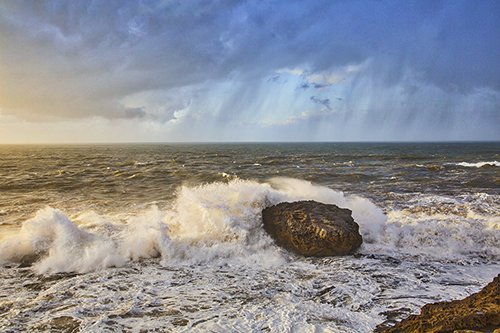
Once again, simple processing on each image. Nothing complicated. No dodging, burning, layers, etc. Just some basic processing.
I was impressed with Nik but I’m really impressed with Macphun.
Use Promo code Adams to get a discount when buying Macphun Luminar or Aurora HDR.
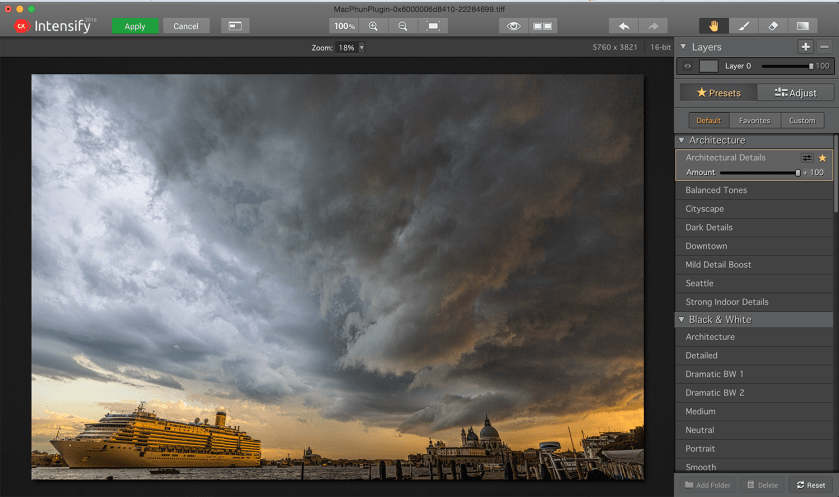
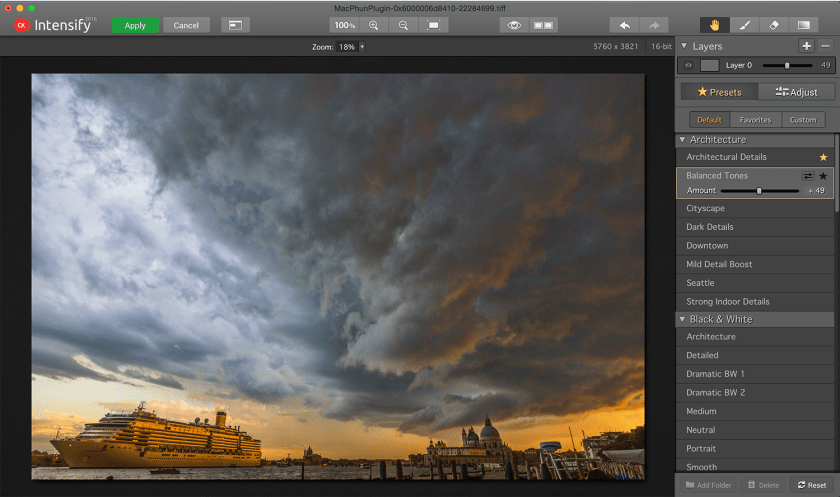
I’m having fun exploring Macphun’s Intensify. This is a plug-in that works with Photoshop or Lightroom
Watch what happens to this image that I took in Venice two years ago.

With the image open in Photoshop, I click Filters and open Macphun Intensify. A screen capture is above.