Macphun Tonality

Macphun Tonality is turning out to be a great way to create black-and-white and toned images.

Take a look at the processing I did on my image of a shrine to a holy man in Morocco.

Holy Shrine, burial grounds, shrine, Morocco; Skoura
Here’s the image with basic processing with Adobe Camera Raw.
Holy Shrine, burial grounds, shrine, Morocco; Skoura
I opened the above image in Macphun Tonality.  Then I used the preset “300 bleached.”  No other processing.


Holy Shrine, burial grounds, shrine, Morocco; Skoura
My first image processed in Machphun Tonality with the “Bleached Drama” preset.
Holy Shrine, burial grounds, shrine, Morocco; Skoura
The first image processed with Macphun Tonality “Baby Blues” preset.  Nothing hard.  Just push the button and enjoy the image.
Holy Shrine, burial grounds, shrine, Morocco; Skoura
The original image opened in Macphun Tonality.  Then processed in “Monochrome Dreams.”

Tonality is in Macphun’s Creative Kit.  I hope you’ll give it Tonality a try.

Macphun Intensify versus NIK

Lightning Storm KAC6786_1
Here’s the image processed with Adobe Camera Raw.
Lightning Storm KAC6786
Same image as above then processed with Macphun Intensify.  The clouds really pop with drama.
Lightning Storm KAC6786nik
I stared with the first image and then did a little post processing with Google’s NIK Color Efex Detail Extractor.  

This comparison illustrates that Macphun Intensify can give us the great results we loves with Google’s NIK Color Efex Detail Extractor.

Storm Clouds with Macphun Intensify

We had some great desert lightning storms during my recent workshop in Big Bend National Park.  Each of the images below is a composite of several lightning strikes to make the scene more dramatic.  The images have then been processed with Macphun Intensify to bring out the details in the clouds.

Lightning storm KAC082017
Composite image of lightning strikes in Big Bend National Park.
Lightning storm KAC082017stackintensify
Same image with a touch of intensity added thanks to Macphun Intensify
Lightning Storm KAC6989_7097intensify
Composite image of several lightning strikes.  Then processed with Macphun Intensify to enhance the clouds.
Lightning Storm KAC6989intensify
Single image of magnificent storm clouds in Big Bend National Park.  A touch of drama was added with Macphun Intensify.

I love what Macphun Intensify does to bring out details in a photo.  Thanks to a full range of sliders, I can bring out details and drama that enhance my photos.  Intensify really does “bring out the hidden beauty” of a photo.

Macphun Intensify

It’s interesting to compare images processed in Adobe Camera Raw then enhanced with Nik Color Efex Pro 4 versus Macphun Intensify.  I’ve done pretty simple processing on each of the photos you see below.  Each was processed in a minute or so — if that much.

Atlantic Ocean, crashing waves, Essaouira; Morocco
This image was processed in Adobe Camera Raw.  Clarify — 40, Vibrance — 20, Saturation — 20, Exposure — +1.05, Shadow — +52.  
Atlantic Ocean KAC5129Nik
The same image as above.  Opened in Photoshop and then opened in Nik’s Color Efex Pro 4.  A bit of tweaking with the detail extractor  slider.
Atlantic Ocean, crashing waves, Essaouira; Morocco
Same basic processing as photo #1 in Adobe Camera Raw.  Then opened in Photoshop and then opened in Macphun Intensify.  I used a bit of Architectural Details and then some Balanced Tones.  

Once again, simple processing on each image.  Nothing complicated.  No dodging, burning, layers, etc.  Just some basic processing.

I was impressed with Nik but I’m really impressed with Macphun.

Use Promo code Adams to get a discount when buying Macphun Luminar or Aurora HDR.

Macphun Free Launch of Beta Luminar for Windows

 I’ve been working with Macphun’s Luminar on my Mac and love it.  PC users can now get a beta version of Luminar for Windows.  Free!

Here’s the Press Release from Macphun:

Macphun makes free public beta of Luminar for Windows available for download 


San Diego, CA – July 13, 2017Macphun, the California-based developer known for delivering award-winning products for Mac, today launched the free public beta of its award-winning photo editor Luminar for Windows. To download the beta, please visit macphun.com/beta.

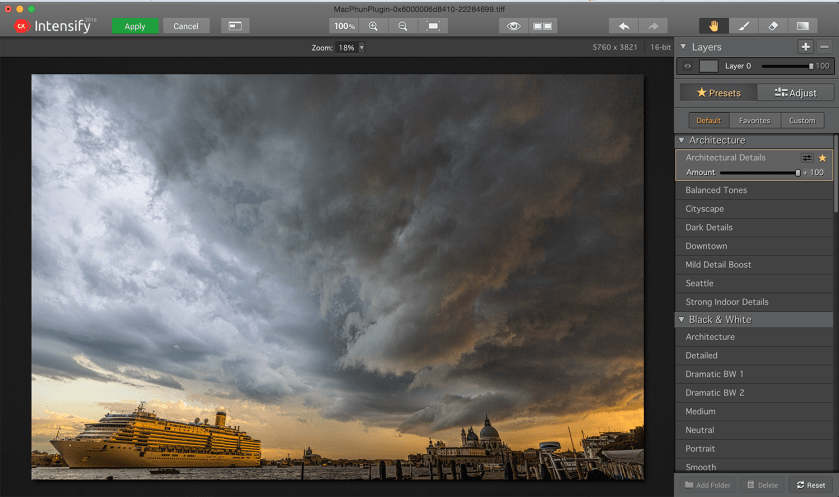
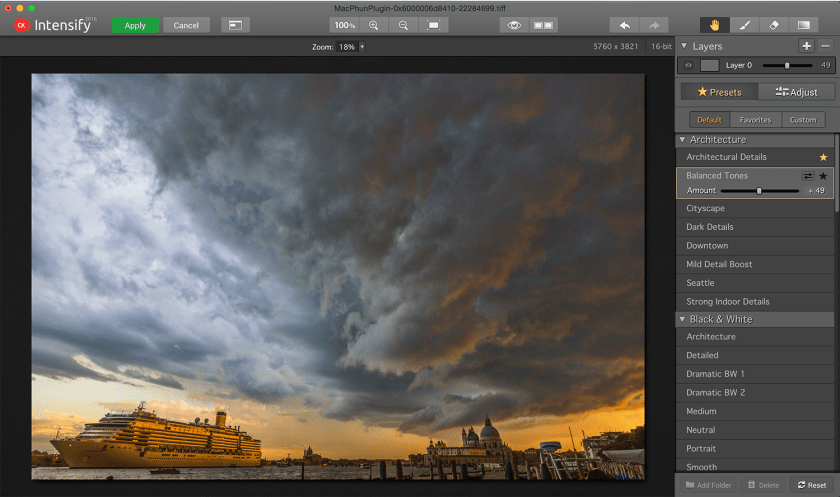
Luminar is a powerful photo editor designed to tackle anyone’s photography needs, from correcting challenging image problems to artful stylizing. Users can choose between levels of image processing complexity based on their experience, and adapt the workspace controls to their skill level, moving up to more advanced modes as they learn. Luminar works in non-destructive fashion and aims to take “work” from photo editing “workflow” for photographers worldwide.

In April, only 5 months after its launch, Luminar for Mac won the prestigious TIPA award for Best Imaging Software 2017. This all-in-one photo editor is a cutting-edge solution for creating fascinating images without extra hassle. Luminar includes over 300 robust tools that make fixing, editing and perfecting a photo as easy as moving a slider.

“We are thrilled to release our first PC product today and give photography enthusiasts around the world the first taste of our best-selling Mac product,” said Kevin La Rue, Vice-President at Macphun. “By test-driving Luminar for Windows, beta testers can help shape our software and make the final release a perfect fit for everyone,” concluded La Rue.

 The public beta is free of charge and already matches some of the most important features of Luminar, such as the newest and most advanced tool developed by Macphun’s Research and Development Lab – the Accent AI Filter, powered by artificial intelligence technology. The filter allows anyone to create stunning images with a single slider, substituting for dozens of traditional controls like shadows, highlights, contrast, tone, saturation, exposure, details and many others.

Admittedly, several features from the Mac version of Luminar remain in development for the Windows platform, among them workspaces, plug-in integration, object removal, noise reduction, and more. As these are completed, the public beta will be updated regularly leading to a full cross-platform release late in 2017.

Key features of the Luminar for Windows public beta:

  • Adaptive user interface – Exactly matching the Mac version, the software adapts to the skill level and preferences of the photographer.
  • One-click presets – Over 50 pre-defined styles for every photography style.
  • Photo Editing Filters – Over 40 custom filters, each with built-in visual tips and a unique set of easy-to-use controls for correcting, enhancing and stylizing images.
  • RAW file conversion – Support for the latest RAW file libraries.
  • Non-destructive workflow – Edit without fear.
  • Recommended System Requirements – Windows 10, Core i5 2.2 or better, 8GB RAM, 1GB GPU RAM, SSD with 20+GB free space.

Macphun Intensify

I’m having fun exploring Macphun’s Intensify.  This is a plug-in that works with Photoshop or Lightroom

Watch what happens to this image that I took in Venice two years ago.

Screen Shot 2017-07-12 at 9.15.15 PM
This is my photo of a magnificent storm over Venice.  I’ve processed the image in Adobe Camera Raw and then opened it into Photoshop.  

With the image open in Photoshop, I click Filters and open Macphun Intensify.  A screen capture is above.

Screen Shot 2017-07-12 at 9.15.23 PM
The first slider I  selected was Architectural Details.  Notice the details in the clouds.  
Screen Shot 2017-07-12 at 9.15.40 PM
The second  slider that I used was the Balanced Tool slider.   Notice how this slider brings out the gold on the edge of the clouds on the right side.   It was too much at 100% so I moved the slider to 49%.
Screen Shot 2017-07-12 at 9.17.17 PM
Then I selected the Strong Indoor Details slider.  The change is pretty subtle but there’s a bit more detail in the buildings.
Venice Macphun before and after Intensify
Here’s the before and after.  Macphun Intensify is pretty amazing.  
%d bloggers like this: