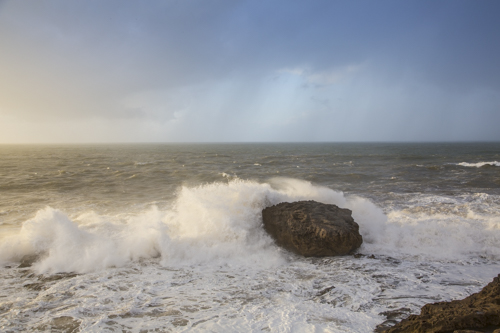
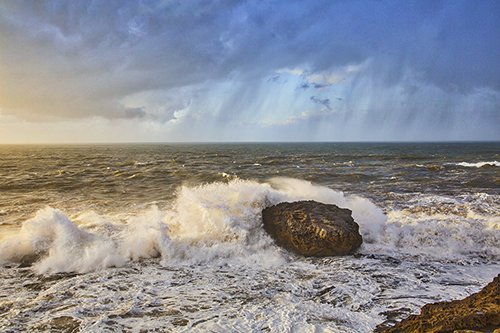
It’s interesting to compare images processed in Adobe Camera Raw then enhanced with Nik Color Efex Pro 4 versus Macphun Intensify. I’ve done pretty simple processing on each of the photos you see below. Each was processed in a minute or so — if that much.
This image was processed in Adobe Camera Raw. Clarify — 40, Vibrance — 20, Saturation — 20, Exposure — +1.05, Shadow — +52. The same image as above. Opened in Photoshop and then opened in Nik’s Color Efex Pro 4. A bit of tweaking with the detail extractor slider.Same basic processing as photo #1 in Adobe Camera Raw. Then opened in Photoshop and then opened in Macphun Intensify. I used a bit of Architectural Details and then some Balanced Tones.
Once again, simple processing on each image. Nothing complicated. No dodging, burning, layers, etc. Just some basic processing.
I was impressed with Nik but I’m really impressed with Macphun.
Use Promo code Adams to get a discount when buying Macphun Luminar or Aurora HDR.
Professional photographer leading workshops and tours. I use Canon cameras but I'm familiar with all the other brands. Love photography birds and nature. Love talking about photography and gear.
View all posts by kathyadamsclark