A full-frame sensor camera has a sensor that is 35mm on the longest side. A cropped sensor camera (APS-C) has a sensor that is smaller. A four-thirds sensor is even smaller at 17.5mm on the longest side.
Those smaller sensors give us what is called a crop factor. An image on a full-frame camera looks the same as if the image was taken with a film camera. Take the same photo with a APS-C camera and the image would appear to be cropped. Take the same photos with a four-thirds sensor and the image would appear more cropped.
That cropping is 1.5x on a Nikon and 1.6x on a Canon camera. The cropping is 2x on an Olympus or other four-thirds sensor camera.
Using that 2x magnification, a 300mm lens is now a 600mm lens. Add a teleconverter on that 300mm lens and you have a 420mm lens. Put that lens on a four-thirds camera and it is now equal to 840mm on a full-frame sensor camera.
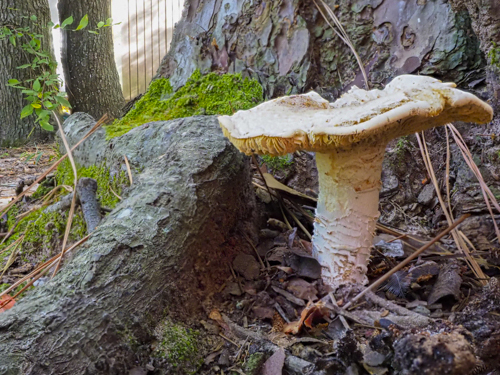
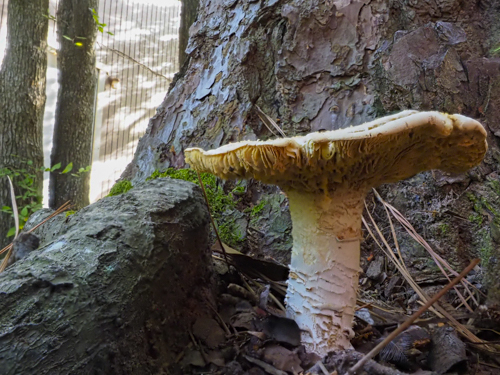
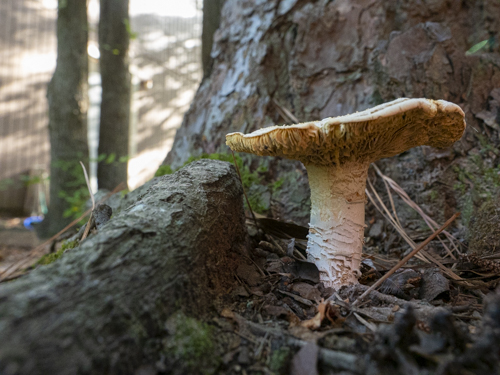
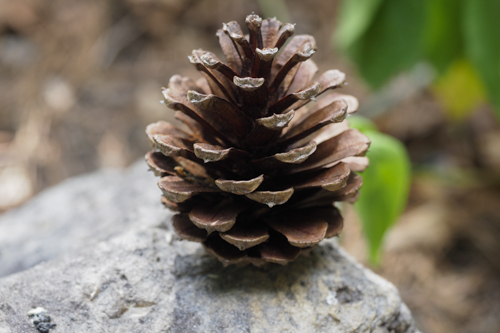
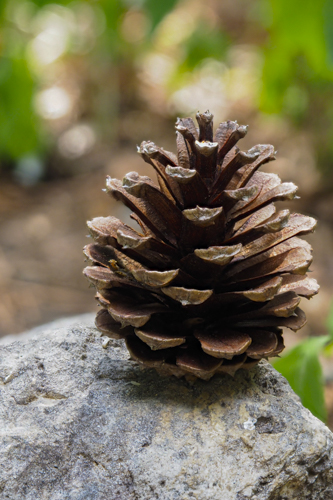
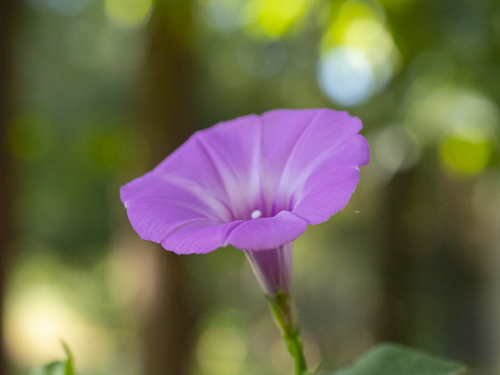
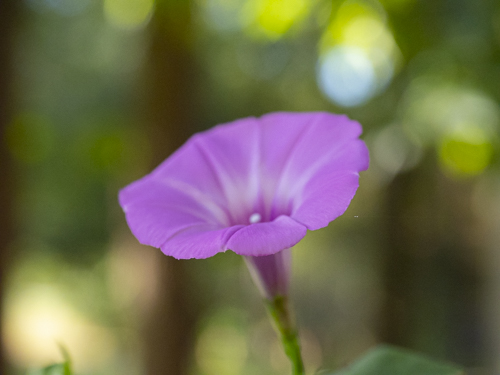
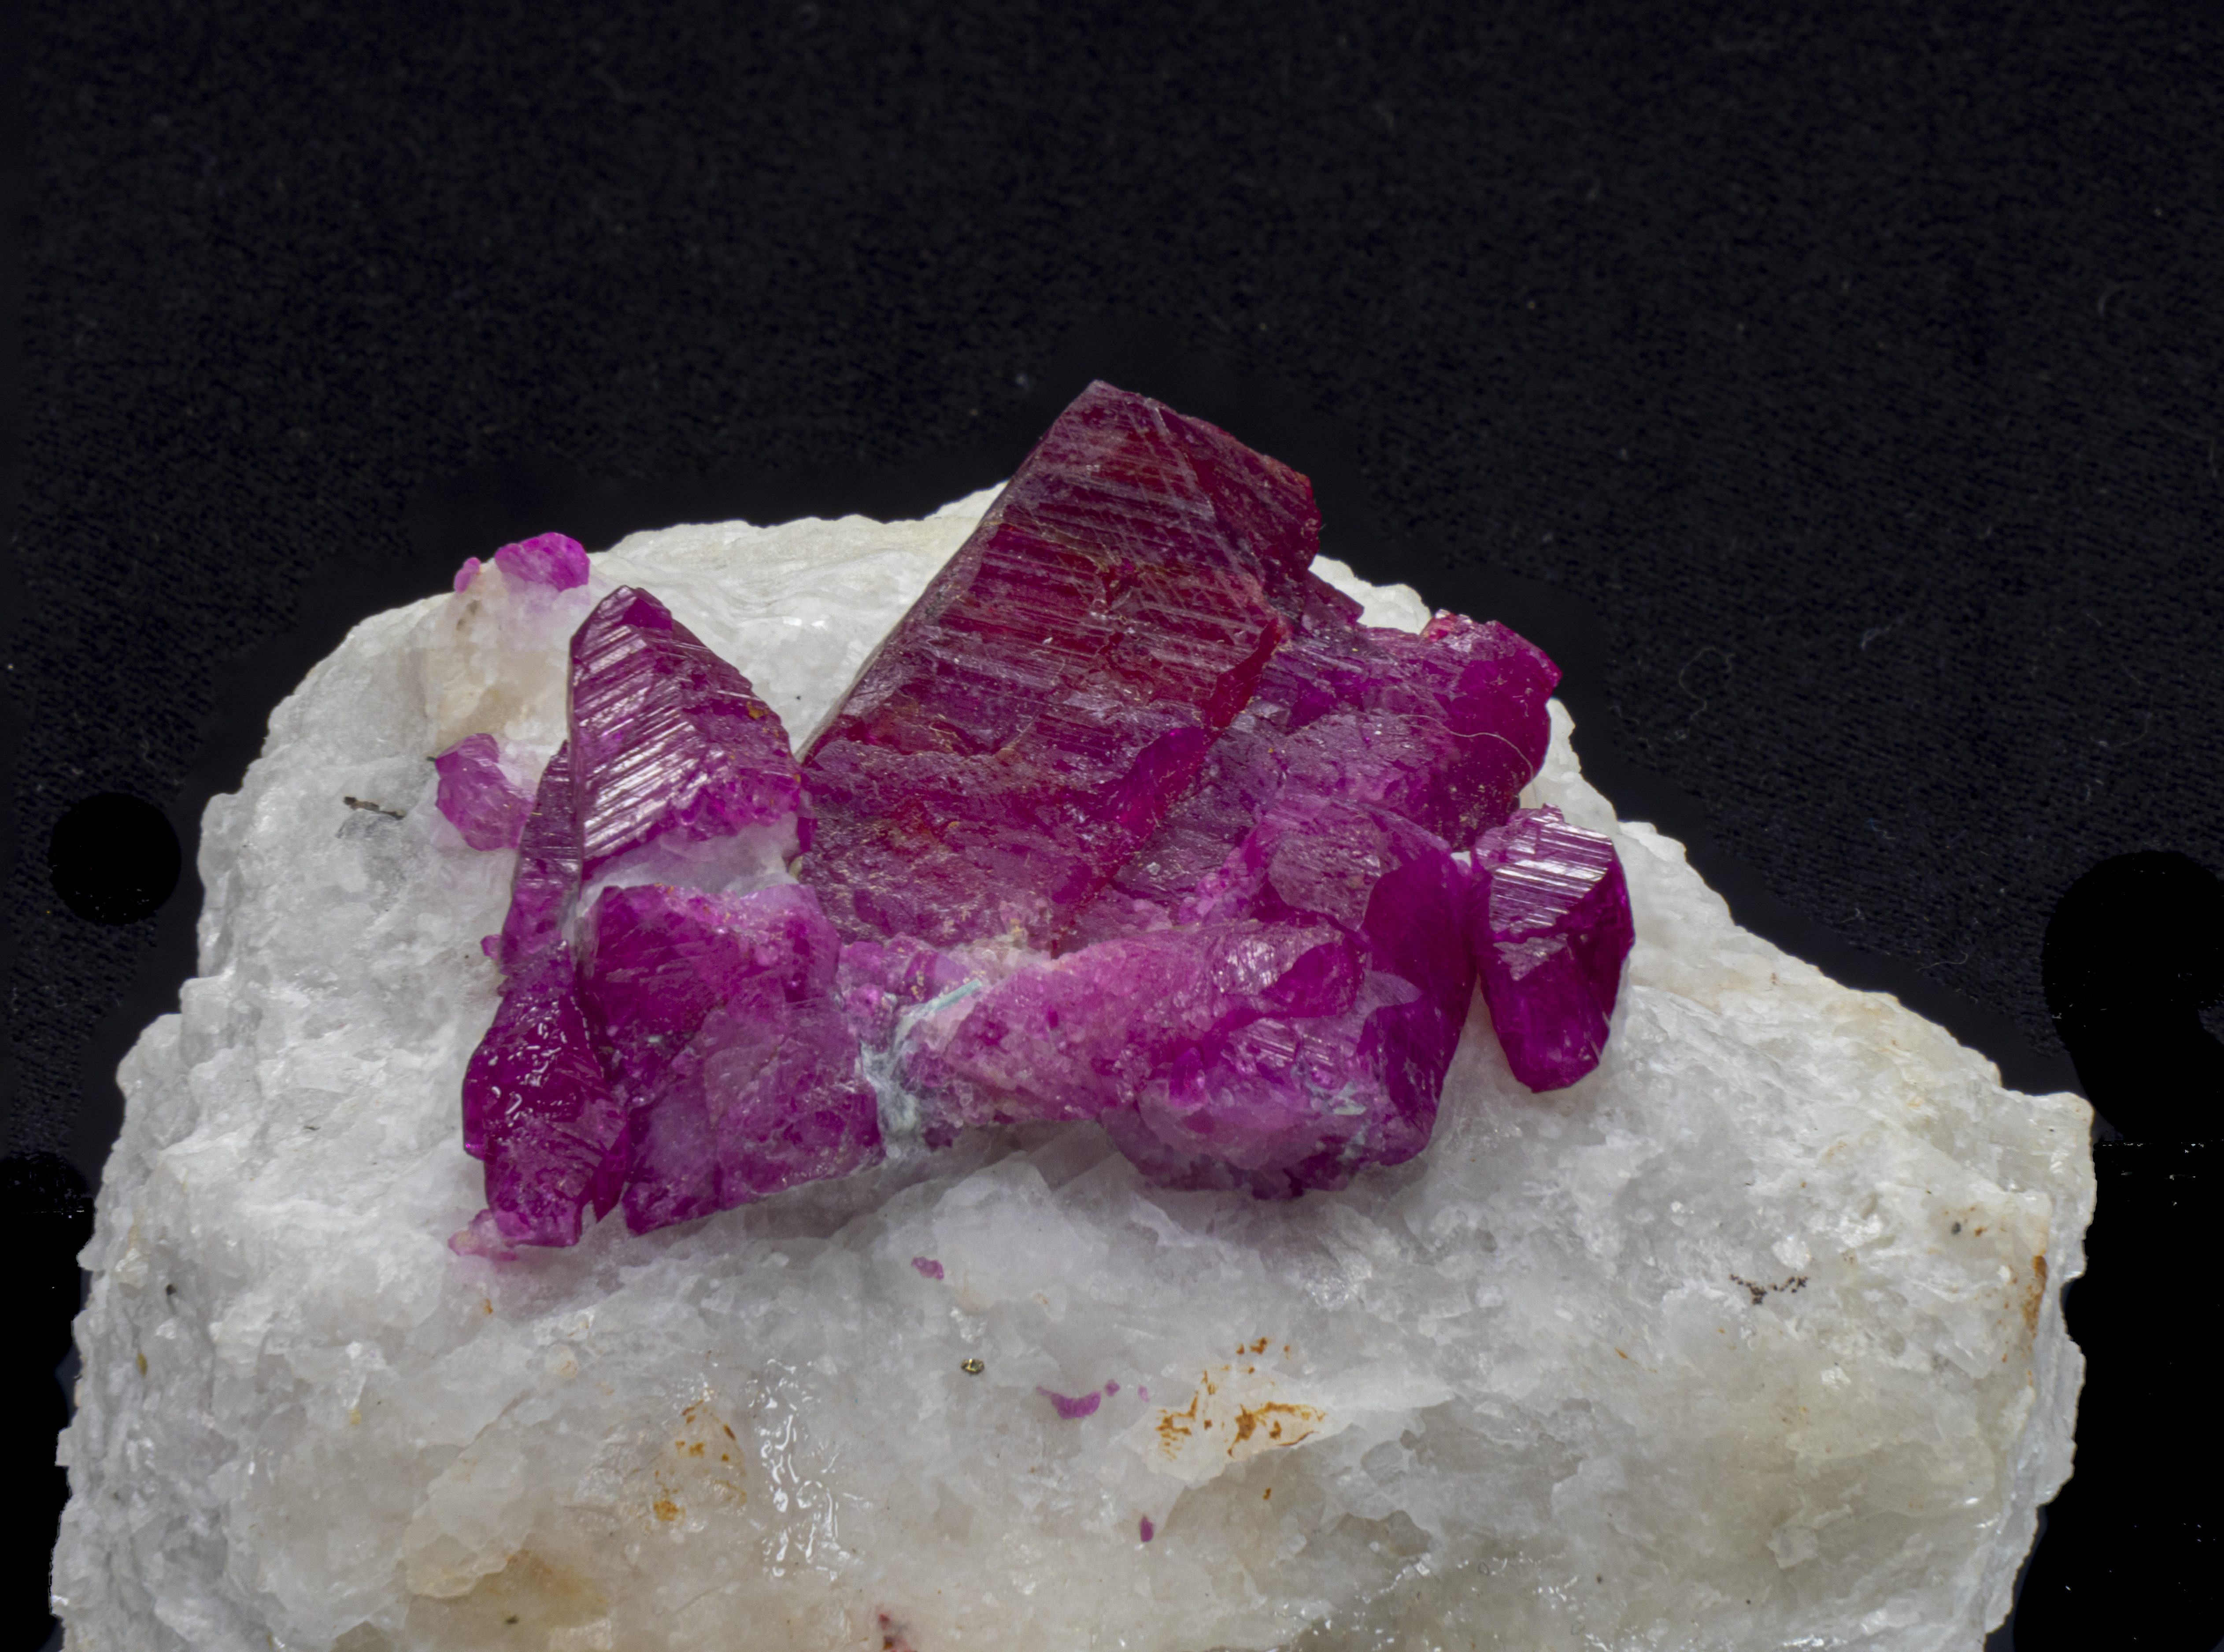
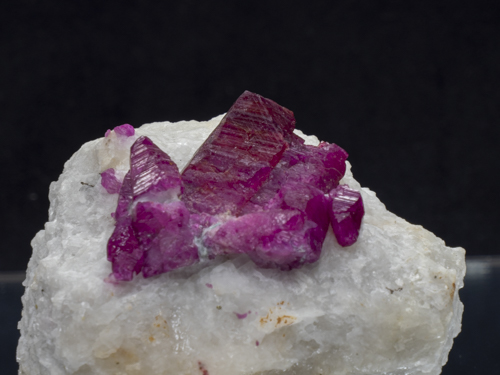
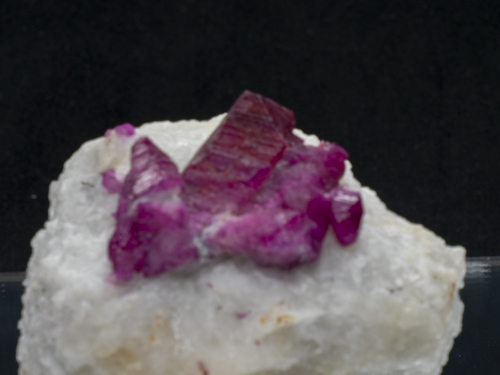
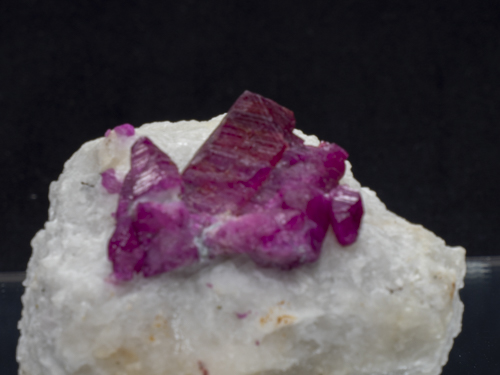
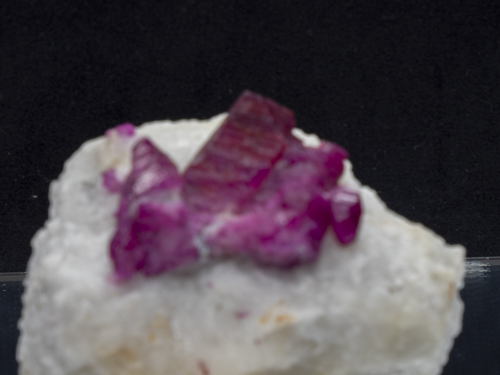
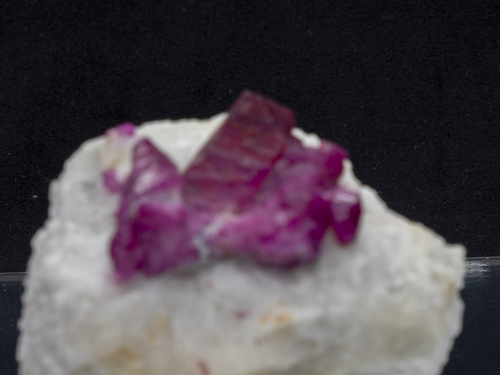
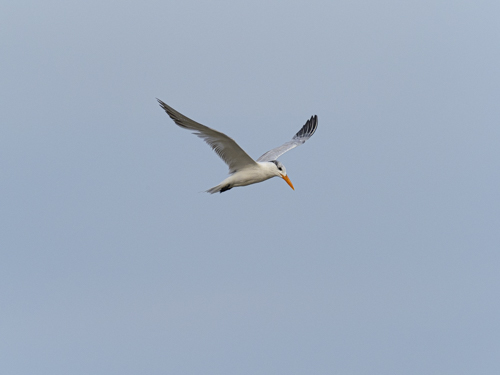
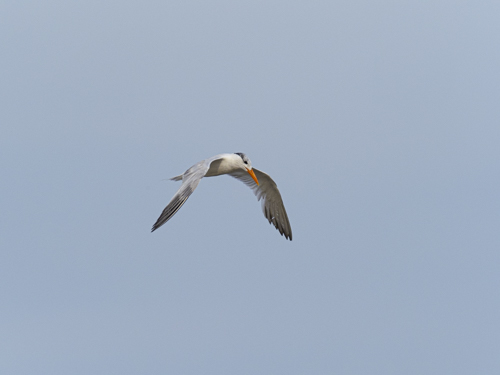
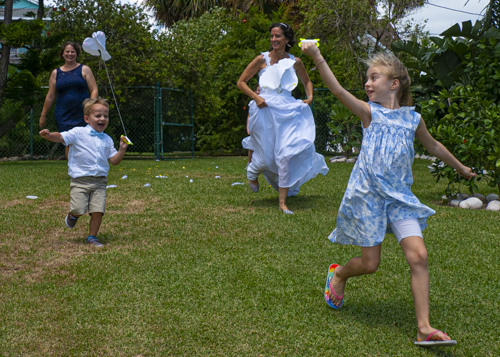
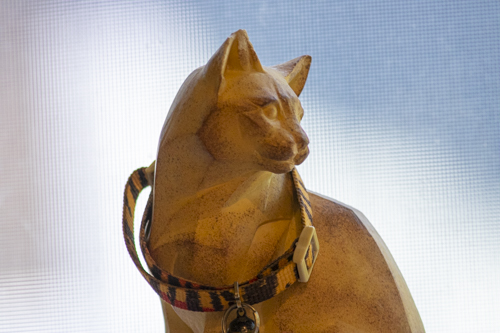
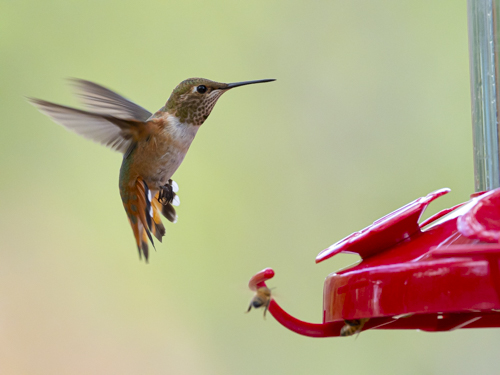
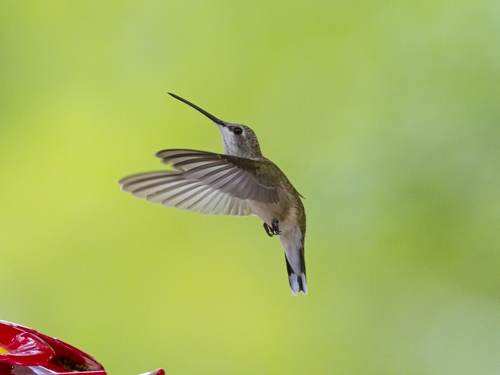
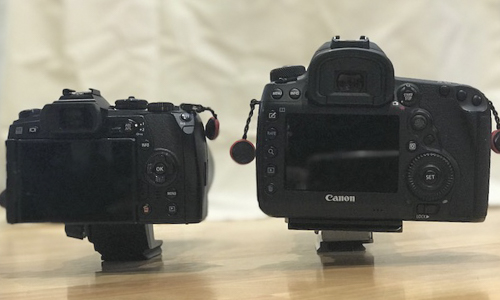
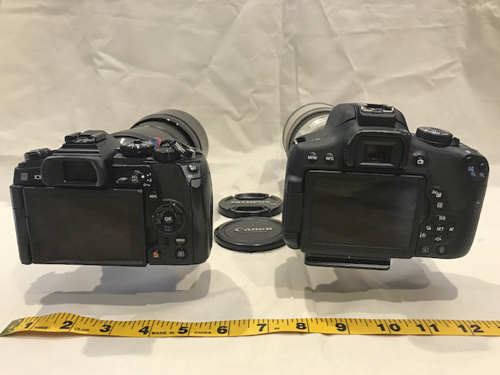
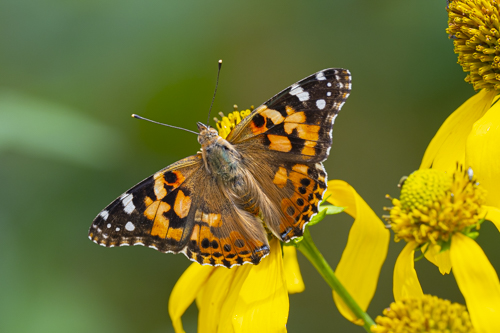
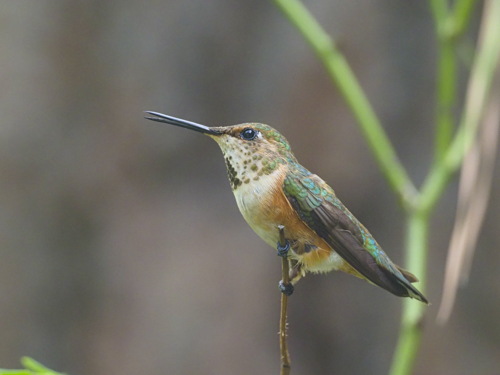
Below are three different cameras all with a 300mm lens with 1.4x extender for 420mm from the same location.

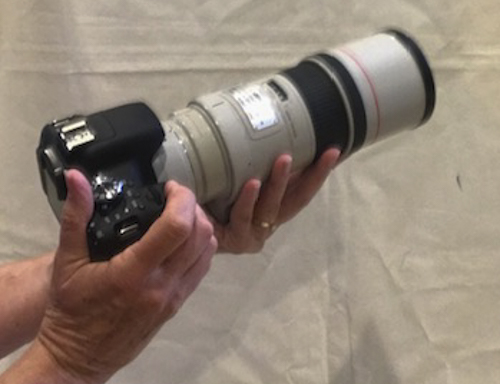
full frame sensor camera 
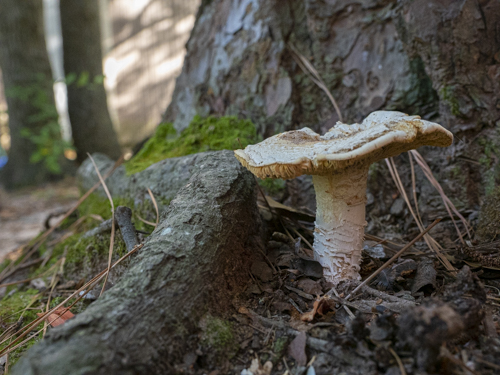
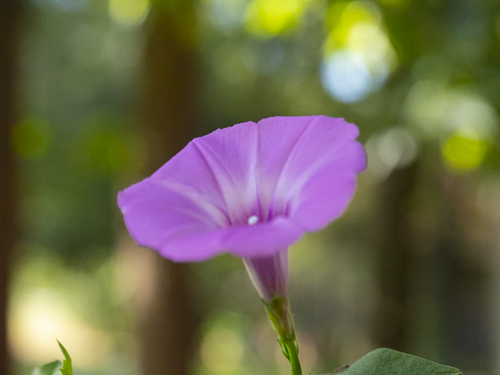
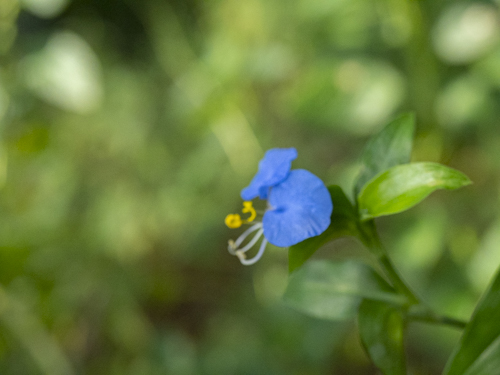
1.6 cropped sensor camera 
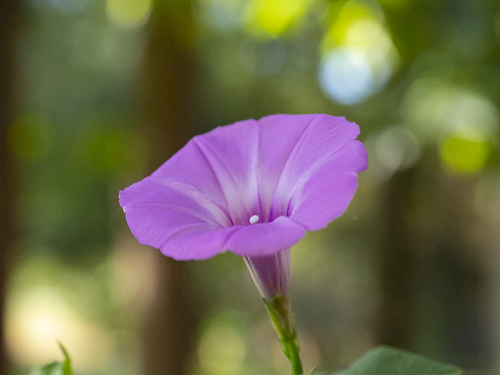
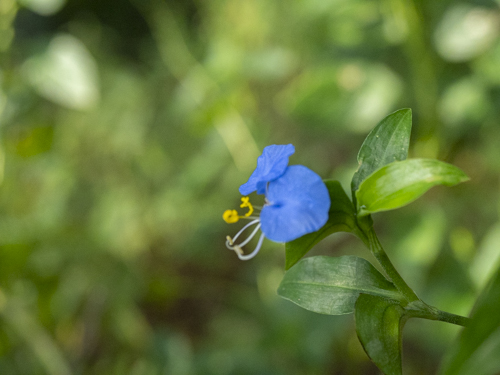
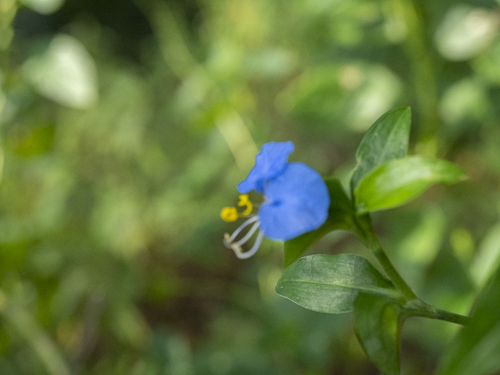
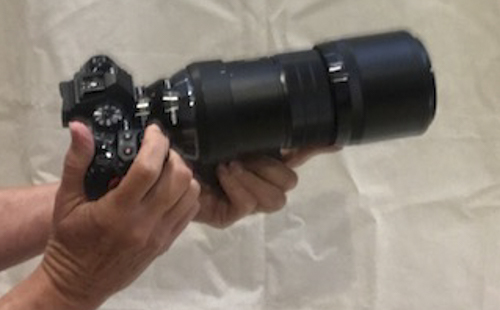
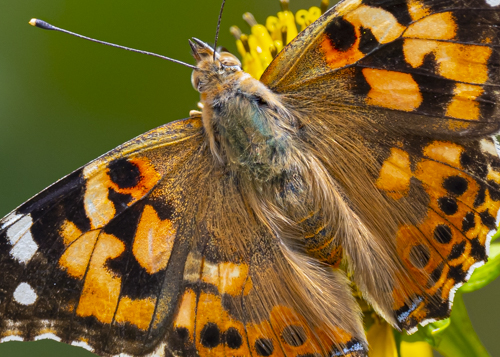
four-thirds sensor camera
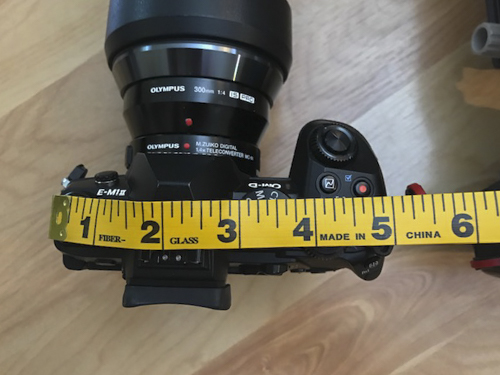
The full frame is photographed with 420mm. The cropped is photographed with the same lens but because the sensor is smaller the lens is equal to a 672mm lens. The four-thirds sensor is magnified even more for a lens equal to an 840mm lens. (As was pointed out in an earlier post, all the camera set-ups weigh roughly 4.9 pounds but the view with the four-thirds is equal to a much heavier camera with lens.)
So the advantage of a four-thirds sensor camera is our subject appears bigger when using a telephoto lens with a lighter camera.
I was curious if the quality would be acceptable since the sensor was smaller.


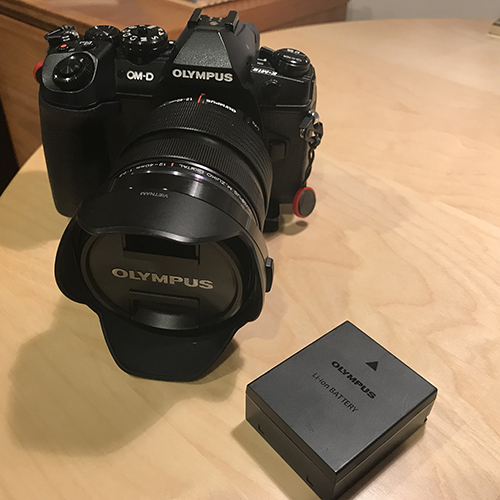
“Expert” opinion has been that the smaller the sensor the worse the quality. I think the fine engineering put into APS-C cameras like the Canon 7D Mark II and Nikon 500 really put an end to that thinking. My brief tests with the Olympus OM-D EM1 Mark ii shows this four-thirds sensor can stand up with the best.
As usual, give me your thoughts. It’s always fun to read your experiences. Thanks again to Hunt’s Photo and Video and the folks at Olympus for making this test possible.