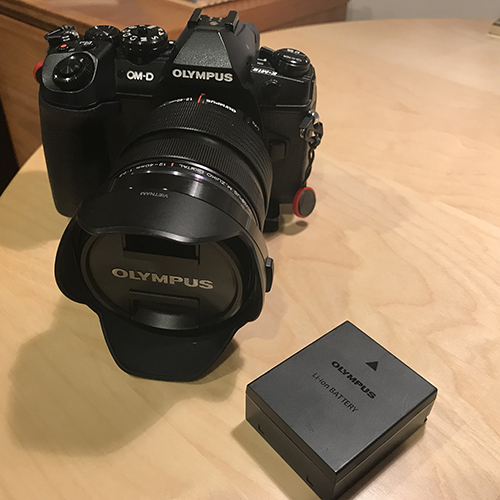
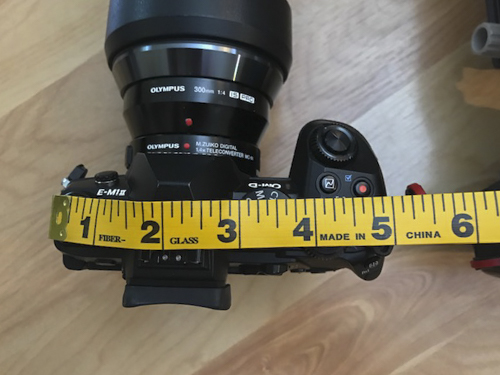
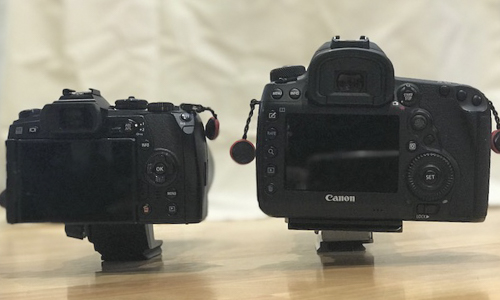
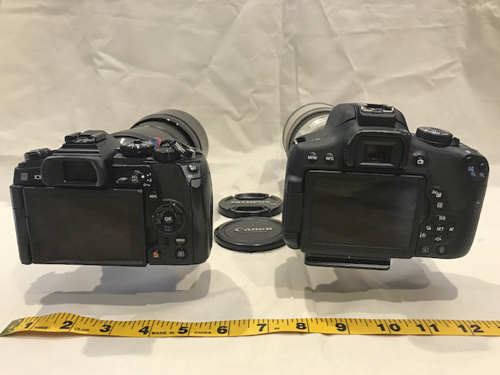
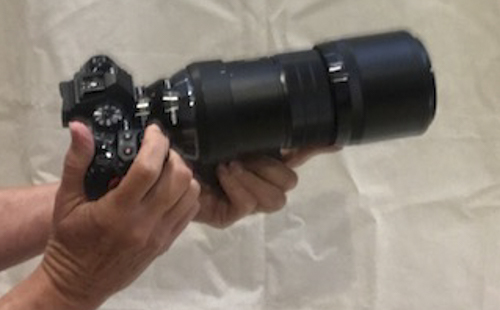
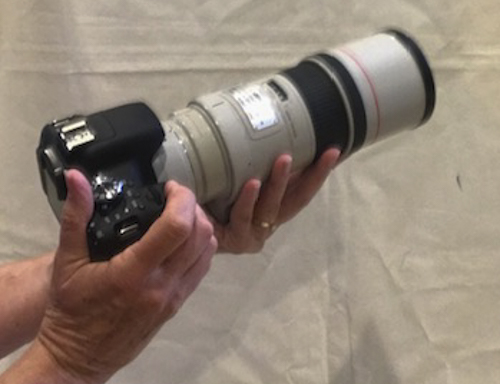
Thanks to the nice folks at Olympus and Hunt’s Photo & Video I got to test the Olympus OM-D E-M1 Mark II and a 300mm lens with a 1.4x extender. My regular camera is a Canon 1DX with the Canon 300mm f/4 and a 1.4x extender.
So what would happen if I shot the cameras side-by-side?
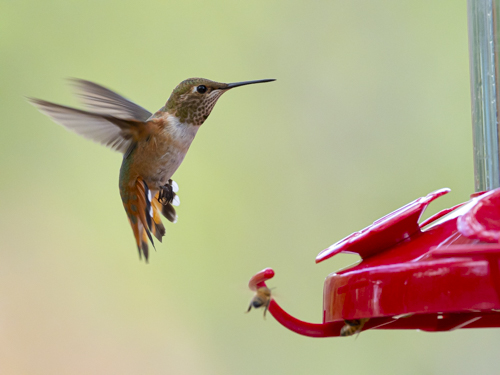
I went to my friend Lee Hoy‘s house in Ft. Davis Texas. Lee had some hummingbird feeders that were pretty active thanks to fall migration. Hummingbirds were buzzing the feeders like crazy.
My test was to set both cameras on the most fancy fast focusing settings. Lee knows Olympus so he double-checked all my setting on that camera. I know Canon so had everything set on that camera.
Both cameras were set to f/7.1, aperture priority, at ISO 500, continuous auto-focus, and rapid release.
I picked-up one camera and fired. Then I put it down and picked-up the next camera. This went on for a little over an hour. Canon then Olympus then Canon then Olympus until I was exhausted.
In the end, I took 267 photos with the Olympus and 159 with the Canon. The Olympus has a higher frames-per-second rate so there will be more photos to edit. More opportunities to capture the precise moment of action, too. That’s the plan anyway.
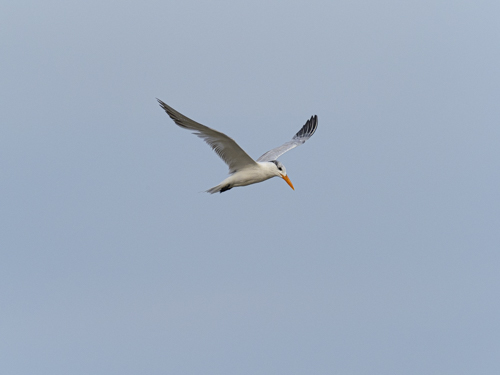
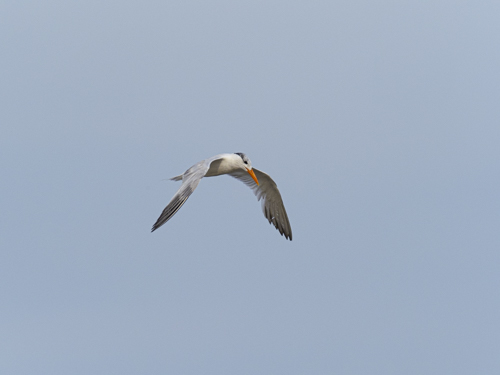
Both cameras held and maintained focus on the hummingbirds. I was pleased to see that the Olympus kept-up with the Canon. Both cameras also failed to focus on a hummingbird about the same rate usually thanks to operator error.

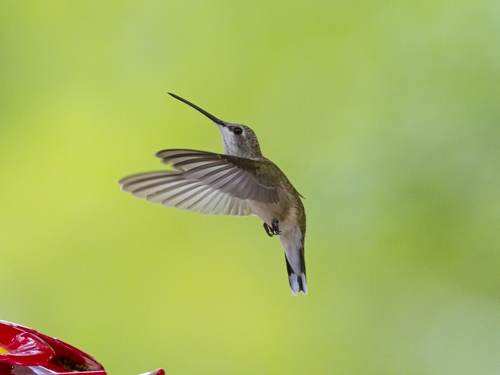
Black-chinned hummingbird with Olympus 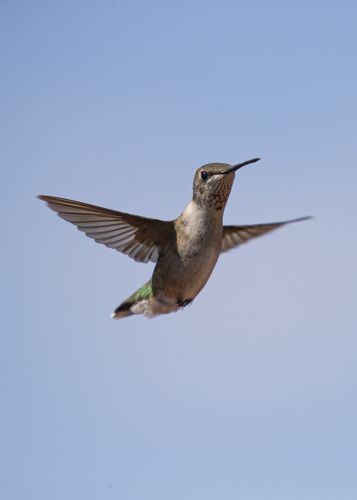
Black-chinned hummingbird with Canon
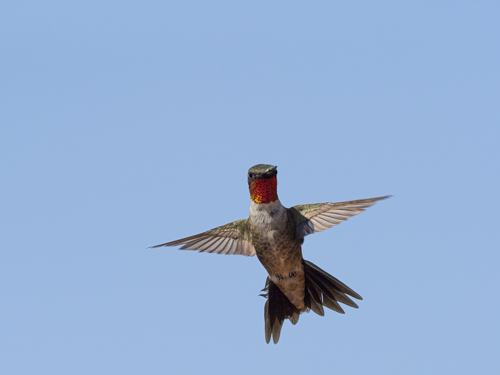
Ruby-throated hummingbird with Olympus 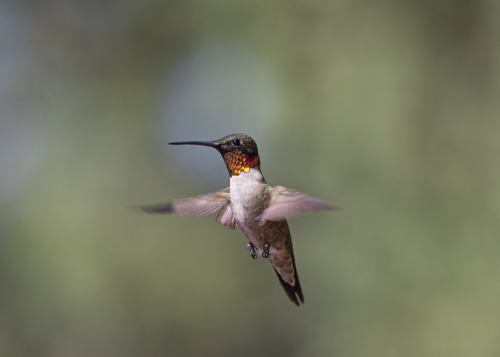
Ruby-throated hummingbird with Canon
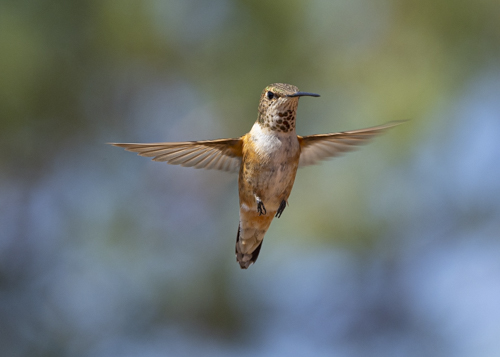
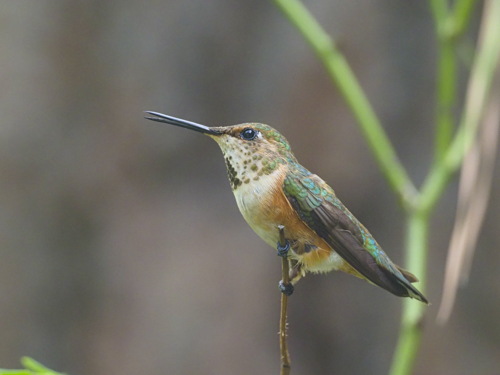
Rufous hummingbird with Olympus 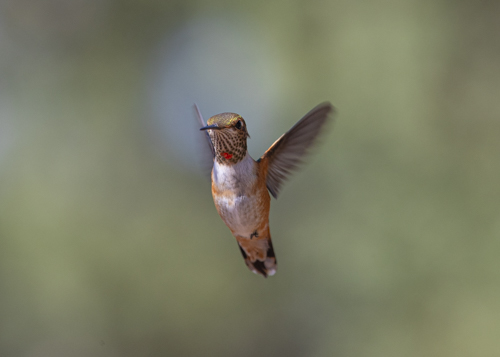
Rufous hummingbird with Canon
Winner? Not one over the other. They Olympus OM-D E-M1 Mark II held in there against the Canon 1D X Mark II. That should be good news for any bird photographers looking to buy the Olympus system.