Below is a recap of the Strabo Photo Tour Collection trip to Greenland in September 2025. We’ll do this trip again in September 2027 if you’re interested in joining us.
We flew round trip out of Newark. Some flew to Iceland first and then to Greenland.
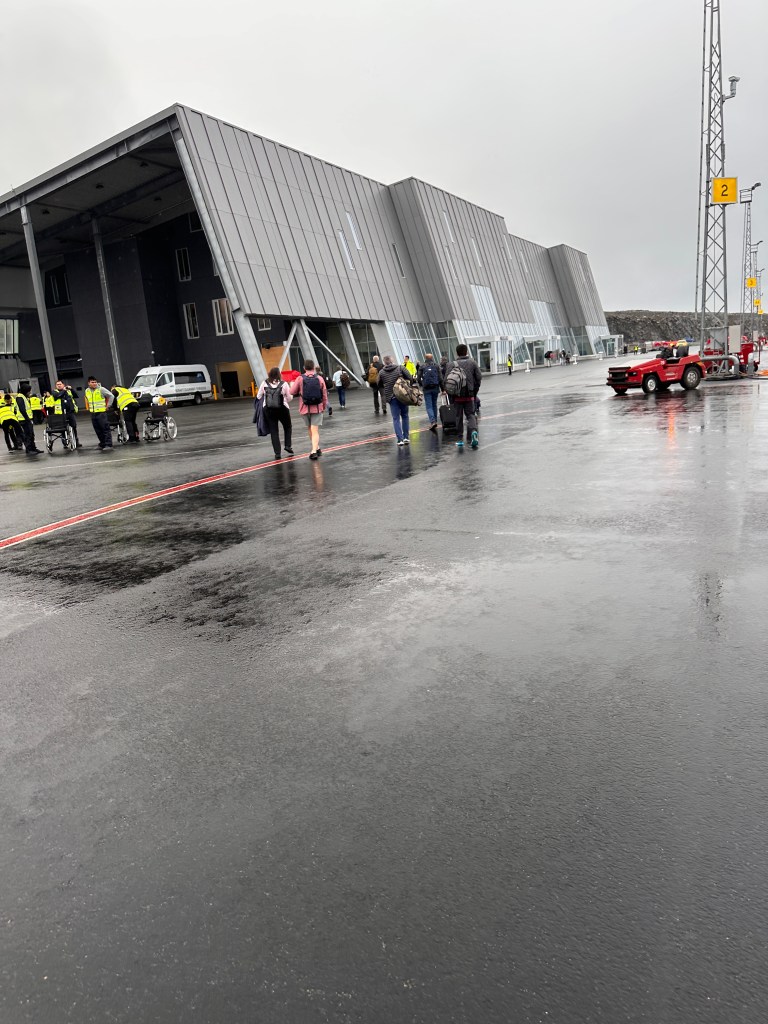
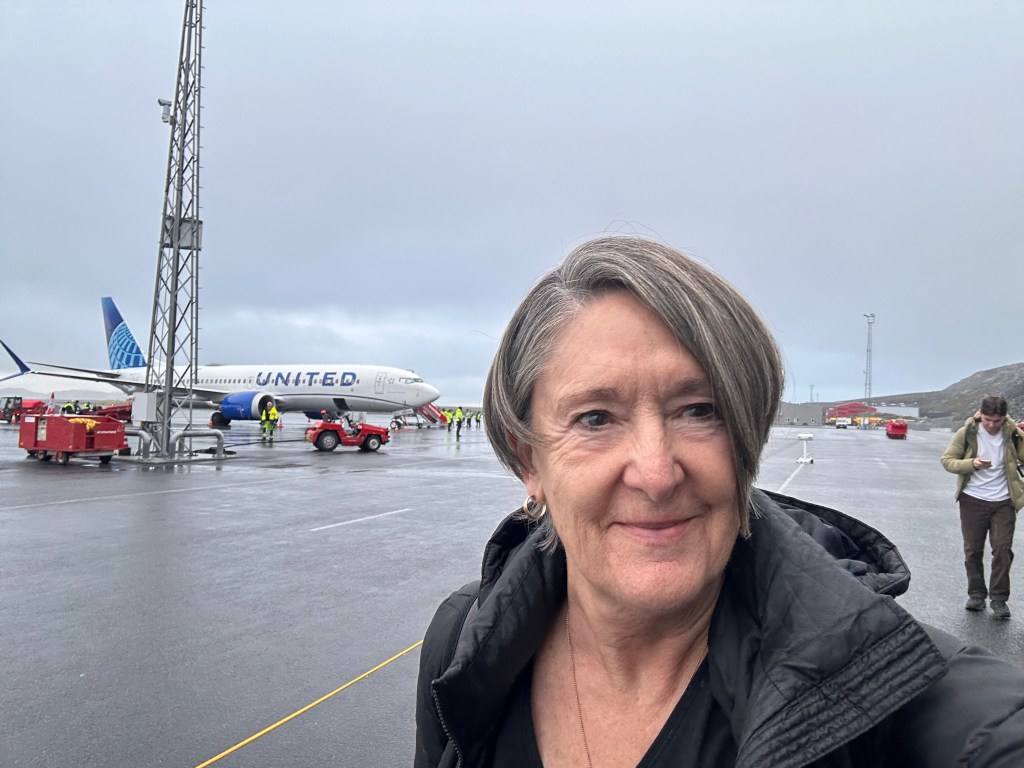
Arrival in Nuuk at 6:45pm. Travel time was 4 hours and 15 minutes. Meal on the plane but that was lunch. Pack your puffy jacket where you can get to it. There’s a walk across the tarmac and it is cold.
Terminal is a gray, modern facility built against the rocks. Efficient and easy to get around. (Click one of the photos below for a slide show. The images will show full-frame.)


Arrived at Hotel Egede. Modern and efficient. My room had two single beds, desk, and couch. Nice amount of room. No fridges in the rooms. Coffee makers, though.
Our first day in Nuuk, we walked to the Nuuk Cathedral and Hans Egede statue. Church was closed but we stayed there for an hour. I explored the graveyard behind the church. Climb to the statue was easy but could be difficult. The terrain is large round rocks with a bit of moss and dirt between. A cruise ship was in port so we had 20 or 30 people around us doing the climb and exploring. (Click one of the photos below for a slide show. The images will show full-frame.)

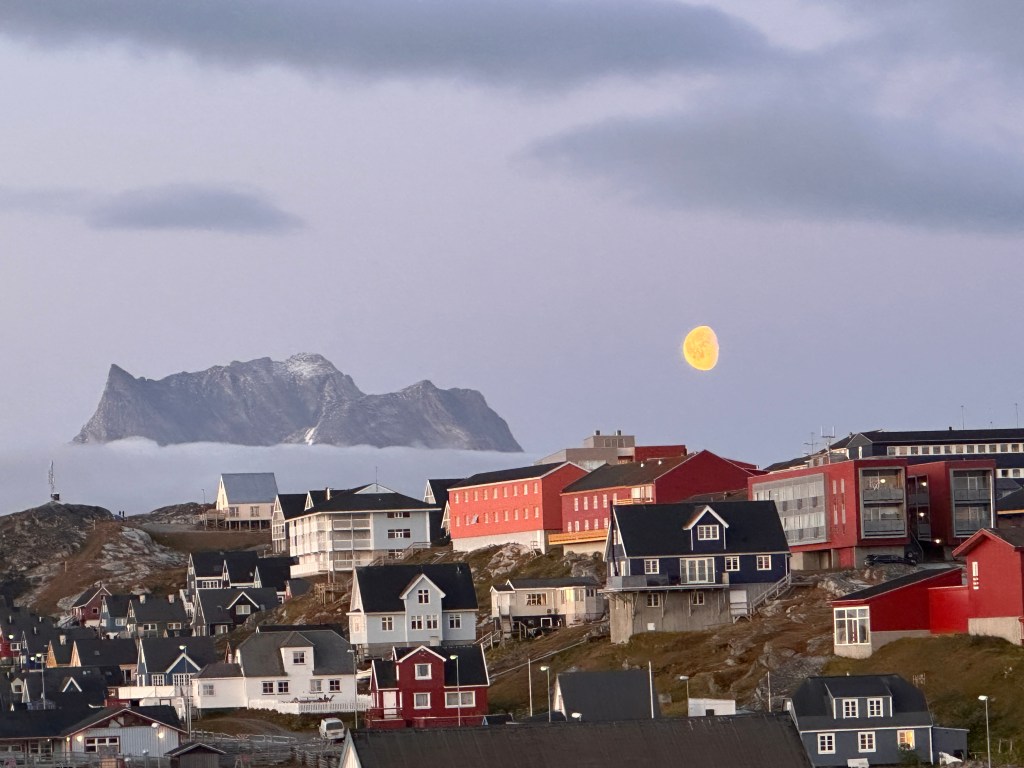
We walked toward the shoreline and up a street to Myggadalen or the Pano Viewpoint. Ocean to the left and colorful houses to the right. Cold, slippery, and rainy.
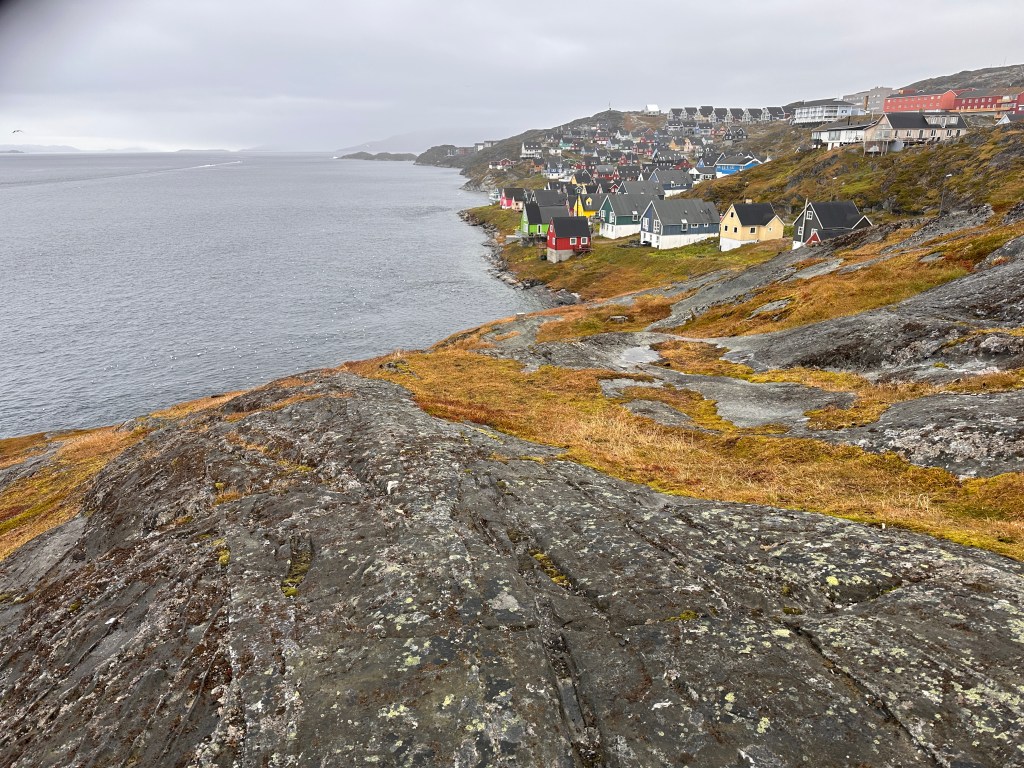
Backtracked to the Old Colonial Harbor and the “Lady of the Sea” statue along the shoreline. The tide was in so we didn’t see much of the statue. The group agreed to return at low tide so we could photograph the statue.
We wandered, photographed and then stopped for coffee and bathroom. Found a little place near the Nuuk Local Museum and the ferry dock where we’d depart the following day. Coffee, pastries, and ice cream were very good.
Continued our walk to the boardwalk that follows the shoreline to the south. The group spread out and enjoyed the photography.
The walk continued around the old, industrial housing blocks. Then past a school and back to the road with the Hotel Egede. We decided on Café LoLo for lunch.
Back to the hotel and then the grocery store for lunch on Thursday. Fun to walk the isles and see what they eat. I found flat bread (30K), cheese (30K), and an apple. Turned out to be perfect for me for two days. There are no refrigerators in the hotel rooms, so sandwiches were out. Several went over at 7am the following morning to buy their sandwiches.
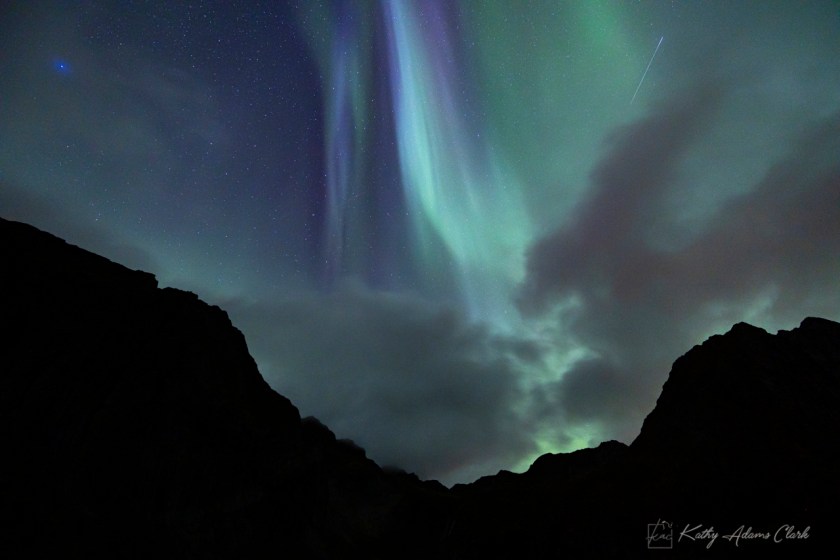
Left the hotel at 9pm for possible northern lights at the church and statue. Stayed out until 11pm when it was just too cold to stand anymore. Very nice half moon coming up at twilight. Walked back to the hotel.
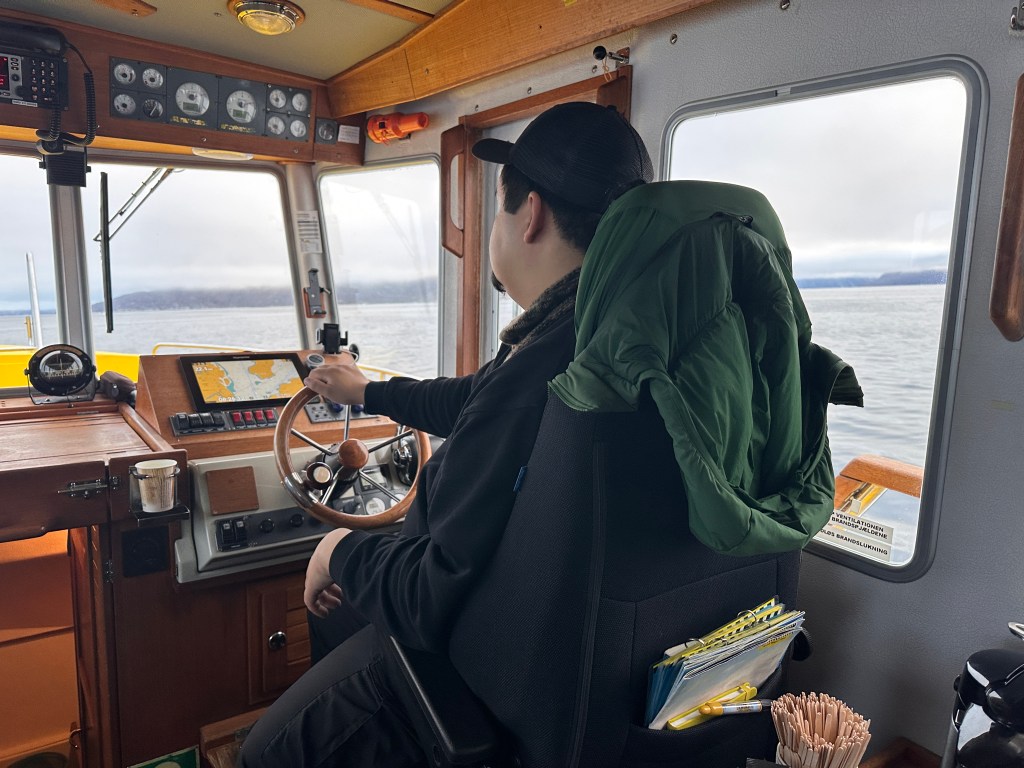
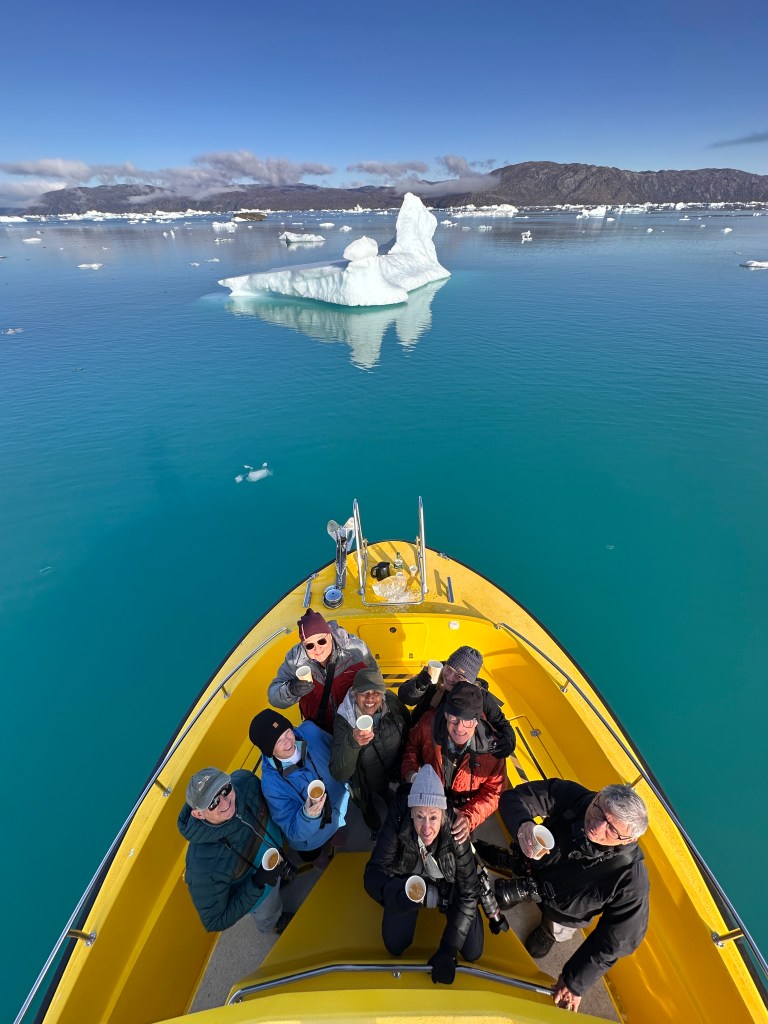
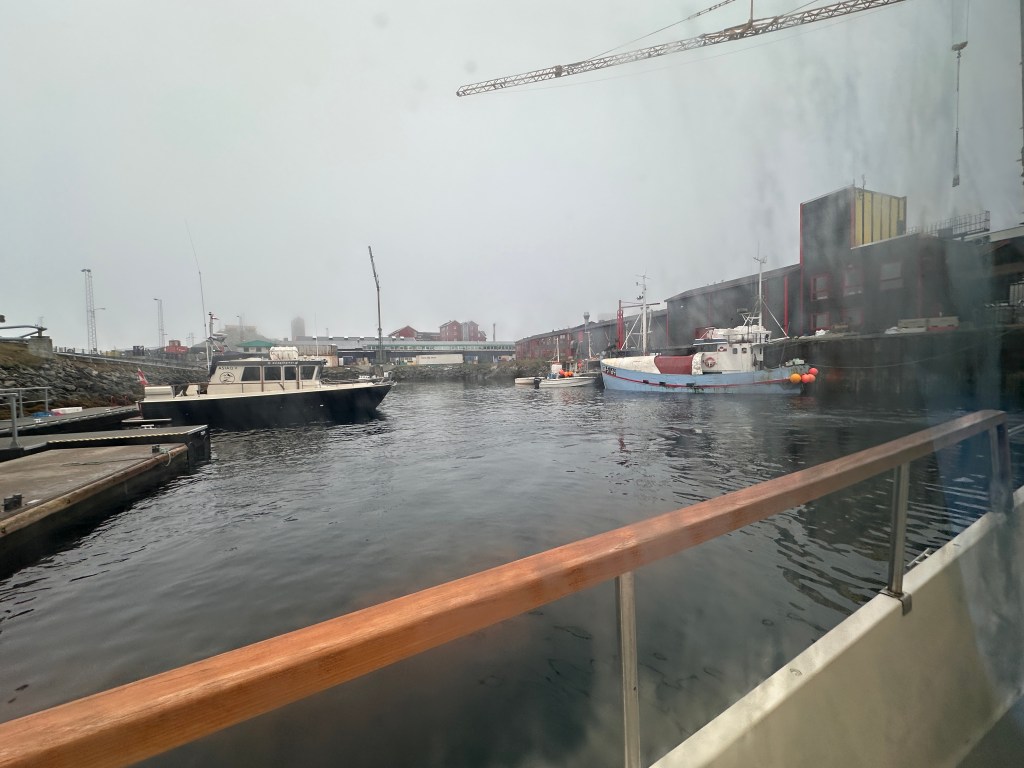
Thursday, Sept 11, we met in the lobby at 8:15am for a private excursion up the fjord to the icebergs. Our captain and Sebastian, our English-speaking guide, were both native Greenlanders.
Both were amazing to be with. Sabastian answered all our questions. He once lived in the abandoned settlement an hour from Nuuk. He was also a photographer so pointed to things that were interesting. (Click one of the photos below for a slide show. The images will show full-frame.)

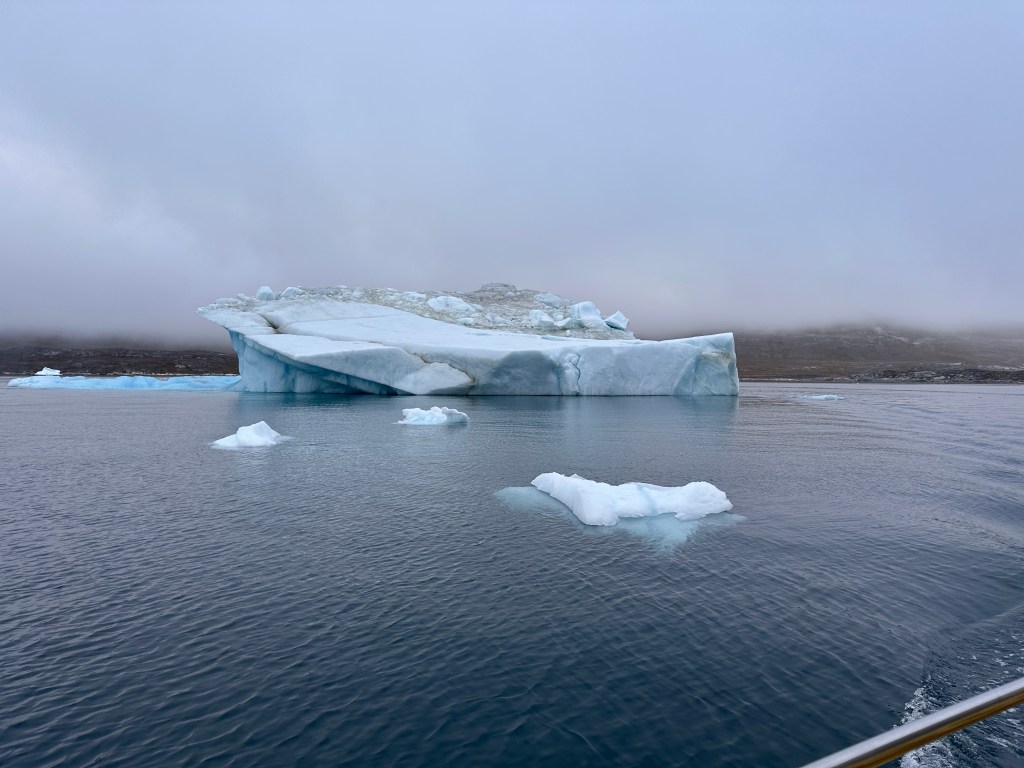

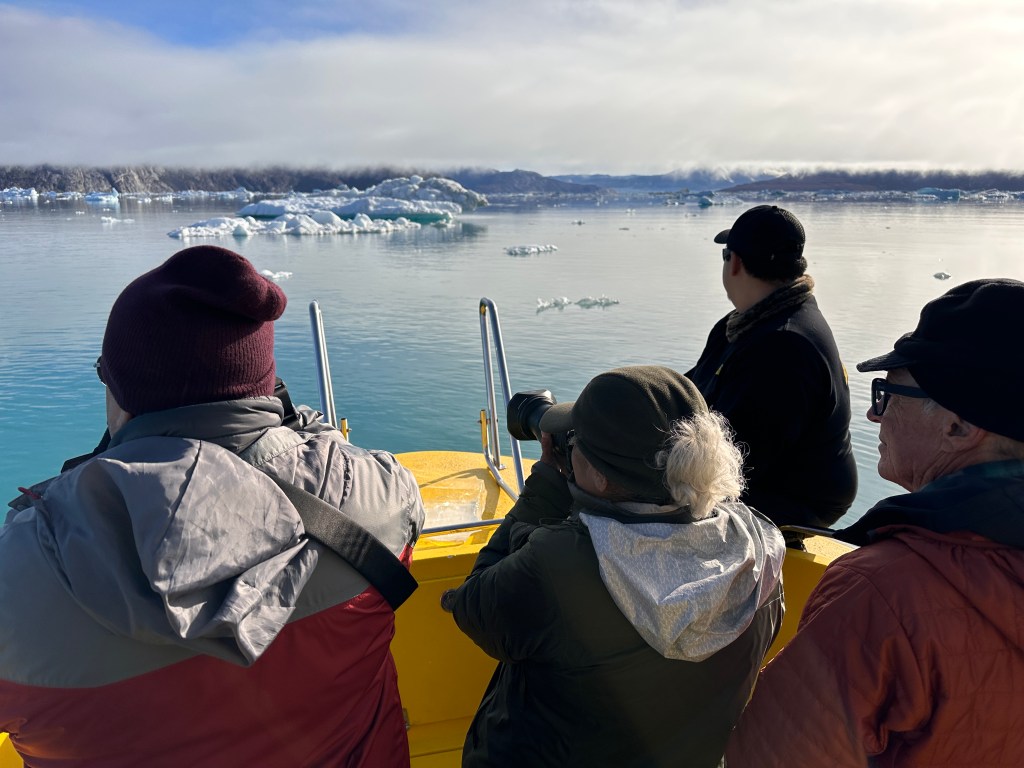
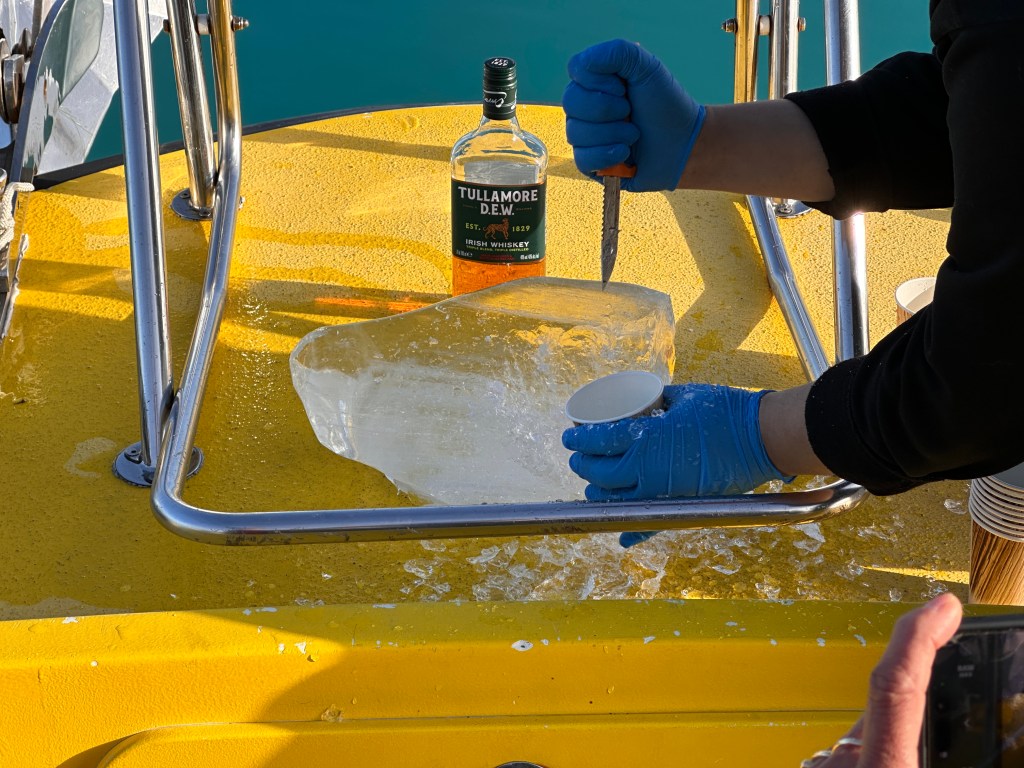
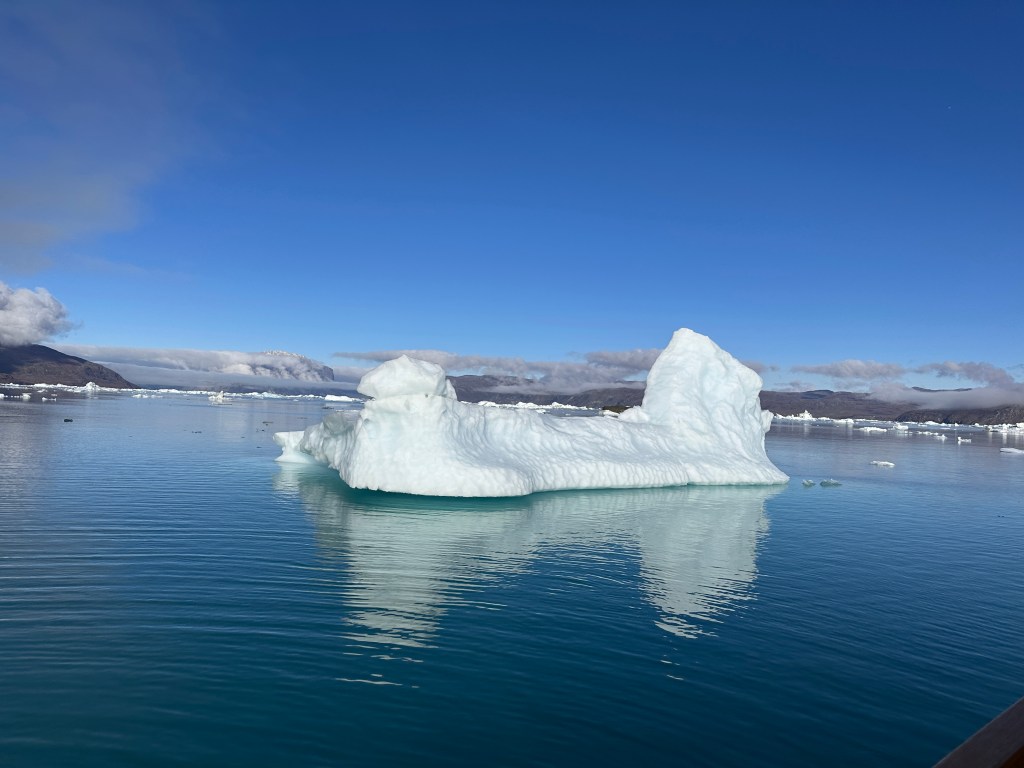
The sun came out when got to the base of the glacier, probably Ilulialik, and the captain killed the engine. That gave us a chance to enjoy the quiet and photograph the icebergs. The captain grabbed a piece of clear ice with his net, rinsed it off, and then let it dry in the sun. Then he chipped it into cups and poured a bit of whisky over the ice. We saluted, celebrated, took photos, and enjoyed the drink. I just ate the ice, which was very hard, since I’m not a fan of whisky.

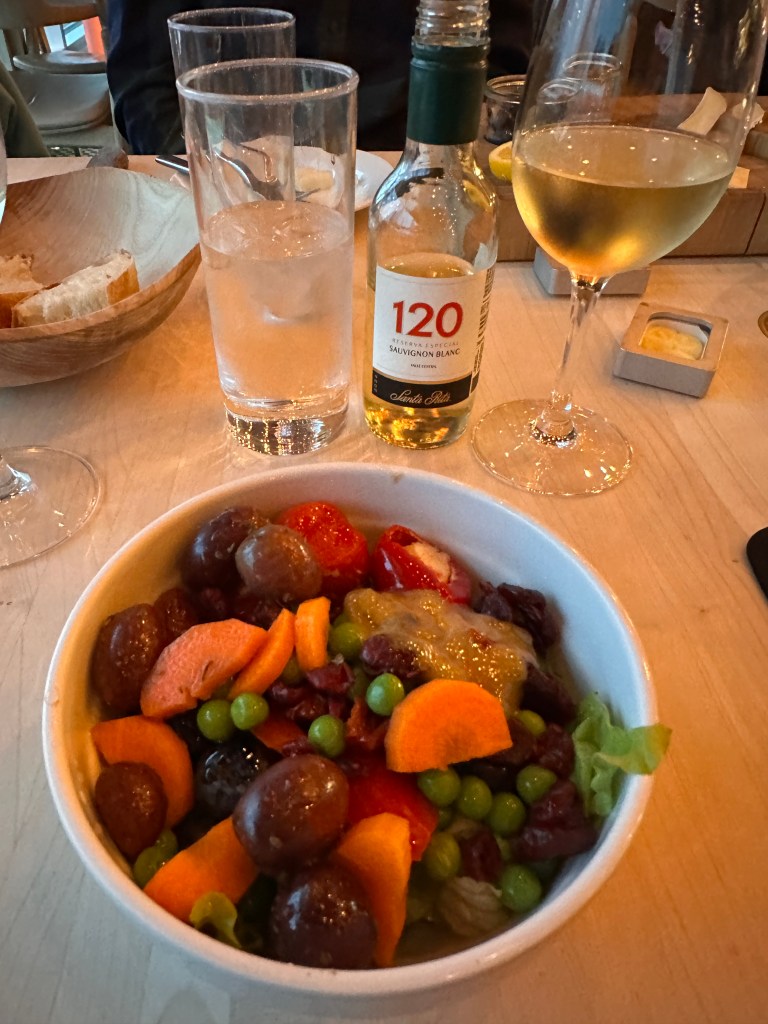
We returned to Nuuk and arrived around 2pm. Dinner at one of the restaurants in town.
Walk after dark to maybe see the northern lights over town.
Friday, Sept 12th was our journey to glamping at Kangiussaq. Overnight luggage was stored below. Boat was full so no room for camera bags in the passenger compartment.
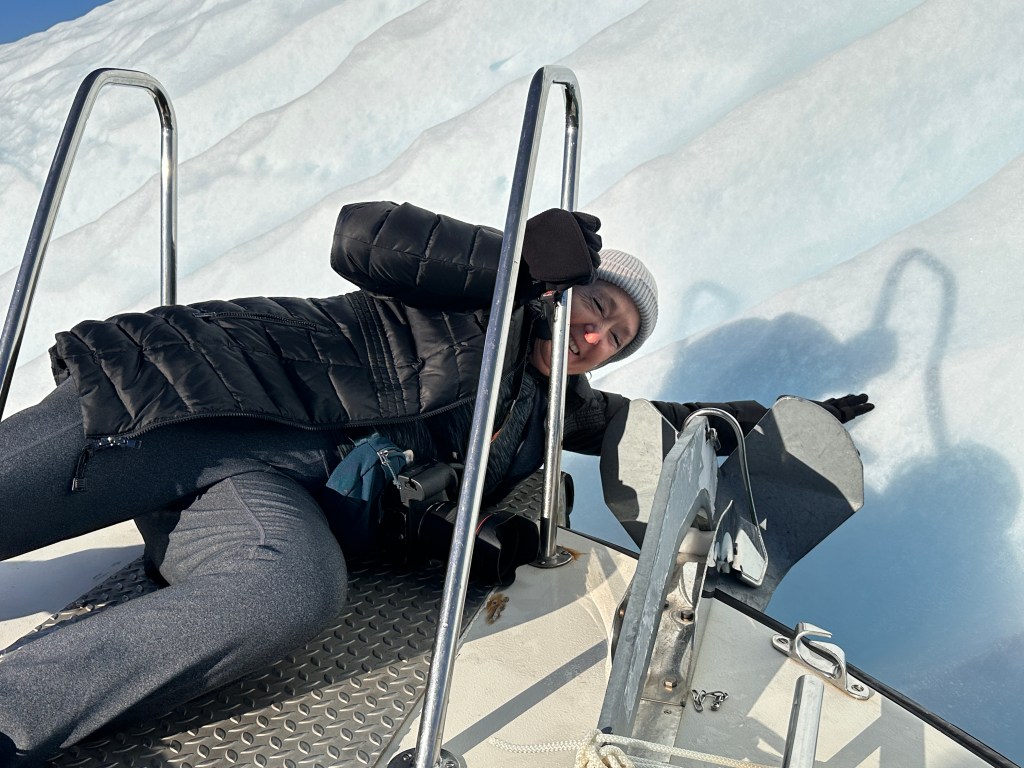
Arrived at the glamping site at 12pm. The boat captain circled an iceberg so we could all touch it. We took pictures of each other with our hand on the iceberg. ATV came down for luggage. Some hiked directly over the hills to the dining tent. It was steep. Others walked the road that the ATV used.
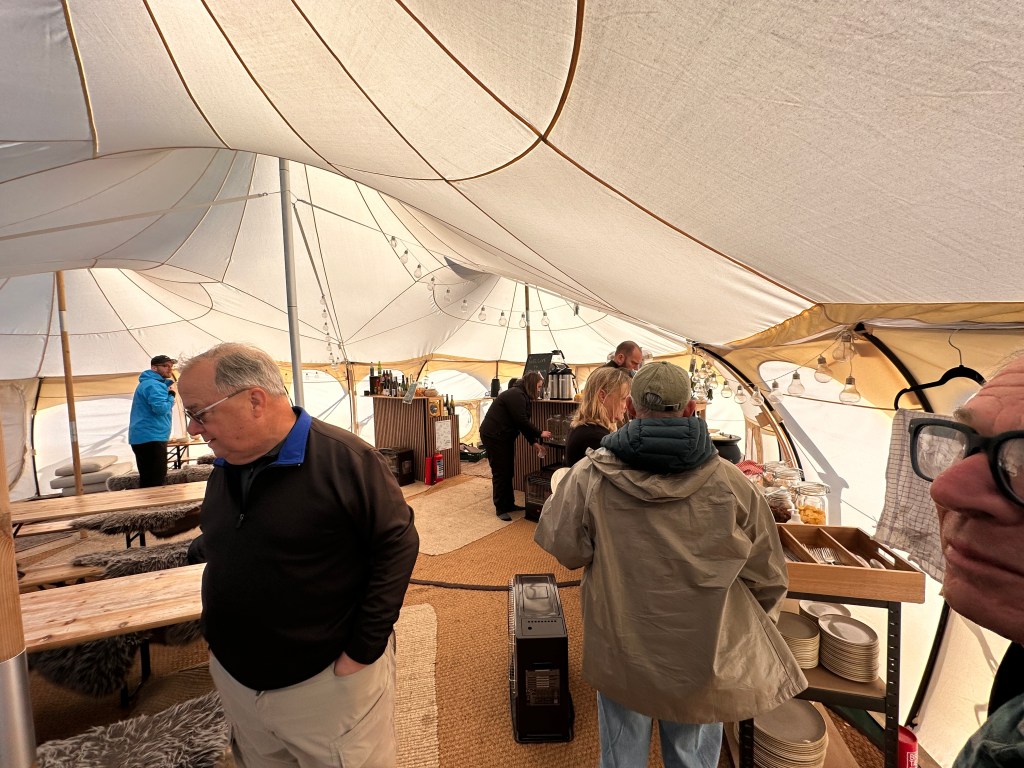
We gathered in the dining tent for a lunch of cheese and cold cut sandwiches. After settling in, some went hiking with a guide to see a lake on top of the mountains.
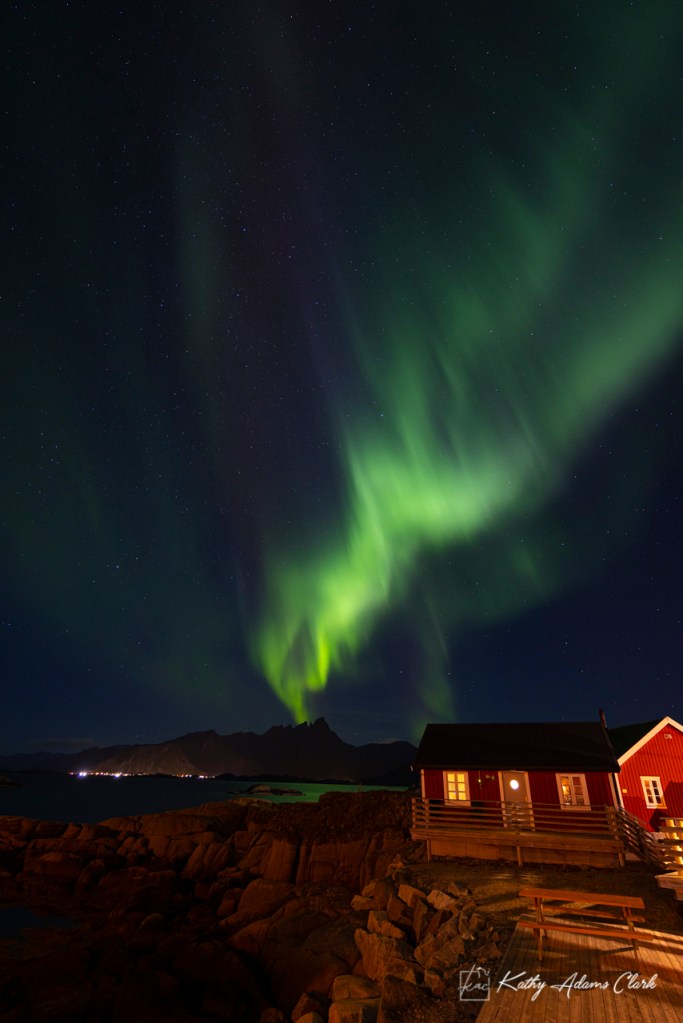
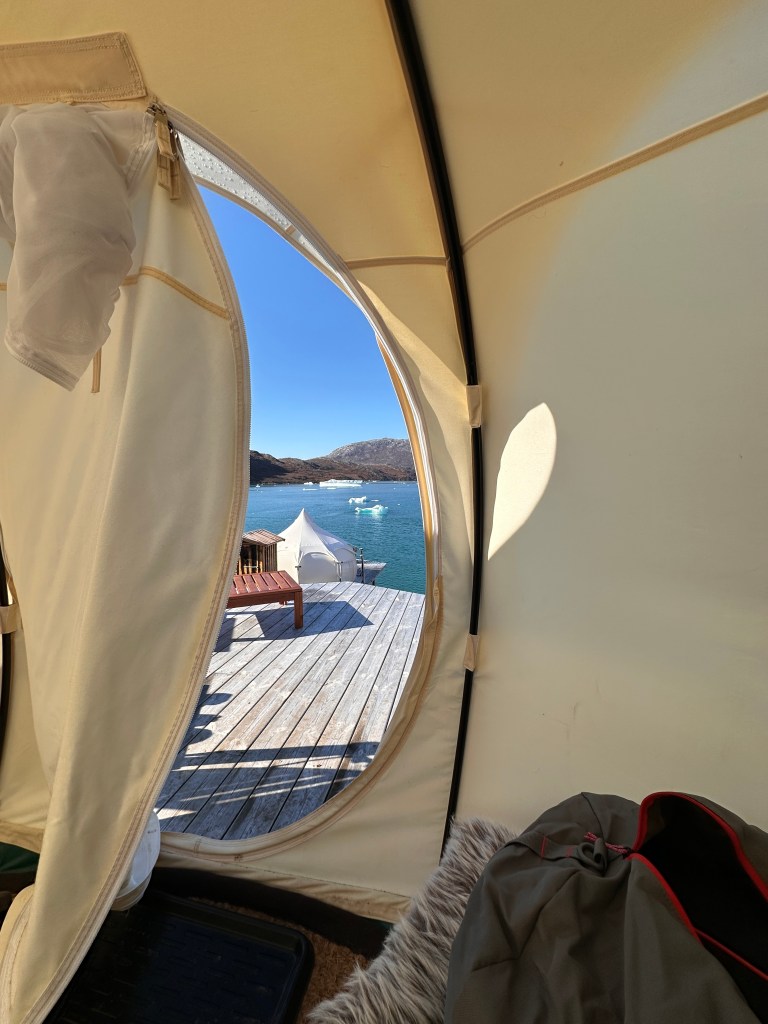
Sleeping Tents have a kerosene heater that’s turned on at night. Twin beds on very comfortable mattresses. Each had a fluffy down comforter and pillow. There were a couple of pieces of furniture around the tent such as a shelf and small stool for dressing. (Click one of the photos below for a slide show. The images will show full-frame.)


Dinner of muskox stew over pasta and tomato sauce over pasta for the vegetarians.
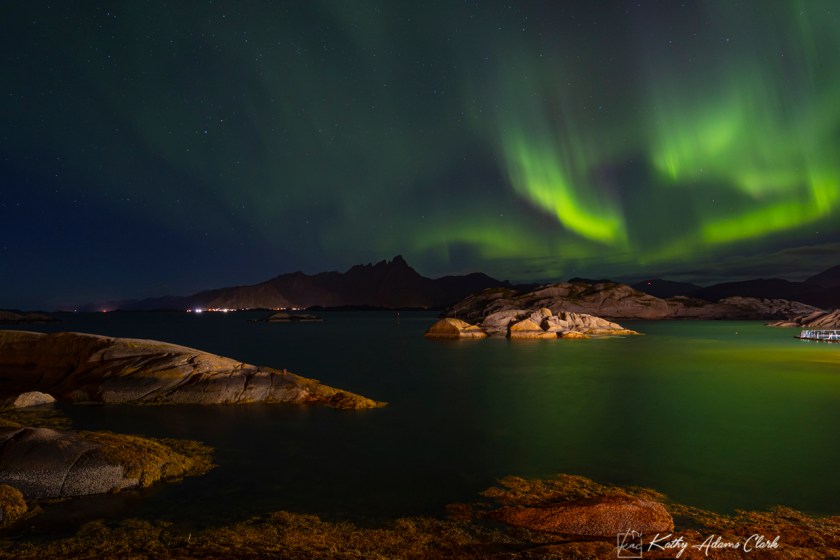
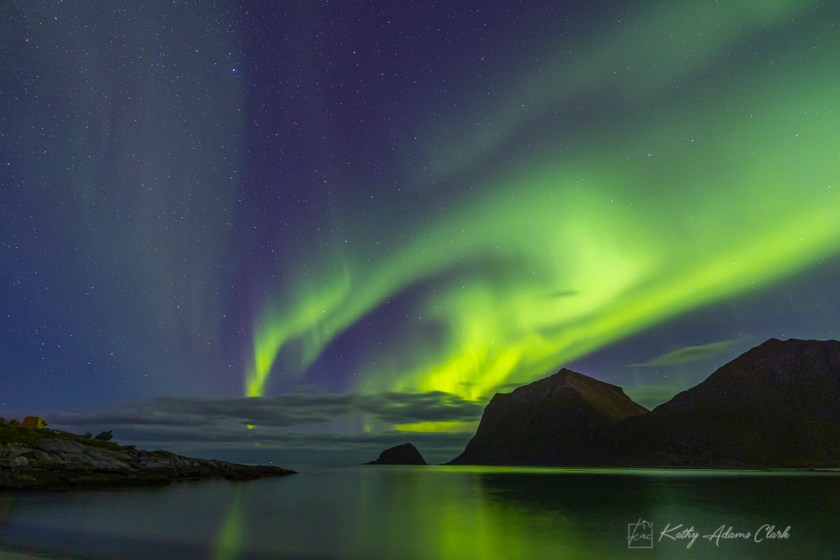
We were so lucky. It was clear when we arrived and the forecast was for a clear night. After dinner, we reviewed the instructions for the camera settings. Everyone got their tripods ready and attached to their cameras. We then divided the night so each person would set their alarm clock for a specific time.
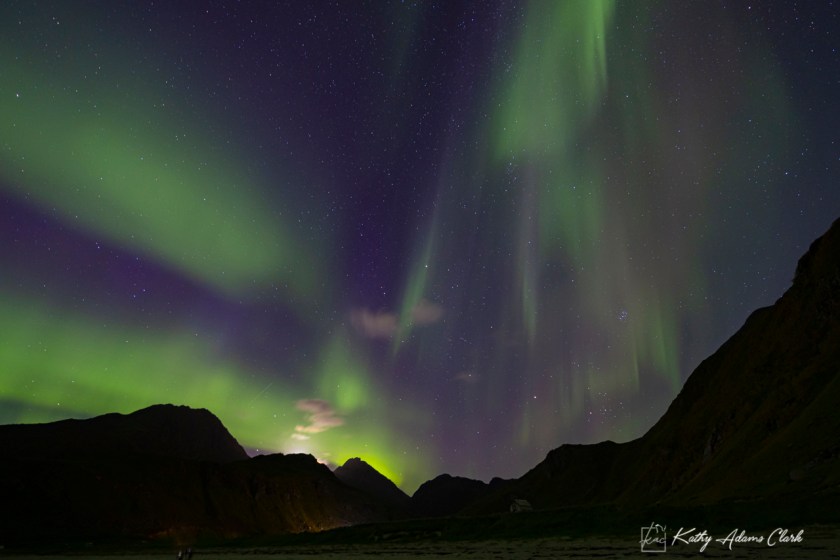
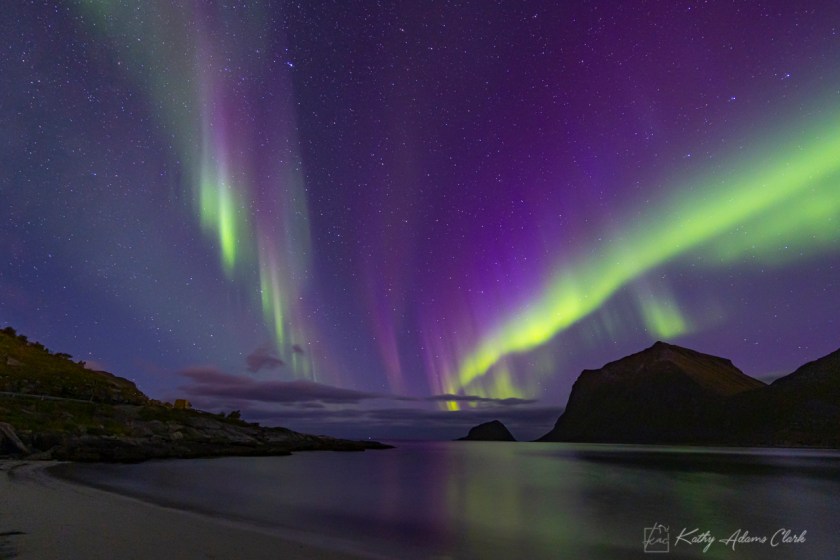
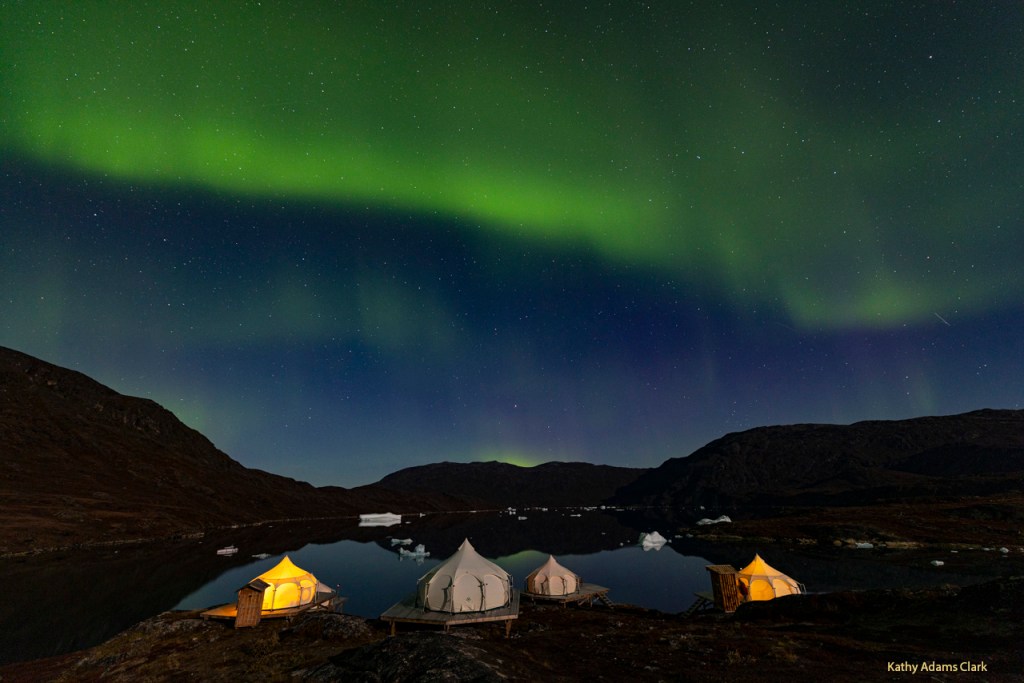
I got the 11:00pm time slot. The camp staff said the northern lights would be around 2am. When I looked out my tent at 11:00, there was a streak of light right across the sky. The white cloud effect and not the green light. I knew what it was so started hollering at the group. Everyone cooperated with an “I’m awake” so I knew we were all awake and ready to photograph.
I walked from tent to tent to get some kinks worked out. Folks were nervous and cold so brains weren’t clicking on all cylinders.
We all got great shots but the couple in the back tent got the greatest shot! All the tents in the foreground with not distortion in the tents. (Click one of the photos below for a slide show. The images will show full-frame.)


Morning of Septembrer 13 was so cold. There was frost on the ground everywhere. Getting washed up in from of the heater was miserable. It was cold.
Breakfast in the dining tent. There was cheese and cold cuts on bread. One bread was made with left over rice. It was a sort of spoon bread with great flavor. We made lunch from the breakfast spread.
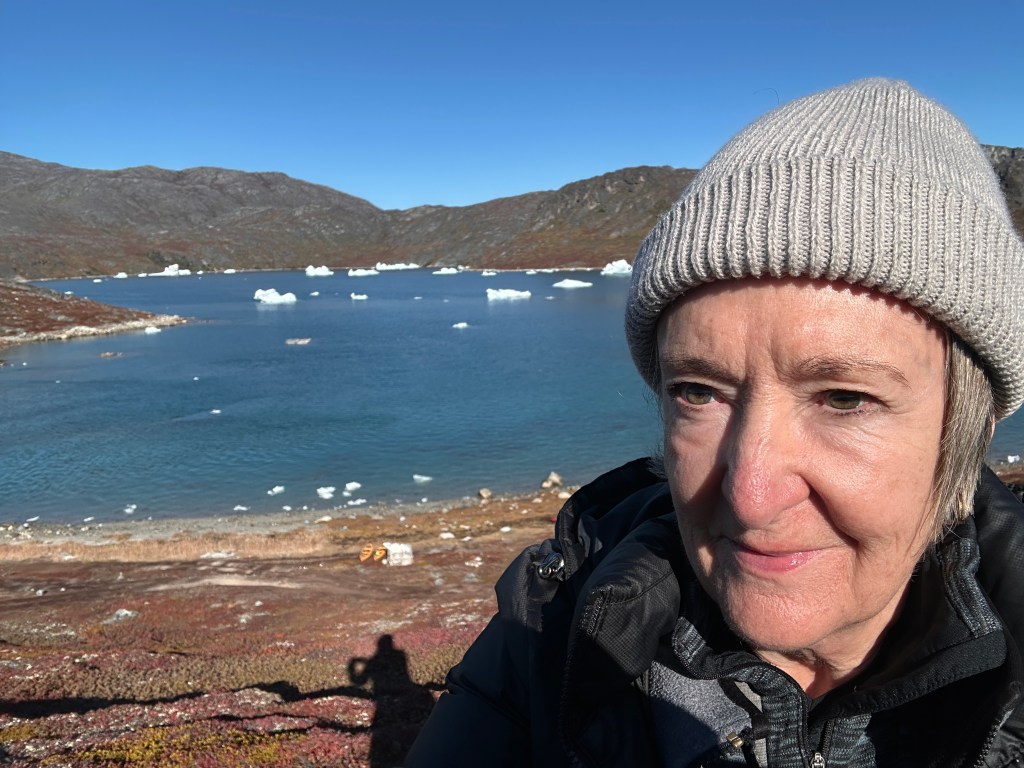
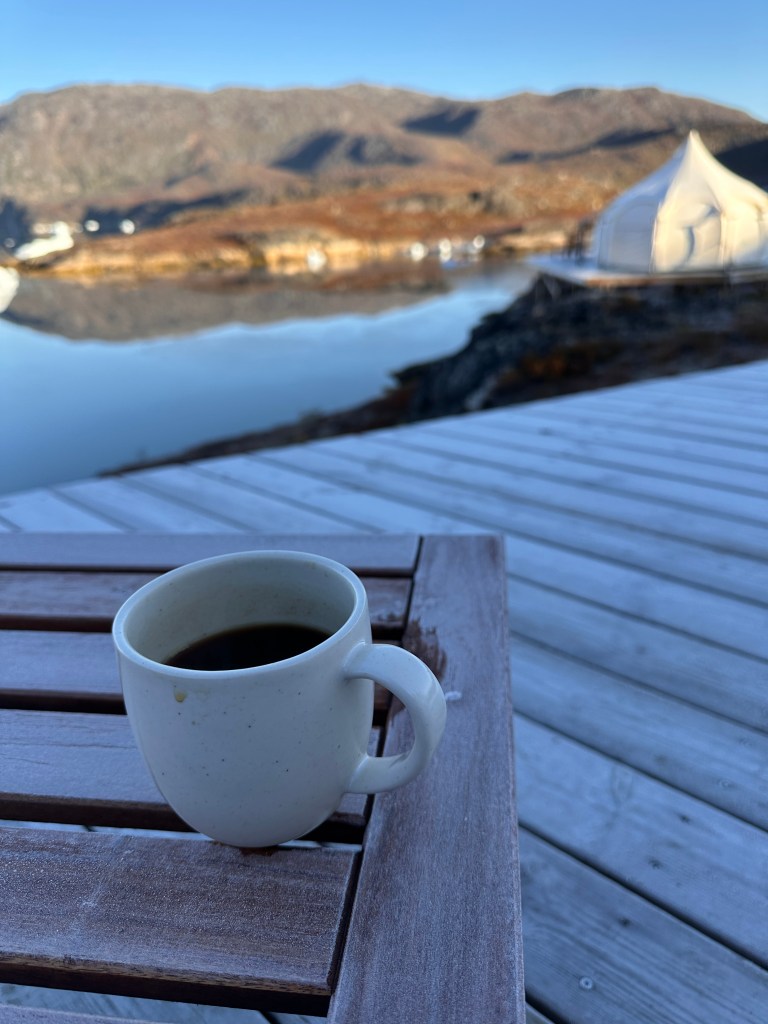
Everyone was super happy because they got photos of the northern lights. Very upbeat attitude. I did bit of hiking on my own. We photographed the kayakers as they made their way around the island in the center of the inlet. We talked and visited with the staff. Everyone answered our questions.
Out of tents by 10:00am. Waiting for the boat to arrive at 11:30. Departure at 12pm. Back at the Nuuk harbor at 2pm.
Sunday, September 14, we got to the airport and checked in by 7:00am. Vouchers from the hotel for breakfast. Departed right on time for Newark. NOTE FOR THE FUTURE: Leave heavy coat out for the walk across the tarmac.