The days are getting shorter in the northern hemisphere so it’s time to start thinking about photographing Northern Lights or Aurora Borealis.
How to photograph Northern Lights :
- Shutter Priority Mode: Shutter speed about 20” second, ISO Auto. This should give you a wide-open aperture with an ISO in the 800 to 1600 range.
- Alternative with Manual Mode – 20” shutter, wide open aperture in the 1.4, 2.8, or 3.5 range, ISO 800 to 1600 to balance the light meter. NOTE: this will change as the lights dance across the sky so watch the light meter. Only change the ISO to balance the light meter.
- Long Exposure Noise Reduction OFF.
- Camera on tripod.
- Shutter release attached to camera. My preference is the Vello Shutterboss II wired.
- Focus 1/3 of the way into the scene. Turn off Auto Focus. Watch your focus during shooting.
- Set Focus Peaking if you’d like. It works very well in the dark.
- Mirrorless cameras have a focusing scale viewable on the back screen.
- Usually there’s a line that you put in the middle of the infinity symbol.
- Focus 1/3 of the way into the scene. Turn off Auto Focus. Watch your focus during shooting.
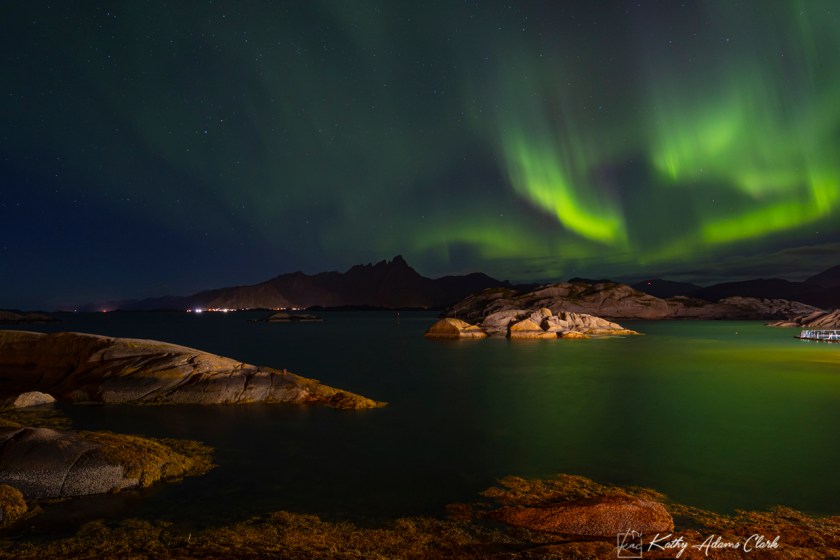
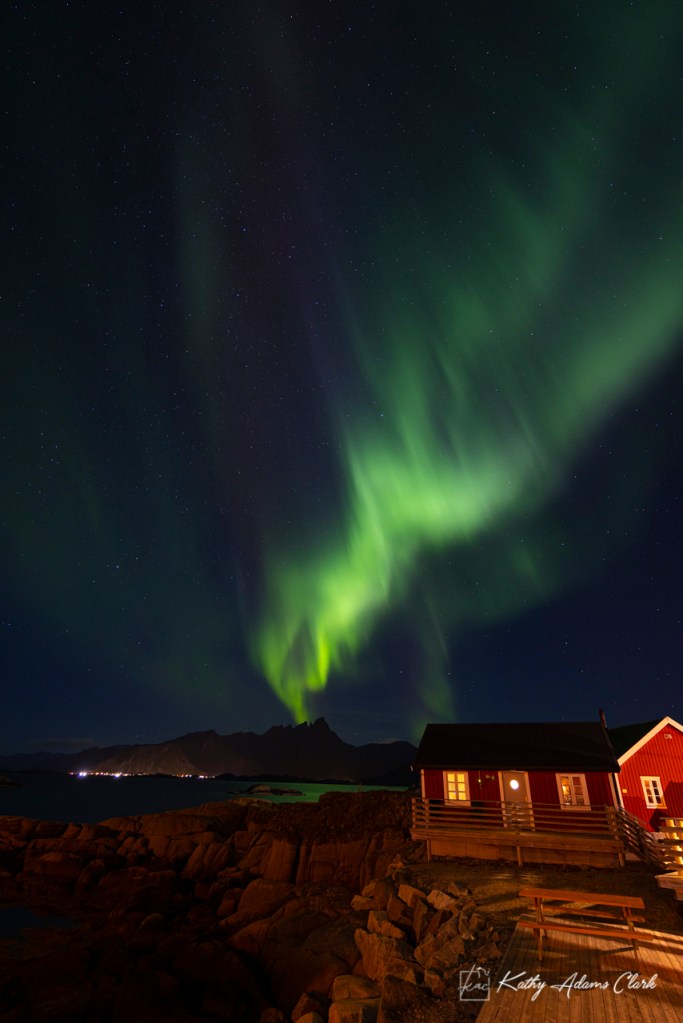
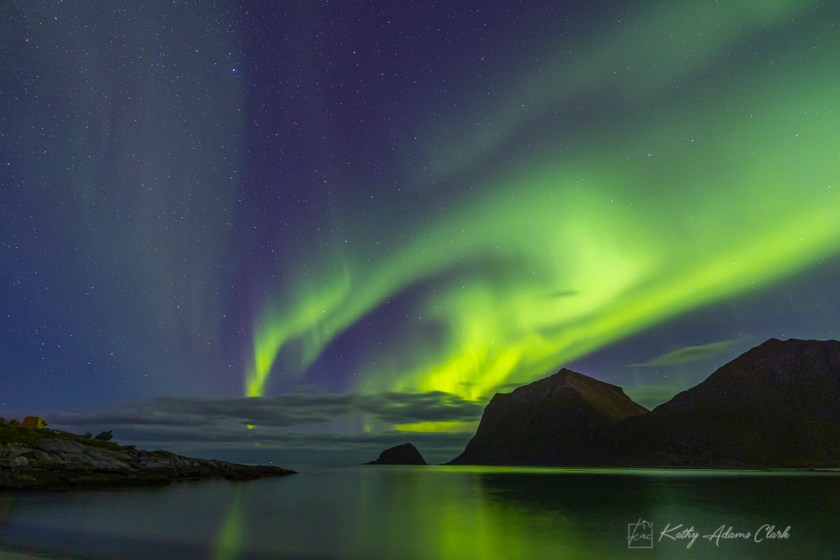
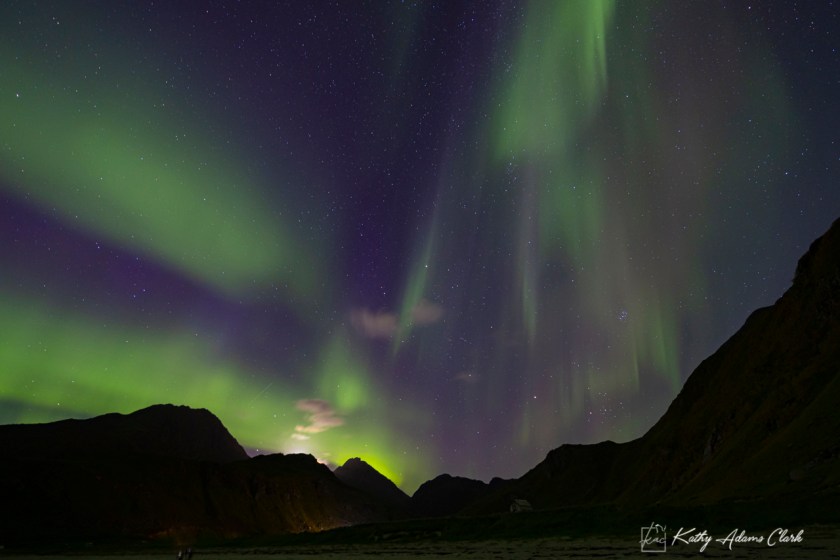
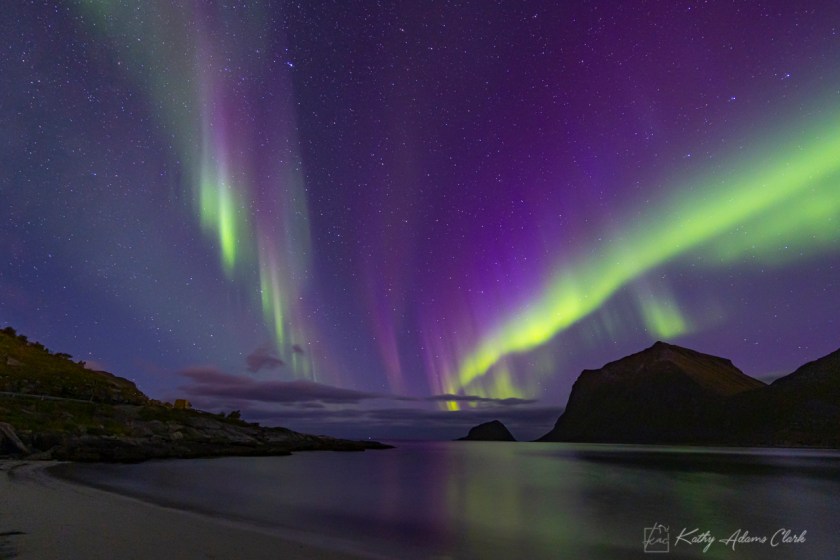
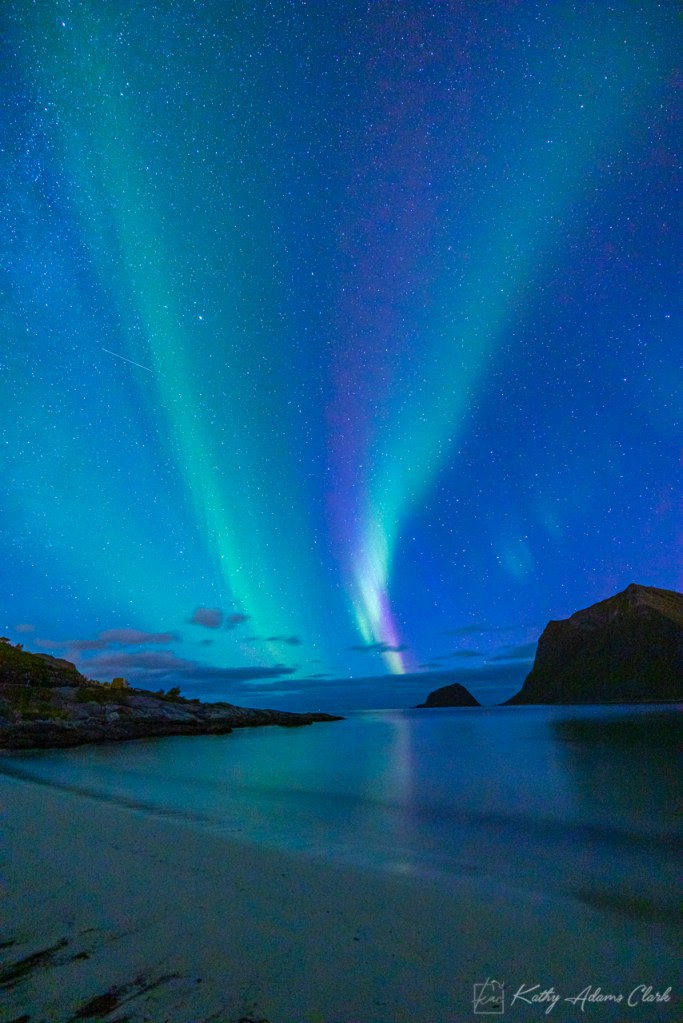
- Compose so there’s an interesting foreground. Reflections in the water are nice.
- Check the first photos to make sure the stars are pinpoints of light. Double-check the edges. We don’t want streaks on the stars. If the stars are not pinpoints of light, make the shutter speed faster. My lens likes 13” seconds.
- When the lights are “dancing” across the sky, a faster shutter speed is needed to get defined streaks of color.
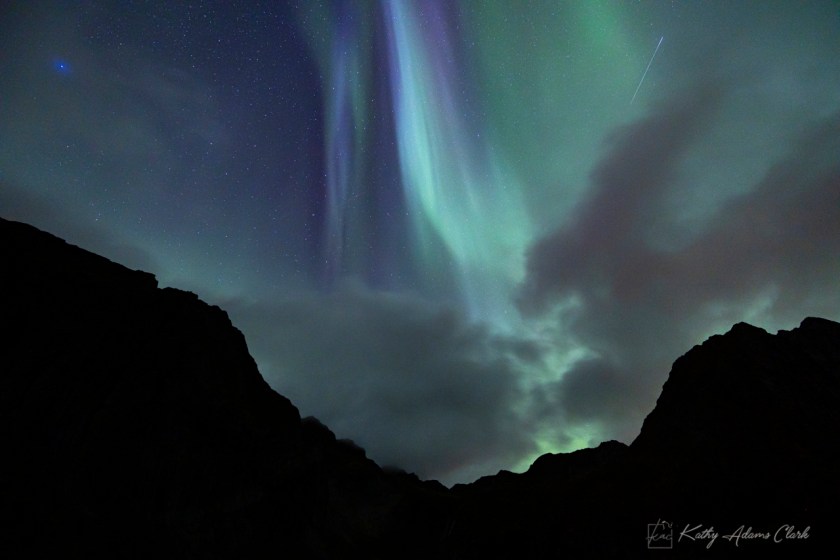
- Green is the only color you’ll see with your naked eye. The reds, blues, and purples look like hazy clouds. We see those colors on the finished photo.