This time between Christmas and New Years Day is a great time to capture some blurry photos of holiday lights.
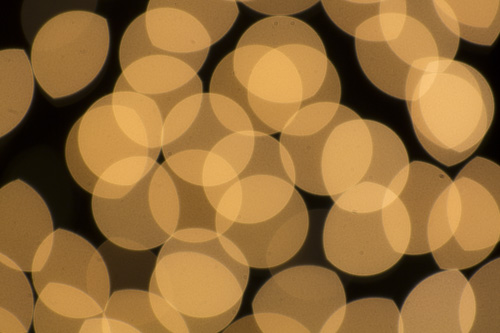
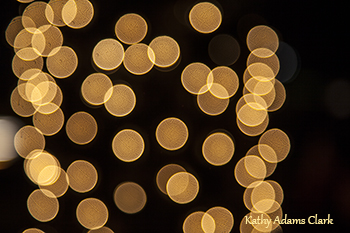
Simple and easy to capture. Turn off your auto focus. Turn the focus ring until everything is blurred. Then start looking for the composition.
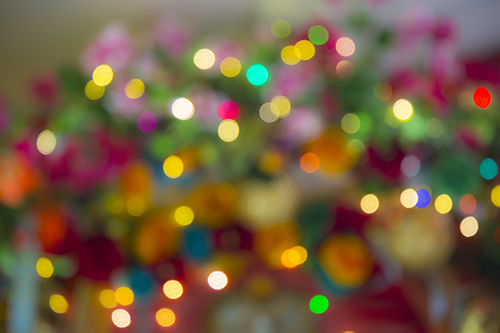
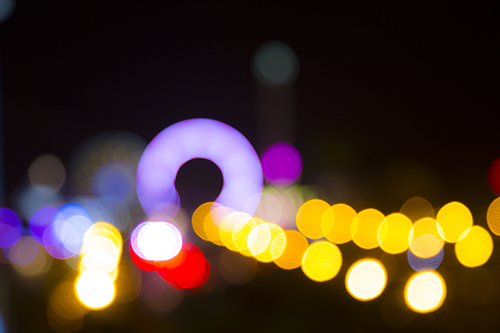
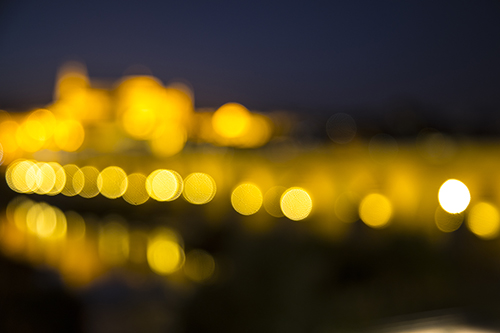
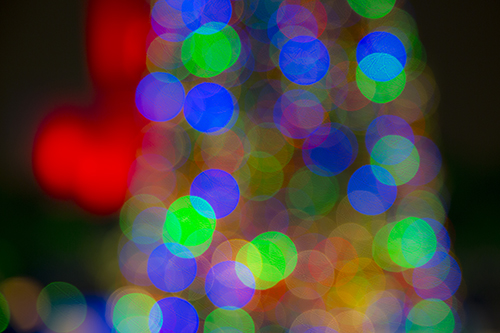
Simple white lights photographed at f/4 with the focus blurred.Same lights as above with f/22 and the lens blurred.Christmas lights in a storeLights dangling from a restaurant ceiling. (click to enlarge)Lights along a street. City of Houston in blur. (click to enlarge)Bridge and cathedral in Cordoba, Spain (click to enlarge)Simple autumn leaves on a tree (click to enlarge)Simple Christmas tree with f/4 and lens blurred. (click to enlarge)
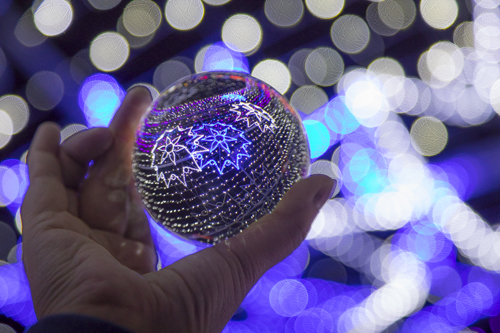
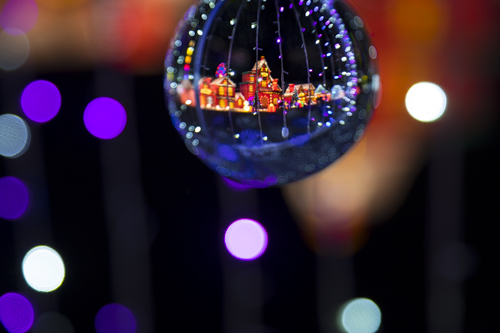
Holiday lights reflected in a 4.2-inch crystal ball. The ball is placed on a tripod. The photo is flipped in Adobe Camera Raw.The same 4.2-inch crystal ball held in a hand. No need to flip the photo.Shallow f/stop, f/4.5, to soften the lights in the background.
F/stop at 4.5
F/stop at 22
F/stop from 4.5 to 22 to change the background.
Where do you get a crystal ball? Amazon, of course.
My friend, Patti Edens, and I spent the evening at Magical Winter Lights in LaMarque, Texas, last week.
The lighted displays were a lot of fun to photograph. As you see from the slideshow below, there were huge and amazing lighted objects to photograph. We had our cameras on a tripod and used an f/22 most of the time.
This slideshow requires JavaScript.
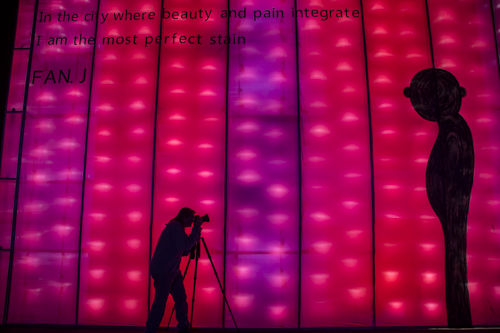
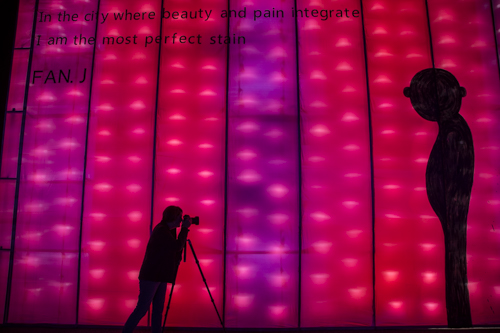
A different display was a lighted cube. It was pink, red, and purple outside but filled with disorienting colors inside.
Outside the cube was a huge silhouette of a potbellied man. The words “In the city where beauty and pain integrate, I am the most perfect stain,” by Fan J.
How funny to see a huge pink cube in the middle of a lighted holiday display. Yet the cube captivated our eyes.
Patti silhouetted against the pink wall.Me against the giant pink wall.
Camera settings were pretty basic. Camera on a tripod, set at Aperture Priority, f/22, and ISO in a moderate range like 400 or 500. For the silhouette photos, we just stood pretty still.
For this GIF, though, we used a fast enough shutter speed to freeze the walking. That meant changing the f/stop to a f/4.5 giving a shutter speed of 1/40th. The shutter speed gave us a bit of blur but not too much.
Fun playing with lights and our cameras.
(Instructions how to make a GIF are in December 6, 2017 blog post on this site.)
A lot of holiday light displays are using lights that simulate motion. I visited the Magical Winter Lights display in LaMarque Texas with my friend Patti Edens. We found lots of fun lights to photograph but also a lot of light that could make GIFs.
If you shoot RAW, then make JPGs from the images you want to use in your GIF.
Here’s how to do it:
Open Photoshop and click on Files>Scripts>Load Files Into Stack….
Select Browse and select the photos for your GIF. Then click OK. Photoshop will open the images in a series of layers.
Click on Window>Timeline. The Timeline window opens along the bottom of your screen.
In the Timeline window, select Create Frame Animation. One photo appears on the left side of the Timeline window.
Click Select>All Layers
Click the little, tiny dropdown menu at the top right of the Timeline window. (It’s really tiny. Look for it in the corner.) Select Create New Layer For Each New Frame.
Click the same menu again and select Make Frames From Layers
Under each frame select how long you want that frame to be visible.
At the bottom of the toolbar, you can select how many times you want to the GIF to loop. The options are once, three times, or forever.
Push the play button to preview the GIF. The play button is a sideways triangle.
When ready, click File>Export>Save for Web (Legecy)
Your save options include dithered GIF. That prevents banding in solid colors.
Then upload your GIF to the web or use in a Powerpoint presentation.
Be sure to load our photos in the right sequence. These photos were loaded backwards.