Frequently people ask me how to move their photos from the SD card to their hard drive. Variations include “how to copy photos from memory stick to computer”, “how to move photos from CF card to hard drive”, etc. The basic idea is taking the photos off the camera’s card and putting them on the computer’s hard drive.
Step 1: Plug your card into the computer using a card reader or the slot in your computer. SUGGESTION: Buy a card reader that plugs into your computer. Different cameras use different cards. A card reader might have five slots for different types of cards. These gadgets are always handy to have.
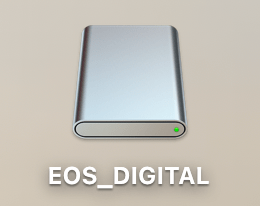
Step 2: Once your card is plugged into your computer you’ll get an icon that looks like this on your desktop.
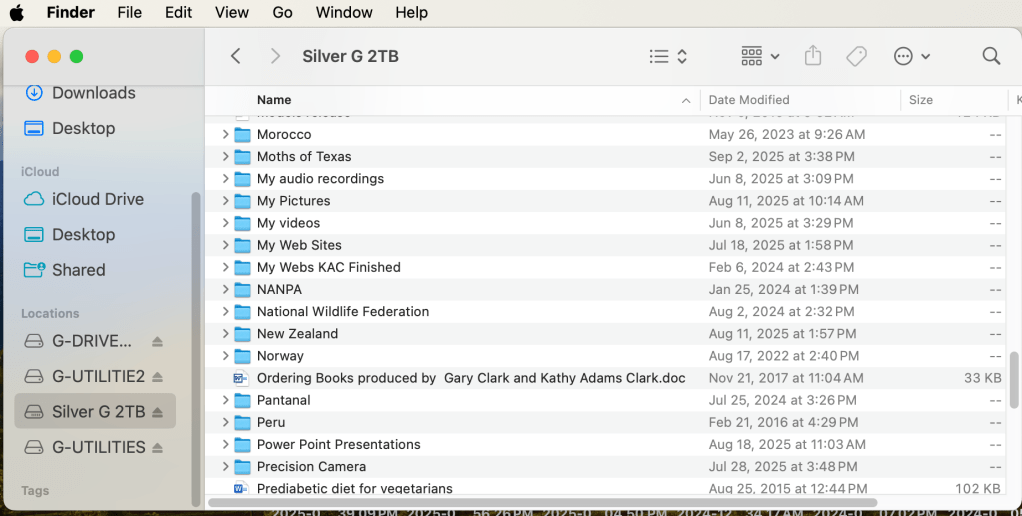
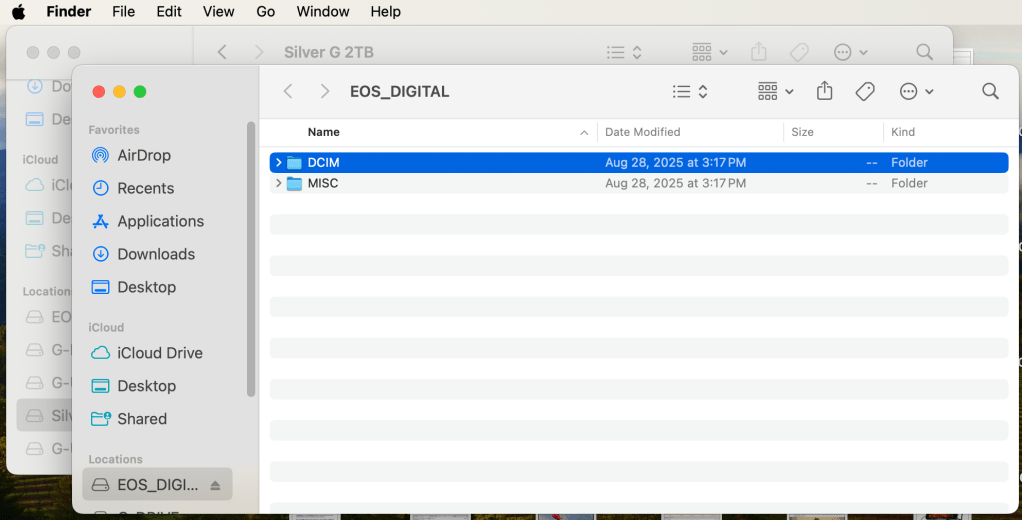
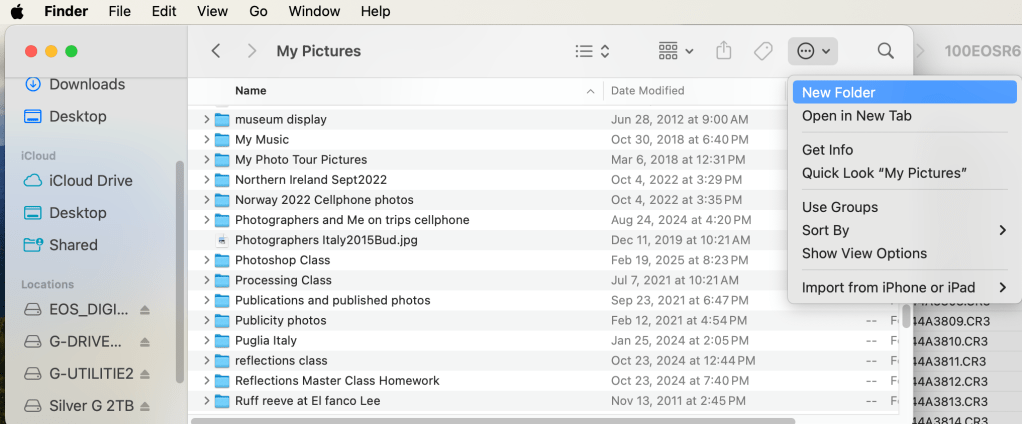
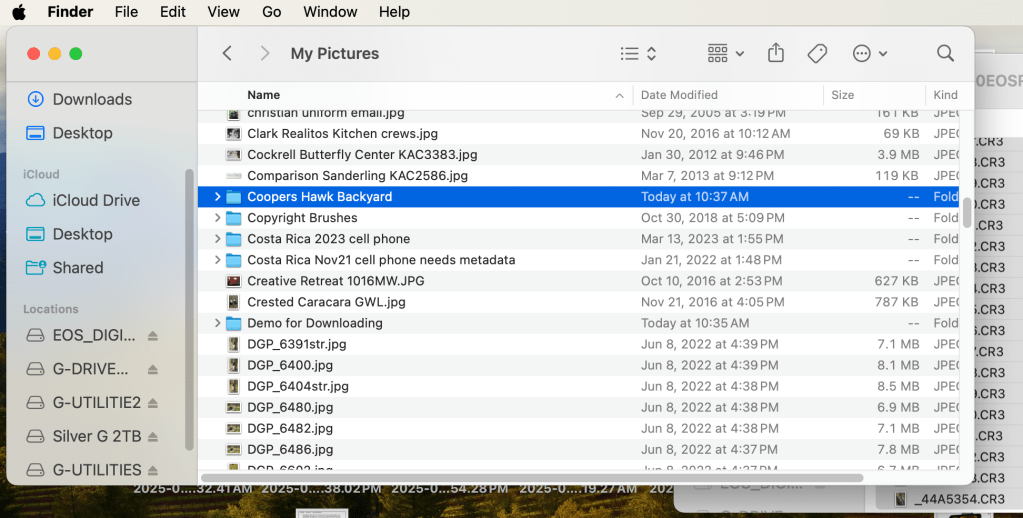
Open a Finder window. Click on the Hard Drive destination for the photos. I have a folder called “My Picture” on my Hard Drive. That’s where I put all my pictures.Open a second Finder window. (Right click on Finder and select “New Finder Window”.) Double click on the EOS_Digital and you’ll see a DCIM folder. Nikon, Sony, Fuji, Olympus will call the card something else but everyone has a DCIM folder. Double click on the DCIM folder to open it. Double click on the folder containing your photos. In the example above, Canon calls the folder 100EOSR6. You’ll see your photos. The example above is in List view. Notice the date I took the photo is under Date Modified. A correct date and time in your camera will give the correct information here. Select the photos you’d like to move or copy. They will be highlighted in blue. (Note shown here)Click on your first Finder window. (Click up by the words My Pictures to do this.) Click the icon show above and select New Folder. We’re going to make a new folder for your photos. Name the folder something that makes sense to you. Use the date, location, subject, etc. Once you’ve made the folder, double click to open it.
Click on the folder you made for the photos. With the folder open, click on the second Finder window. The photos you selected earlier will turn blue. Click and drag the photos into the new folder. If click and drag is hard for you, use copy and paste. Those are found in the Edit menu at the top left.
I hope this helps. Post any questions below. Yes, I know there are other ways to do this. This blog illustrates my method.
Wayne sent me an email asking if his next card should be a SD or a CF. Good question!
Here’s my reply:
I visited the Sandisk site to see what they are currently offering.
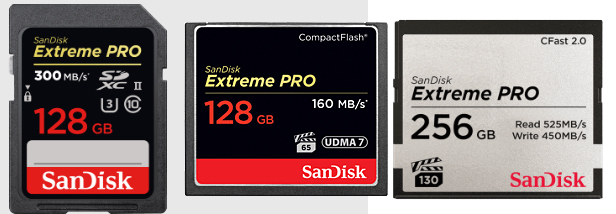
–CF Cards by Sandisk: 256 GB with 160 MB/s. 128 GB with 120 MB/s
–SD cards by Sandisk: 256 GB with 150 MB/s. 128 GB with 300 MB/s (That’s fast!!)
— CFast 2.0 by Sandisk: 512 BG with 450 MB/s (Wow doggie!!)
Background Information — In the beginning of the digital photography age we had Compact Flash cards, Standard Definition cards, and some other cards that have fallen by the wayside.
Compact Flash cards, or CF cards, were for the big, new digital cameras, like the 10D and D100 made by Canon and Nikon. Standard Definition cards, or SD cards, were for the tiny point-and-shoot cameras. Tiny cameras needed tiny cards.
Then camera like the Canon Rebel came out with SD slots. Eventually, the larger digital SLR cameras came out with SD slot and a CF slot. The Canon 6D is a larger digital SLR and it only takes the smaller SD cards.
What we have today is a choice. SD cards are just as fast as CF cards. Then CFast 2.0 are on the market with reasonable prices.
Canon wrote on their site that they are not abandoning the CF cards because so many pros use them. Good to know.
How fast of a card do you need? Do the math. Photo size x burst rate is the basic formula. 24MB raw file x 7 frames per second = 168 MB per second. That’s your starting point.
Ask also “how often do you hold the button down for 7 fps?” If the answer is often, then get a fast card. If the answer is never, then speed is not an issue when buying cards.
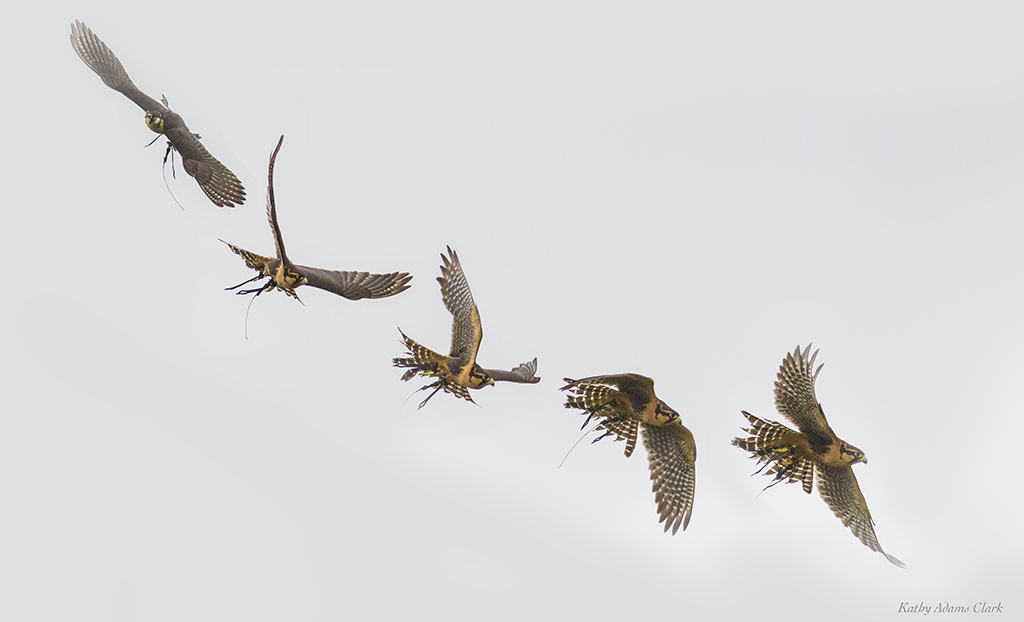
Sequence of an aplomado falcon in flight. We need fast card and fast “frames per second” to capture the action.
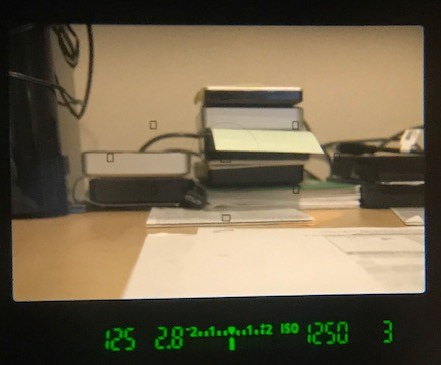
One last thing if you’re still with me. Buffer is also an issue. Look through your viewfinder on your camera. Push the shutter button half-way down. Look at the number is the bottom right corner or along the right side. The number might be 3 or 6 or 19 or 56. That number is how many photos the camera’s buffer (internal memory) can hold before the dreaded BUSY signal pops up and the camera stops firing. The buffer is based on the size of the photos you’re taking such as RAW or fine JPG. Bigger the photos the less photos that will fit in the buffer.