I finally got a chance to create a star trail with my Canon R5. The star trails — and night photography in general — I’ve done with mirrorless cameras in the past have been disappointing. Not so with the Canon R5 and R6. The results are just as good as anything I created with my Canon 5D Mark IV.

Star trails, like the image above, are fairly easy to do. You’ll need some equipment to capture the images and Photoshop to blend the images. You’ll also need a dark sky with an unobstructed view. The view above is pointing directly north at Polaris.
Equipment: Camera with a bulb setting, sturdy tripod, programmable shutter release like the Vello Shutterboss II, fully charged battery, storage card. The photo above is made up of 20 photos. More time, more photos, better spiral.
Set the programmable shutter release to take 99 or 399 photos at a 4 minute exposure with a 1 second interval. Attach the programmable shutter release to the camera. (Suggestion: Do this inside in the light because it’s darn hard to read the instruction book in the dark when you’re trying to shoot.)
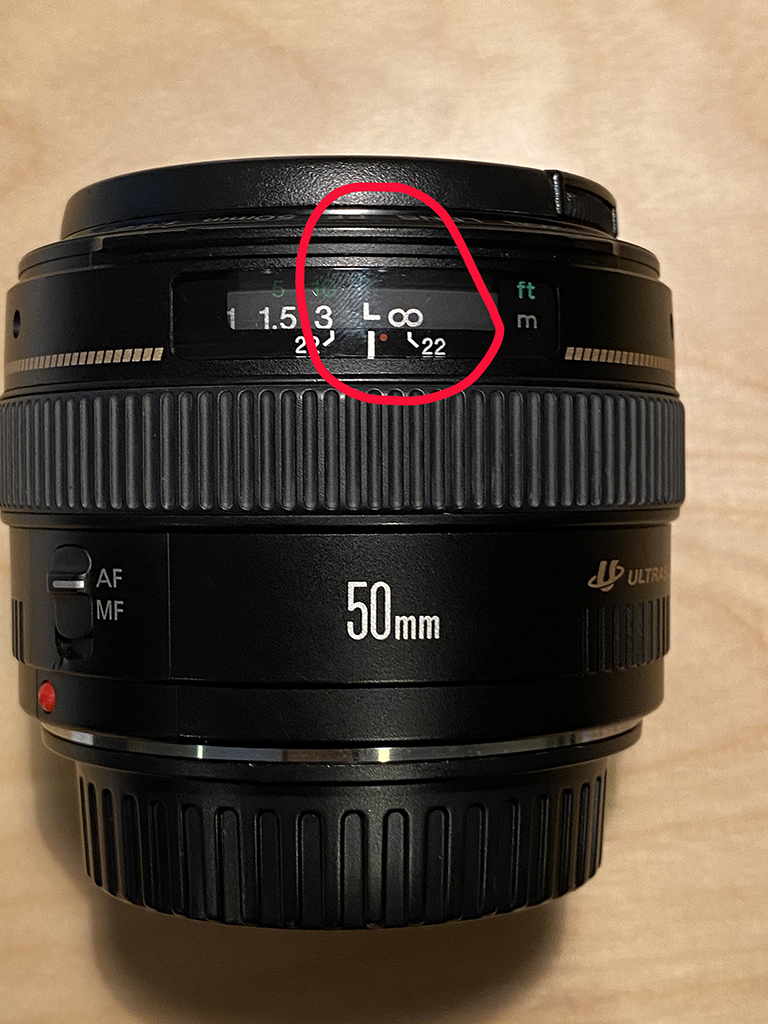
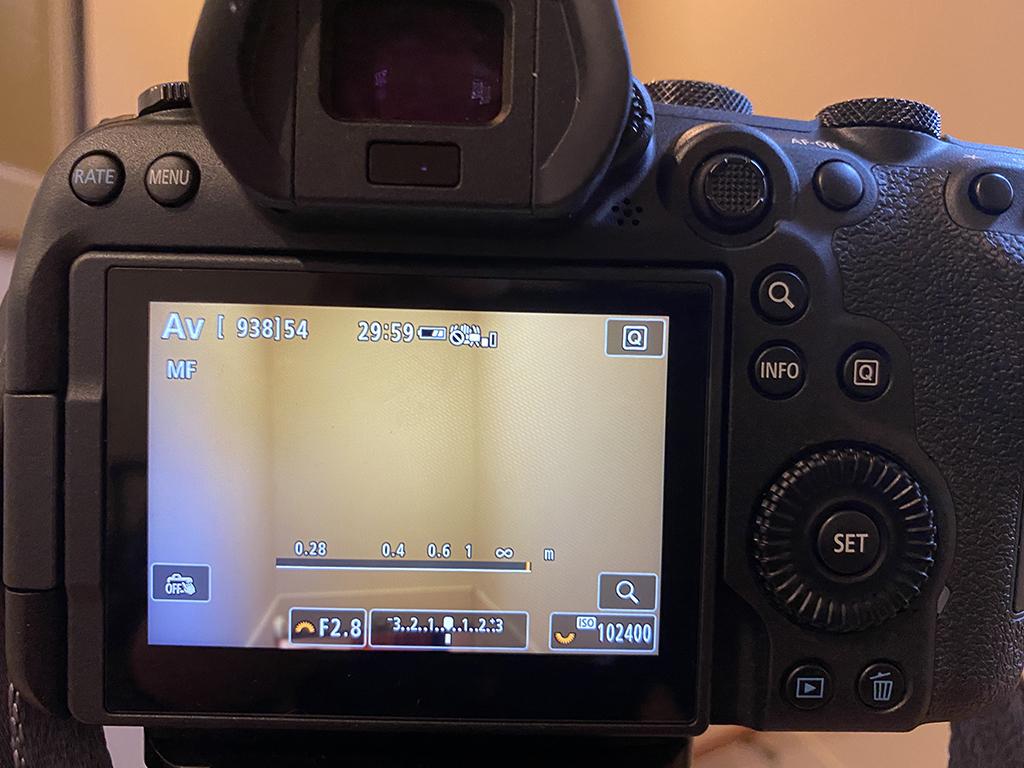
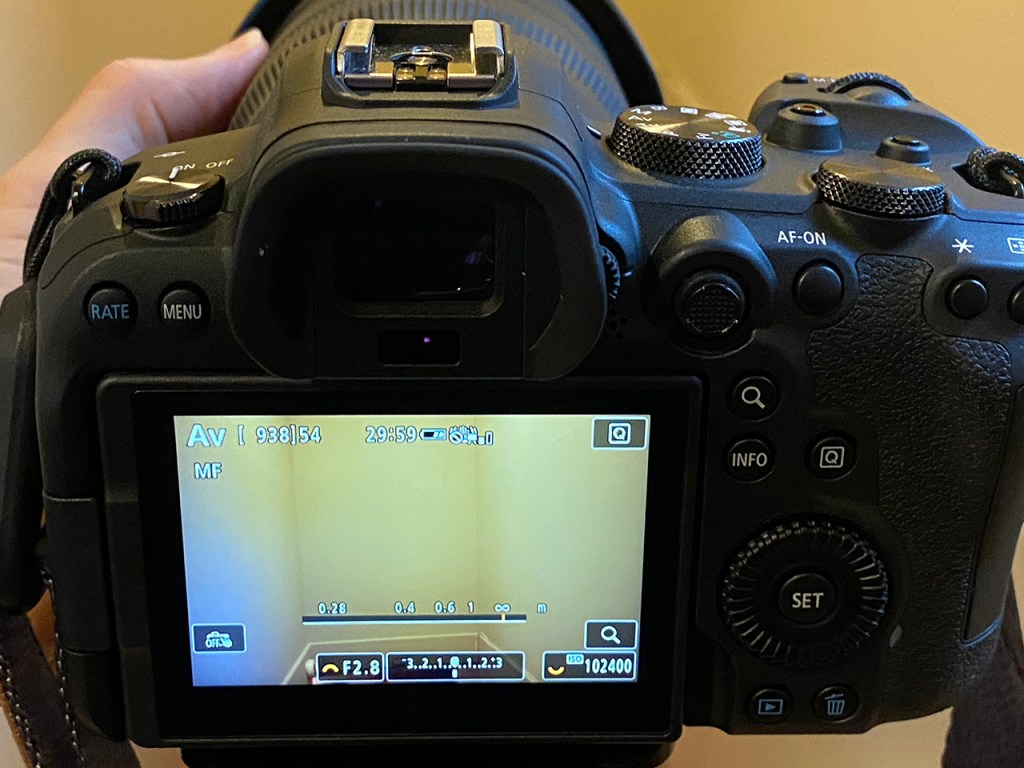
Before walking outside, set your camera’s focus to infinity. This varies by lens manufacturer so here are some tips.


Outside under a dark sky, put the camera on the tripod and point it at the North Star for a star spiral. Compose the photo to include some foreground or an interesting subject in the foreground.
Check your focus to make sure the lens is set to infinity. Take a couple of test shots make sure the stars are in focus. (Suggestion: take these images at a really high ISO so the exposure is quicker. Enlarge these photos on the LCD panel to check focus. Delete them when ready to start shooting.)
Set the camera to Bulb, f/3.5 or f/4.0, ISO 800, IS or VR off, MF. If your lens has 2.8 then ISO 400 might be okay. A lens with 3.5 as the lowest f/stop might mean you’ll need to use ISO 800. Take some test shots to determine what works for your camera.
Make sure the camera is locked down on the tripod. Press the “Start” button on the Vello Shutterboss II. Monitor the first couple of shots to make sure the shutter stays open for 4 minutes, closes, and then reopens. Let the camera keep shooting for at least 30 minutes but hours are better.
To process the images, follow these instructions precisely to create a layer blend in Photoshop. (1) Download the images into Photoshop Bridge or Lightroom. (2) Highlight all the images.(3) Click Tools>Photoshop>Load Files into Photoshop Layers. Photoshop should open with the images in a layer palette. Lightroom users click Photo>Edit>Edit in Photoshop Layers (4) All the photos will open into a layer palette in Photoshop. (5) Highlight all of the photos in the stack and change the blend mode to Lighten. (6) Viola!! (7) Flatten the image and save.
Make any necessary exposure, contrast or other corrections in Adobe Camera Raw or Lightroom.

You talk about the R5 and R6but recommend a remote control that’s for the old cameras.
It’s not really helpful. Rest of the article is ok.
LikeLike
really helpful – thanks so much
LikeLike
Thanks. Glad I could help!
LikeLike