


Question from a reader: I was taking photos yesterday of my daughter at a gymnastics event. A red light in the bottom right corner on my Canon Rebel kept flashing. Once I saw the word “BUSY” in the viewfinder. What was I doing wrong?
The red flashing light on your camera shows that the camera is accessing the memory card.
It’s normal to see a red light when the camera takes a photo. (Nikon users see a green light.) The light should quickly go on-and-off if all is well.
During a rapid burst of photos, the red light will flash as long as the camera is moving the photos to the memory card. The camera has a memory buffer of 6-9 photos. It’s holding those in memory and waiting to move them photos to the card.
If you take 10 photos in a row, the camera moves some to the card and then some to the buffer. Those in the buffer wait in line until it’s time for them to move to the card.
You’ll see BUSY in the viewfinder if you take too many photos and the buffer fills. The camera won’t take any more photos until the buffer clears out and has room to store another photo.
You’re likely to see the flashing red light and BUSY in the viewfinder if you held the shutter button down and took a lot of photos. Those photos need to process out of the buffer and through to the card.
Solution — get a memory card that records faster. How fast? That depends on the camera. A 20MB camera that takes 7 fps (frames per second) is going to record 140MB worth of photos per second. A card that records 64MB per second can record roughly three frames a second. The other four frames are going to sit in memory. That means you have three frames recording to the card while four photos are waiting in buffer. That’s usually okay since the buffer will clear in a second or two.


The card on the left records 150MB/s. That’s seven photos per second using a camera with a 20MB file. This is almost more card than the Rebel needs. Someone who shoots sport or action regularly might need this, though.
The card on the right records 45MB/s. That’s two photos per second using the same camera. Too slow for someone photographing sports or action.
The card you need depends on what you photograph and what camera you use. I get my cards from Hunt’s Photo and Video. Ask for Alan Samiljan (781) 462-2383 or email him at asamiljan@huntsphoto.com His hours are Monday, Tuesday, Thursday & Friday, 8:30-5:00pm eastern
January 5th is National Bird Day. It’s a great day to think about bringing birds into our lives.
Backyards big or small can be a haven for birds. Birds will come to a large grassy lot with trees or a balcony with container plants.
Birds are attracted to a space that has three things:

Food is the first big consideration to bringing birds into your yard or balcony. Shelled sunflower seeds are a favorite because the hulls have been removed and no waste falls to the ground to attract mice and rats. Shelled sunflower seed is a bit more expensive but the food goes a long way because there is no waste.
Avoid packaged birdfeed that contains millet, milo, and wheat. Watch for little white seeds common in bird feed that comes from a grocery store. Northern cardinals, blue jays, and Carolina chickadee don’t eat these seeds. Blackbird and grackles do, though.
Birdfeed from area nature stores such as Wild Bird Unlimited, feed stores, and locally owned garden centers is usually fresher than that found in big box stores.
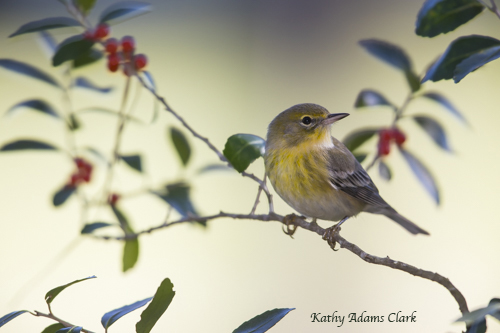
Birds like suet. Suet is a mixture of seeds, nuts, and fruit held together with a peanut butter matrix. Carolina wrens, pine warblers, and red-bellied woodpeckers love suet cakes.

Avoid suet cakes held together with a whitish or fat-based matrix. These are designed for cooler, northern climates and spoil in our heat.
Bird baths are a great way to add water to your habitat. Traditional concrete bird baths are best. Birds only need an inch of water to drink or bath. Concrete bird baths last twenty or more years.

The rough surface of a concrete bird bath gives birds something to grip in the event they need to fly quickly away to avoid a predator. Glass or ceramic bird baths are pretty but the bathing area needs to be rough. Toss in a few handfuls of dirt and let a bit of algae grow. This creates a natural surface that birds prefer.
Shelter is the last item needed to create a bird habitat. Birds need a place to hide when a hawk or cat enters the area.
Place feeders and birdbaths five to ten feet from a tree, shrub, or potted plant. Birds won’t cross a vast open area to feed or bathe. Place plants on two sides to create an ideal habitat.
Consider natives when planting around feeders in a yard or on a balcony. Yaupon and American beautyberry are lovely to look at and provide berries for our birds. Golden dewdrop (Duranta) is a large showy plant with purple flowers in summer and golden berries in fall. This can be grown in a container or in the ground. Porterweed (Stachytarpheta) is another favorite. It’s cold hardy and produces lovely purple blooms from spring to the first frost. Butterflies also like golden dewdrop and Porterweed.
#nationalbirdday
This time between Christmas and New Years Day is a great time to capture some blurry photos of holiday lights.
Simple and easy to capture. Turn off your auto focus. Turn the focus ring until everything is blurred. Then start looking for the composition.


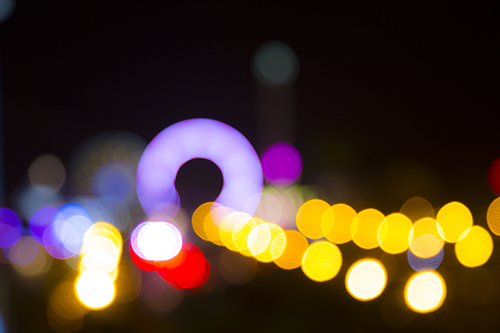

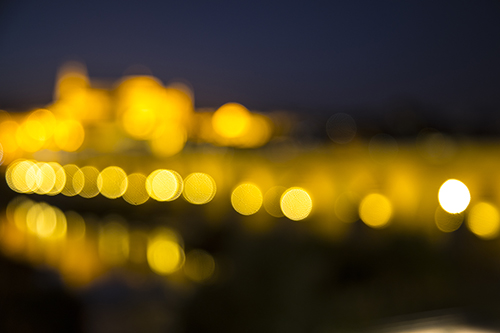

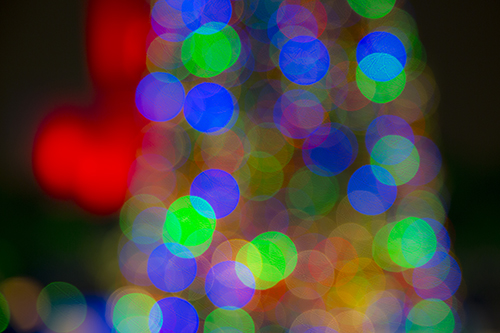
Have fun!!

I got this promo from Pinterest today. Photos like these are ruining travel photography and Pinterest is to blame — or maybe the readers of Pinterest are to blame.
Notice the young lady mugging for the camera in the promo for Barcelona? She is sitting on a bench in Park Güell in Barcelona. I suspect there are fifty other tourists around her trying to get the exact same shot with their cell phones.
I suspect there is a tourist on her right that is trying desperately to get the same photo. Some tourists bring shopping bags or small suitcase so they can change clothes in each photo. Selfie sticks cross and get in the way as people jostle for the same spot.
Ten years ago, photographers would have been lined up at this same location in Park Güell. They wanted a photo of the undulating benches made by Gaudi with the park below and Barcelona on the distance. The photographers would have stood at a distance so all the elements were in the frame. Traveling companions would have wandered around the huge square looking at the scene and exploring.

Today, everyone is a photographer and everyone has a camera. Today, everyone with a cell phone has to sit or stand in “the spot” to get a selfie. Then they get up, let their friend sit down and take a selfie, then both pose for a selfie, then they change clothes, sit down again to pose, then change pose . . . you get the picture.
In October I led a photo tour to Spain. We visited Seville, Cordoba, Granada, and Barcelona. The photo opportunities were amazing and we had so much fun.

I never got a photo of the lovely undulating benches at Park Güell because the benches were lined with tourists taking selfies. People were not photographing the benches made by Gaudi in the 1900s. People were photographing themselves sitting on the benches made by Gaudi.
Scroll up and look at the Pinterest photo of the lady standing on the Parasol in Seville. Such an amazing public art installation in the heart of Seville. Thanks to photos like the one you see above, the place where that lady stands is now “the spot.” Tourists will line-up to stand in that exact location, mug for the camera, smile, duck-lips, peace signs with the hands, change clothes, stand with their friends, etc.
I’ve seen these same thing happen all over the world. At Machu Picchu it is nearly impossible to get the iconic photo of the ruins because people are lined up taking selfies with the ruins in the background. A group of 10-15 friends arrive and then stand in the same location for a half hour while each is photographed individually, then in small groups, then in larger groups, then with another camera.


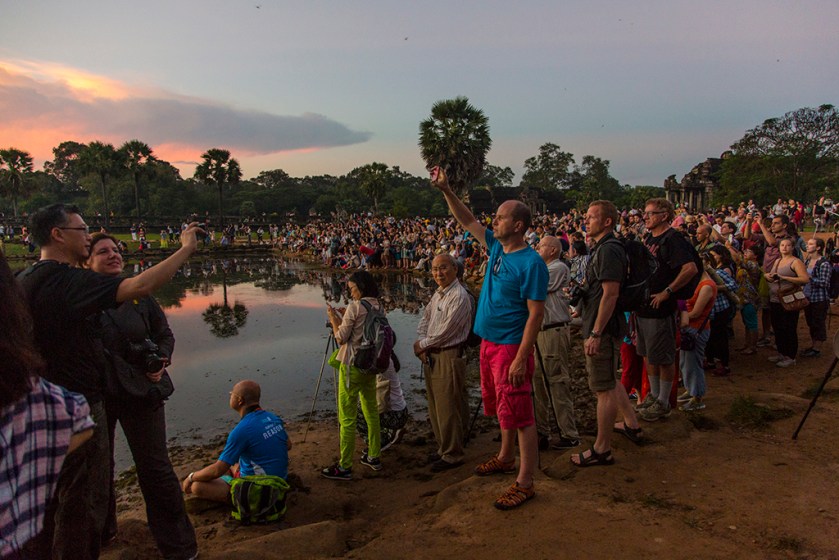
At Angkor Watt in Cambodia people stand around the lovely courtyards to take selfies. Then they change clothes, rearrange the group, change cameras, etc. The more people move into the courtyards and repeat the process for the next 15 or 20 minutes. They are not viewing the magnificent ancient architecture — they are photographing themselves in the ancient structure.
The views of lovely blue domed churches in Santorini have been blocked by the hordes of tourists. People perch on white walls and angle to get their selfie with the blue domes in the background. Then they hand their camera to their friend and the friend tries to get “the shot.” Twenty minutes later that group moves and another gets into position.
Photography changes and it has changed now that everyone has a camera. I do miss the days, though, when people were more interested in the location than themselves in the location.


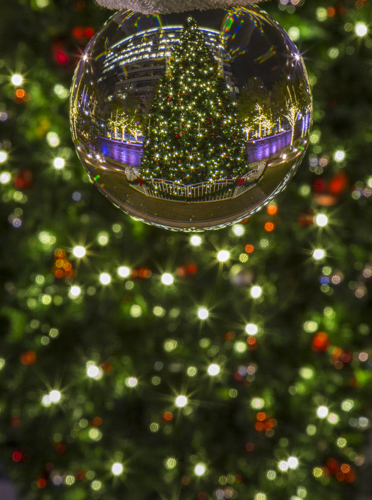
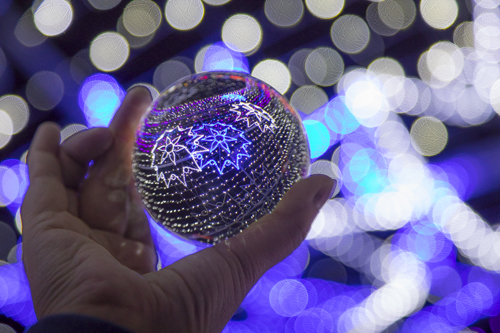
There is still time to order a crystal ball before all the holiday lights are packed and put away.
This is the one I ordered through Amazon.
Click here to see a gallery of my photos with a crystal ball.


JAH wrote:
I attended three, I believe, of your photography classes in 2015 or 2016. However, even now, sometimes I feel like I’m still in the pre-beginner phase.
I’m ready to think about buying and using an external flash. I have on my to-do list taking one of the Basic Intro Flash classes that you have listed for February 2018.
The purpose of this email is to ask if you can recommend a flash that is beginner-friendly, not terribly expensive, and easy-to-use for the technology challenged.
I read an article that was written in 2013. That article recommended these five flashes:
Do you have any thoughts on any of these, or is there another that you might recommend?
My Reply:


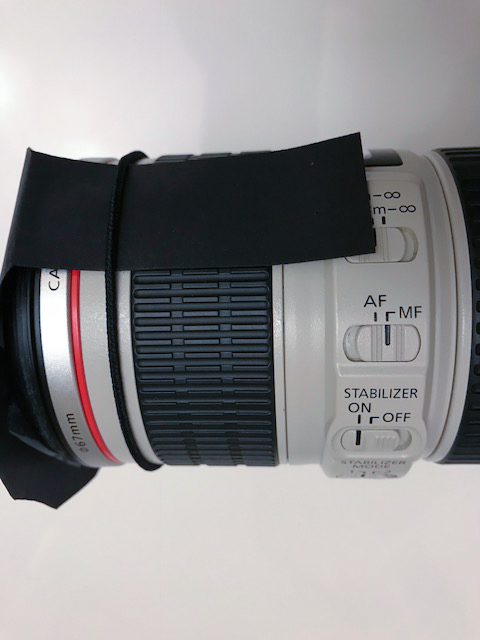
Get a Canon flash for your Canon camera. Same with Nikon users should buy Nikon flashes, Pentax should buy Pentax flashes, etc.
I worked with the Yongnuo and the Precision recently in class. The Yongnuo is like working with a “knock-off”. It looks like a Canon flash or a Nikon flash (both were in class) but it doesn’t feel like a Canon or Nikon. The head is hard to turn. The buttons on the back are clunky and clumsy. The flash exposure was erratic and not precise as it would have been with a Canon or Nikon flash.
The Precision flash was not even wroth considering. It way over-exposed during most of our classroom exercises.
I recommend the Canon 430 EX or Canon 430 EXII. The 430EX III-RT is loaded with features and a bit complicated. It’s about $250. Look around and see if you can find a 430EX II. You might be able to find one used for $150. It’s my favorite and so simple to use.
You’ll love it for years.
Take a look at some of my butterfly images on this page. All of the butterflies were photographed with a flash but none look like they were flashed. The flash should be subtle and natural. In my opinion, you only get that with a good flash.
One of my photography students wrote:
I’ve taken a couple classes from you and have enjoyed them both. I’m still very much a beginner and still learning about my camera.
I use a Nikon d5000 and my question is, if you were going to add a lens to my kit lens which I have, would it be a 50mm (nifty fifty)? I take pictures mainly of my 4 year old daughter and have been reading about different lenses.
Any suggestions on lenses or where to buy would be greatly appreciated.
M.W.
My answer:
It’s good to hear from you. Personally, I’d buy the 70-300mm or 70-200mm before I’d buy the 50mm.
Shooting with the 50mm means your daughter has to be somewhat still and you have to be close to her to fill the frame. Use the 70-300mm or the 70-210mm and she can be running around the playground while you’re sitting on a bench and photographing her. There’s distance between you and the subject. You don’t have to be right in her face all the time.
The 50mm is a great lens for studio work. It’s not the greatest for outdoor or shooting in the living room. I know a lot of people promote it on the internet but you can get the same results with the other lenses.
I have the 50mm and I always grab my 70-200mm first. Here’s an example why:


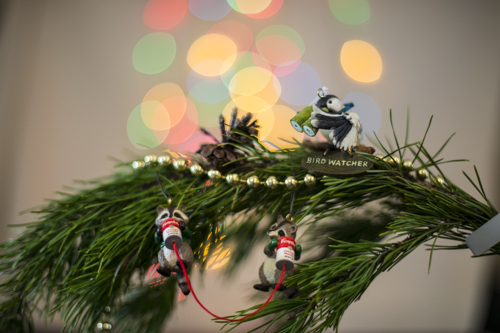

Recapping, the 50mm f/1.4 lens gives a great bokeh or blown-out-background. Yet, if you shoot it at f/1.4 the depth-of-field is super shallow. The lens should be used at an f/stop appropriate for the subject. You’ll also need to get closer to the subject than with the 70-200mm lens.
Hope that helps. I’d let you borrow my 50mm if you used a Canon. It doesn’t get much use.


F/stop from 4.5 to 22 to change the background.
Where do you get a crystal ball? Amazon, of course.