Canon EOS R7 vs. R5 and R3

I had a chance this morning to test the Canon EOS R7 against the R5 and R3. All cameras were set to roughly the same menu settings. Each was used in shutter priority (TV), shutter 1250, ISO Auto, and F/11. Each had the same 100-500mm RF lens with a 1.4x converter.

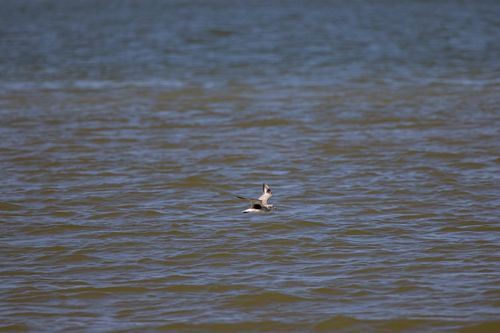
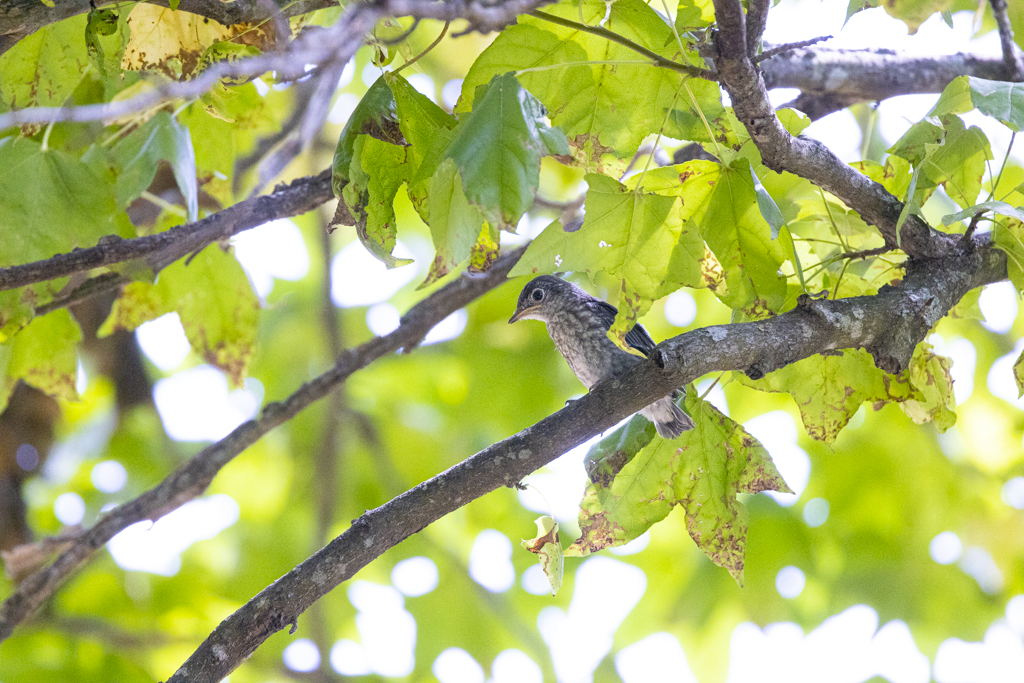
My subject stayed the same as well. Lucky for me, a fledgling eastern bluebird stayed on the same branch during my test.

All images were taken while I was seated in the same chair at the same angle. The sky was partly cloudy with lighting remaining generally the same during the test.

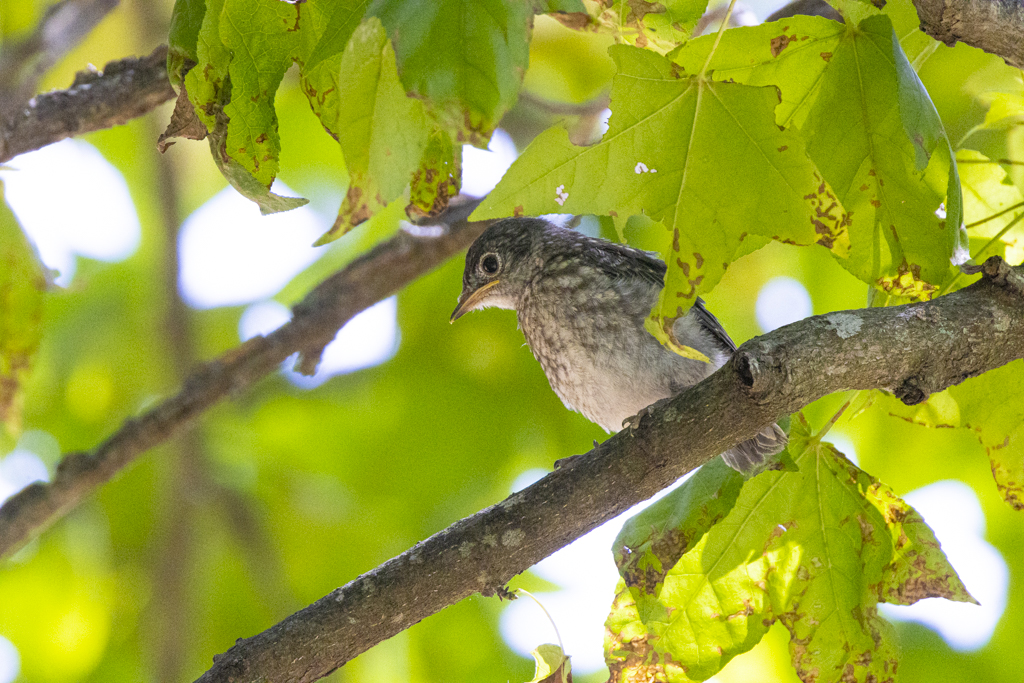
Notice that the bird photographed with the R7 is larger in the frame. The Canon EOS R7 has a cropped sensor so the subject will appear bigger with a telephoto lens. Hence, the reason a lot of bird photographers like photographing with a crop sensor camera.

Here’s the images larger:

Eastern bluebird fledgling with the Canon R7. The bird is larger in the frame due to the cropped sensor.
Eastern bluebird photographed with the Canon R5. Same bird from same vantage-point but notice that I zoomed back a tiny bit by mistake.
Eastern bluebird photographed with the Canon R3.

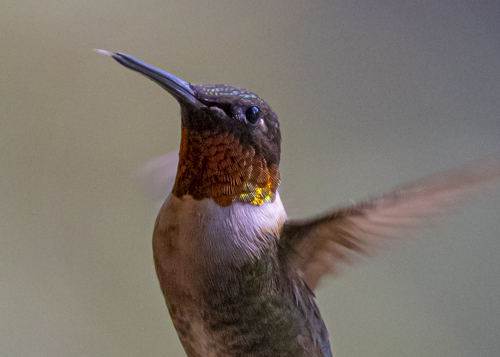
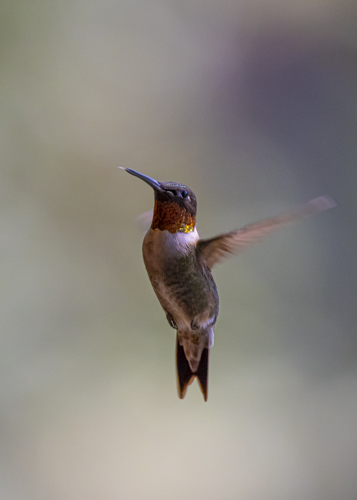
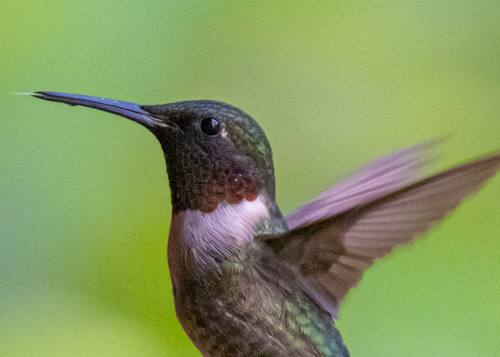
I was impressed with the auto focus on the Canon R7. The camera was set to Flexible Zone 1, Subject, and Eye Detect. The Canon R7 never failed to acquire focus on the small bird. (Watch for my post on camera set-up.)

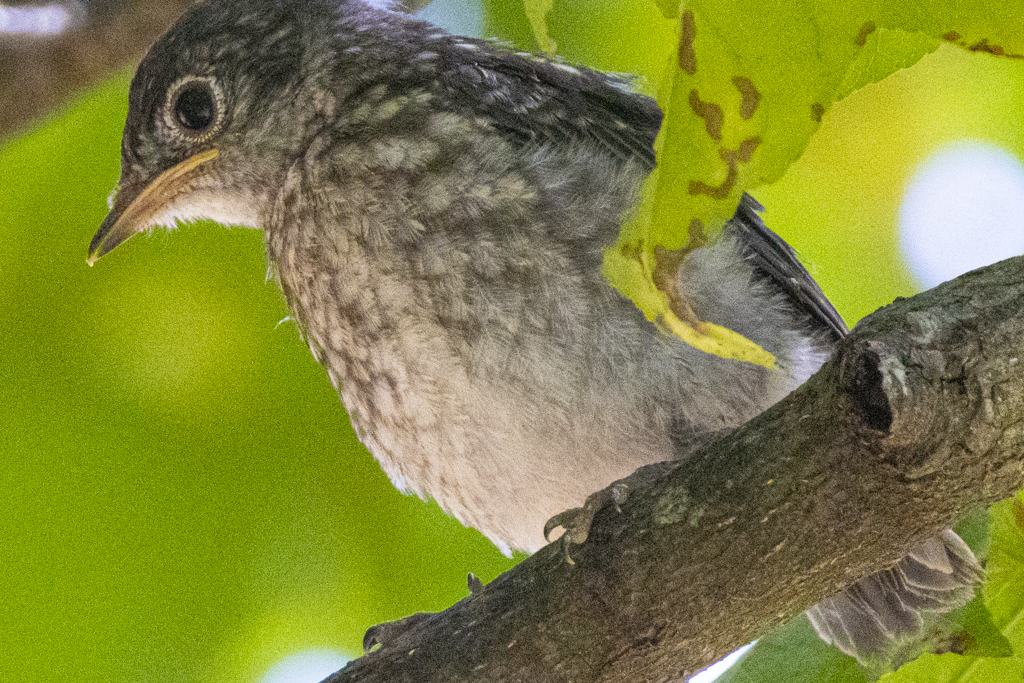
I’ll compare ISO in a future post but here’s a look at the Canon R7 image enlarged to 100%.

The same photo from above enlarged to 100% photographed using ISO 6400.

Posts coming up will show my set-up for the R7, file size, ISO, and night photography. Stay tuned!

First impression with the Canon R7 shows that this is going to be a great camera for bird photography.

Canon R5 Mirrorless — Focus Stacking

My test of the Canon R5’s Focus Bracketing — or focus stacking — continues.

This is a 10-photo blend of a gulf fritillary butterfly.
A blend of 10 images gives the long-tailed skipper sharp detail throughout.
Here’s a close-up of the image above. Notice that there’s tight detail on the skipper and on the vegetation.

I’ve been working with the Canon R5’s focus bracketing (or focus stacking) since I bought the camera. Overall, I’ve been impressed. Here are my previous blog postings on this topic.

Questions have come up during my tests and in talks with other photographers.

What increment should be used? The Canon R5 comes set at increment 3. That’s a good starting point and what I used on my first tests.

I changed to increment 7 for the purple passionflower blooms. I like 7 now.

How many photos are needed for a good photo stack? Obviously, that depends on how deep the subject is. I used 10 on the long-tailed skipper and 10 on the red passionflower bloom. The skipper is much smaller than the flower.

In my tests, 10 photos seems to be a sweet spot. The Canon R5 takes less than a second to fire off the series of images. Push the shutter button one time and the camera does the rest.

I used Photoshop’s focus stacking and tried 3, 5, or 1o images. The stacks with 10 images were smoother and better aligned.

Where should the focus point be at the start of the stack? Focus should be on the closest point to the camera. That’s a lesson learned.

On the long-tailed skipper, I focused on the wing closest to the camera. In earlier tests, I focused on the head and the wing closest to the camera wasn’t sharp.

On the red passionflower, I focused on the flower in one photo. In the second photo, I focused on the buds in front of the bloom. Notice the difference?

Red passionflower bloom. Focus point at the beginning of the focus stack was on the bloom.
Red passionflower bloom. Focus point at the beginning of the focus stack was on the buds in front of the bloom. NOTE: The fuzzy area to the left of one bud needs a bit of post-processing work.

All photos were taken with the Canon R5, 100-500mm lens, 1.4x extender, f/11, ISO 400.

Questions? What’s been your experience with the R5’s focus bracketing? Does your mirrorless camera have focus bracketing or stacking? Experience?

Here’s my review of the Olympus focus stacking.

Canon R5 Mirrorless — Autofocus with Fast Birds

I finally got a chance to sit on the beach and play with the Canon R5’s autofocus. At heart, I’m a bird photographer. How would this new camera function on fast moving birds? My DSLR is a Canon 1Dx. I hoped the new mirrorless had autofocus equal to or better than that camera.

Another shot from the series of the reddish egret fishing. The autofocus is set to stay on the eye of the bird. ISO 3200, 1/8000 shutter speed, f/10, spot meter, 100-500mm lens, 1.4x extender.

Can the autofocus on the Canon R5 separate one bird flying from a flock of birds? I took 14 frames of this black skimmer flying into a group of birds roosting on the beach. Below you can see the first seven frames plus bloopers.

The R5 fires 14 frames a second so the above is only 1/2-second of shooting. What happens next?

Settings on the above: Aperture Priority, ISO 640, Shutter speed 2000, f/10, spot meter, Servo, Large Zone AF Horizontal, AF-2, 100-500mm lens at 500mm with 1.4x teleconverter.

On small birds like this semipalmated plover, the R5’s autofocus was spot on.
Flying osprey and the R5’s autofocus was right on target.
Quick and tiny sanderling was no match for the Canon R5’s autofocus. Got the shot!

Conclusion — the Canon R5’s autofocus system is equal to – if not better – than the Canon D1x’s system.

What’s been your experience with the R5? I’d love to hear your thoughts.

Next up — Canon R5’s focus stacking.

Canon R5 Mirrorless — High ISO

Below you’ll see photographs taken with the Canon R5 mirrorless and the 100-500mm lens with the 1.4x attached. That’s 700mm hand-held.

I thought it would be interesting to photographed at different ISO settings.

ISO 3200

The above photos at ISO 3200 are perfectly acceptable. The first photo is cropped to 100%. The second image is enlarged to show detail. Probably enlarged to 200%+.

ISO 5000

Above is an image from the same session. The first photo is enlarged to 100% and shot at ISO 5000. The second is highly enlarged to show the grain and quality.

ISO 32000

I decided to really push the R5. I raised the ISO to 32,000. The first photo is cropped to 100%. The second photo is enlarged even more to show the grain.

At ISO 32,000 we finally start to see unacceptable grain. Still nice but grain is obvious.

All photos have been processed in Adobe Camera Raw. I used a bit of Noise Reduction. The slider was moved to 25 in the first two images and 50 in the last image.

What do you think?