This question came in from Terry:
I’m completing my “final” travel equipment which is the do-it-all lens for my R7. I picked up the R7 recently by selling several of my way-to-heavy EF lens (ended up with a gift card of $250 bonus in addition to the R7). Now I need to get the RF lens.
Have you heard any comparisons between the Sigma and Tamron. I’m looking through B&H, Adorama and DPReview which are my go to’s.
With the EF versions, I had ended up preferring the Tamron. It didn’t last as long as a Canon lens, but I didn’t treat it as gently getting in and out of the buses. ~~~ Terry
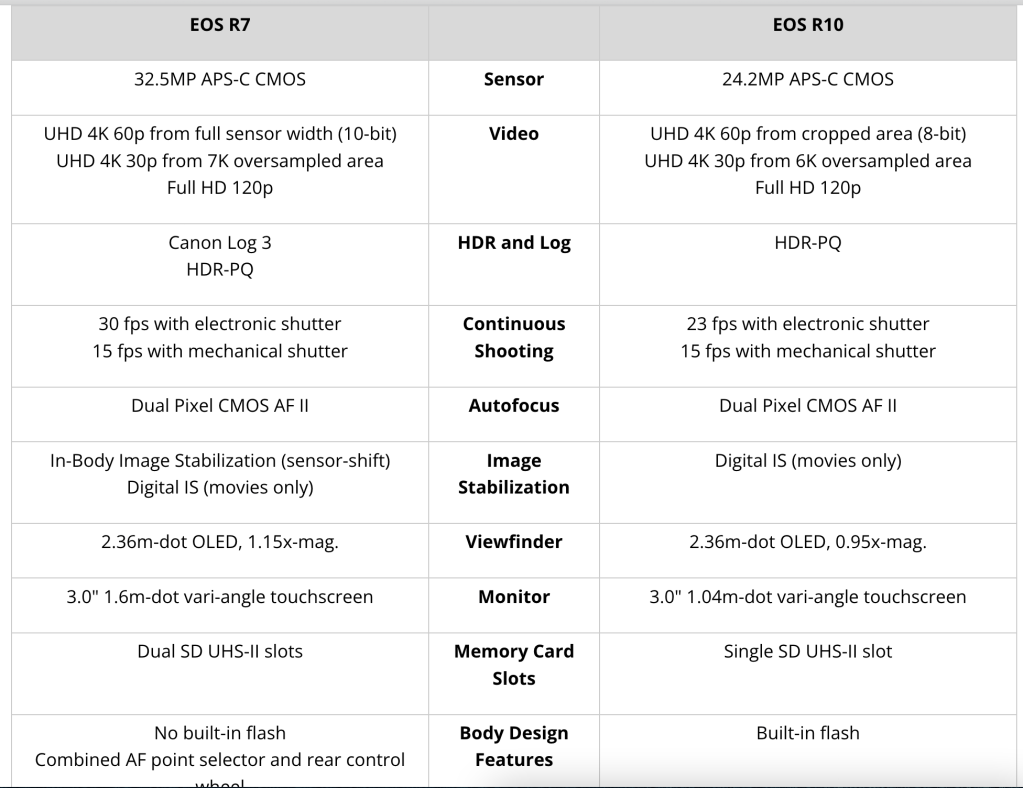
I love the R7. It’s a really nice camera with a lot of great features.
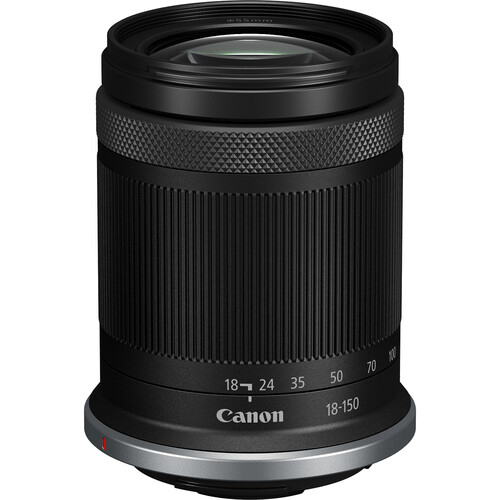
I’d get the RF-S lenses before the Tamron or Sigma. I’ve used the RF-S 24-105mm and was impressed. Same with the 100-400mm. The RF-S 18-150mm might be what you want. Take a look.
I’d recommend the Canon lenses first because of the complex electronics. Yes, I know Tamron and Sigma are “just as good” but Canon is always going to be better.
That said, you’re looking for a lens with a lot of range. I use two lenses where you’re looking for one that does it all.
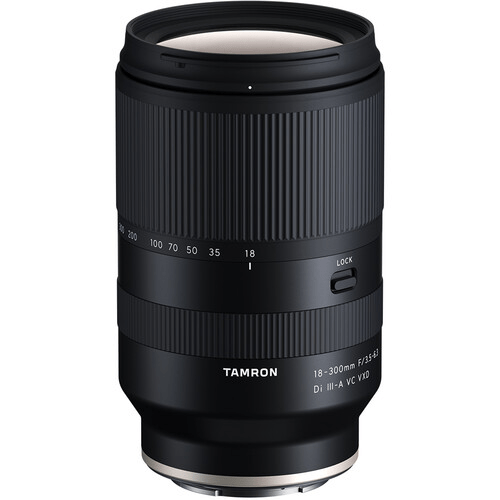
Tamron 18-300mm is $629. It has a 29-480mm equivalent view. That means the wide is not really very wide. You’d use this more for the reach or for things that were further away. Minimum focusing distance is 6 inches so that’s not bad. Weighs 21.9 ounces. I’m curious how long it gets when you zoom out to 300mm?
Sigma 16-300mm is $694. It has 24-450mm equivalent view. That means the wide is enough to photograph the interior of a room. More to my liking that the 29mm view in the Tamron. Not as much reach as the Tamron but I’d take the extra width over the extra reach. Minimum focusing distance is 3.44 feet. Weight is 21.7 oz.
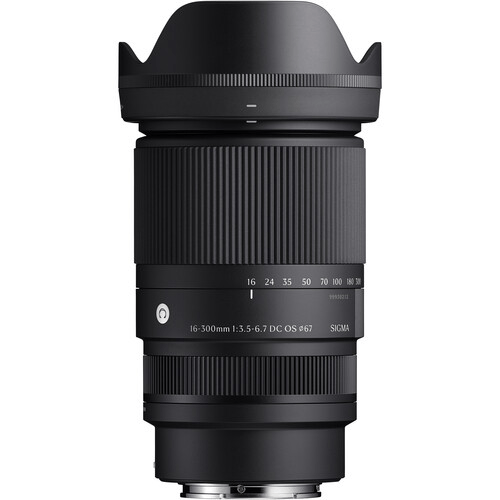
So in conclusion, these lenses are pretty compatible. I think you can’t go wrong with either. I’d use the added width of the Sigma more on the photo tours. A 24mm view is great for interiors. The other is a bit narrow for my tastes.
Durability is an issue. I’ve heard people say the Tamron didn’t last as long as they wanted. I used to own a Tamron so I guess I was listening for that feedback. I’ve never owned a Sigma so haven’t listened for feedback on that one.
I hope this helps.
Any readers have experience with either lens? Can you provide feedback? Your actual experience with one of these lenses could help.


