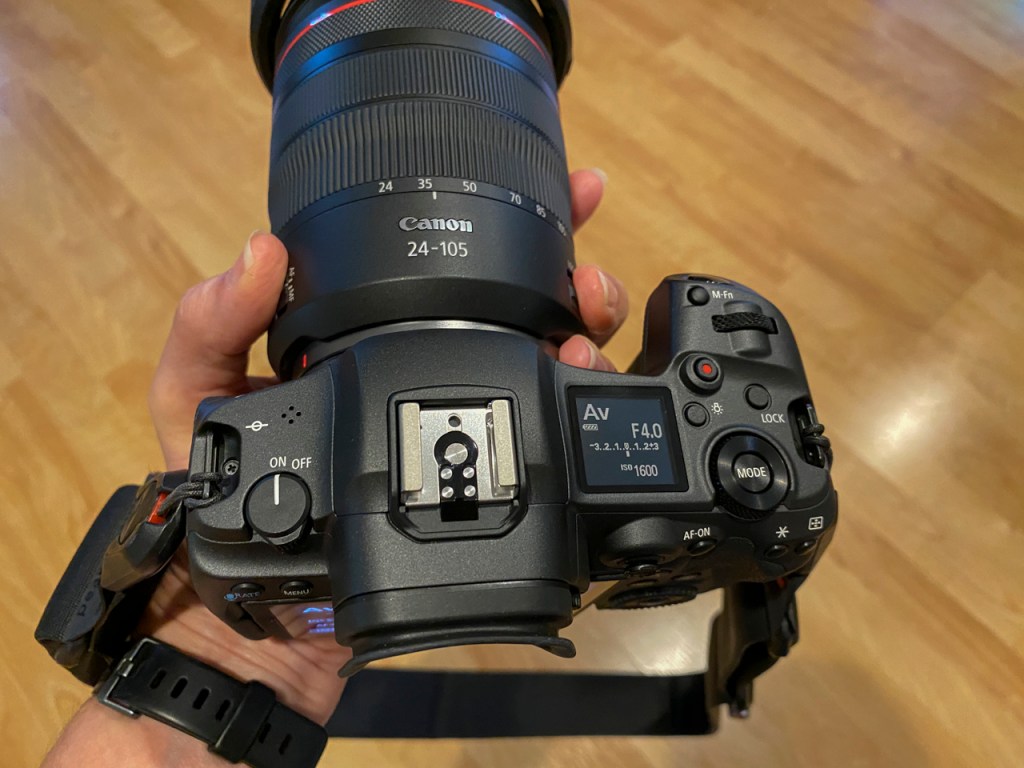
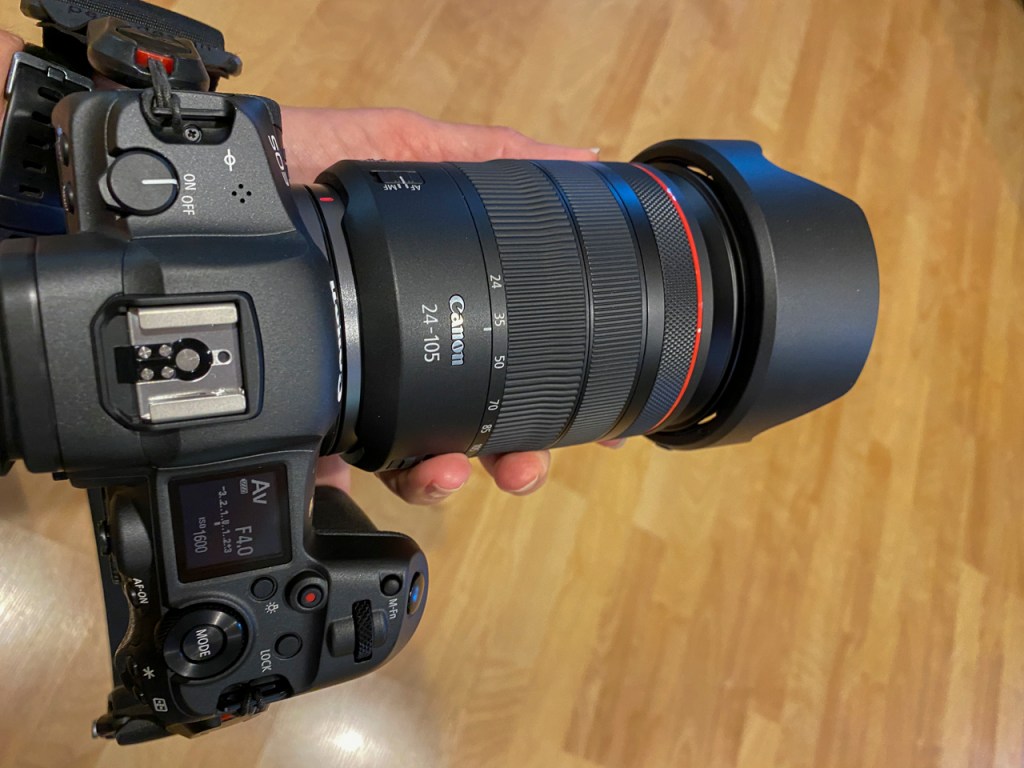
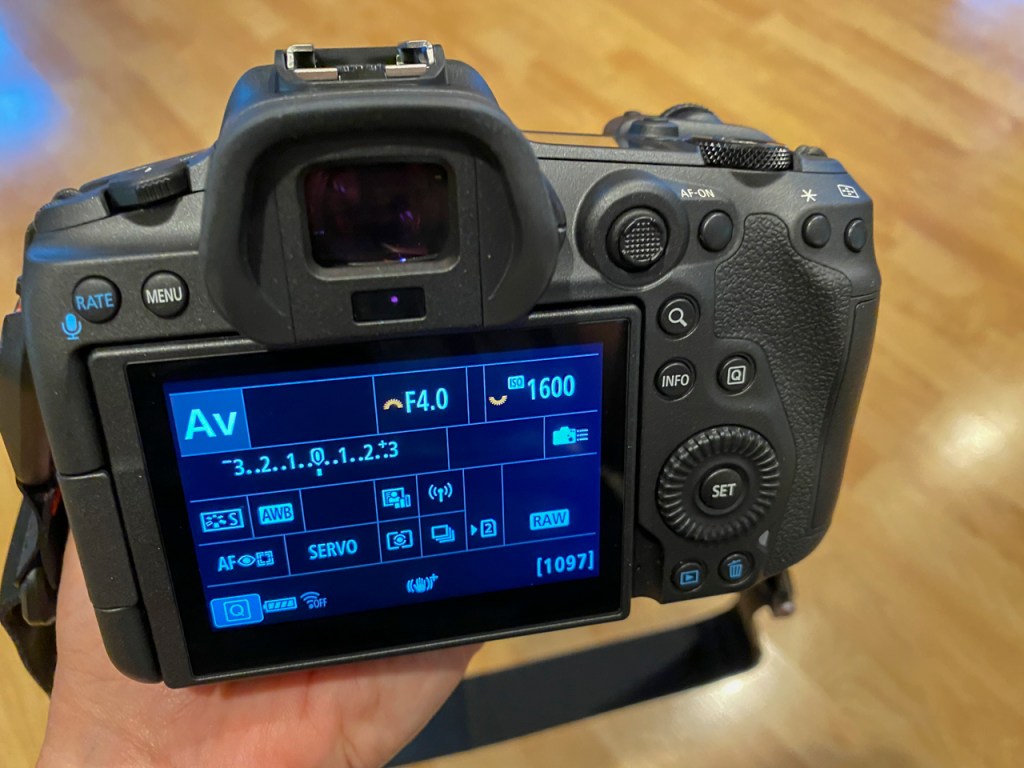
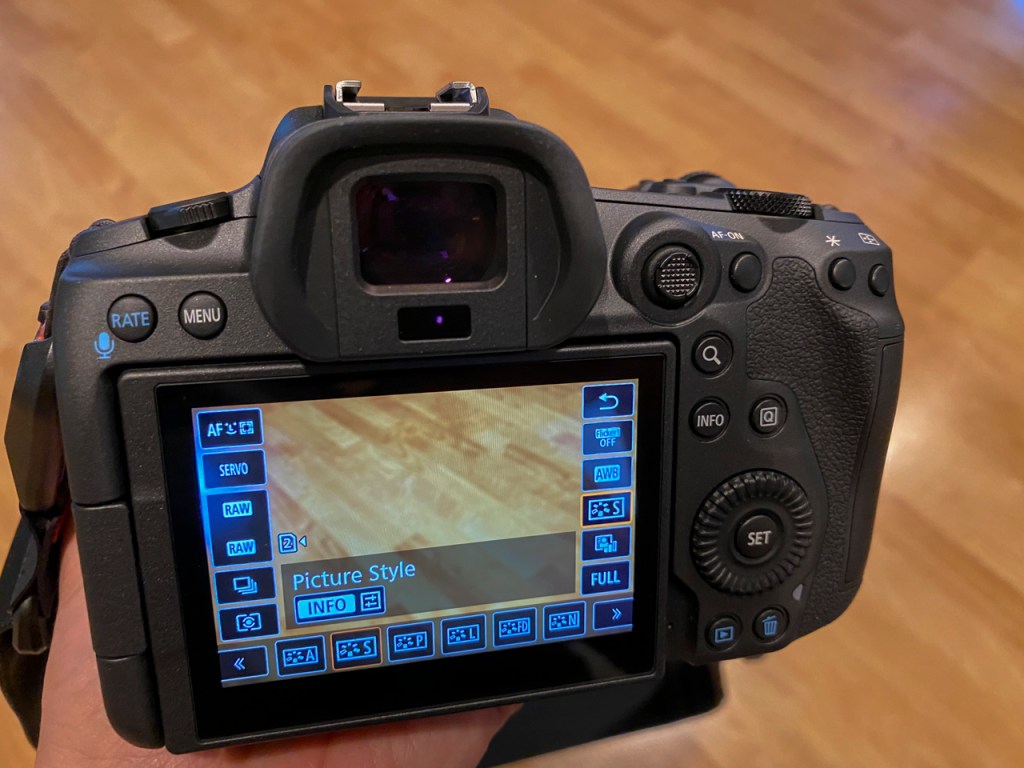
The new mirrorless cameras give us so many options. I’m using the Canon R5 but the following will apply to Nikon, Sony, Olympus, and Fuji. The key is to experiment and learn from your mistakes and triumphs.
I used 1-point AF on my DSLR cameras most of the time. I’d move that one point around the screen with lightening speed — a skill I developed over many years of practice.

After working with the R5 for four months, I’ve found that the 1-point AF has its place.
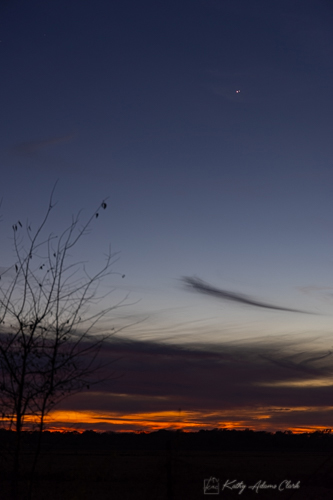
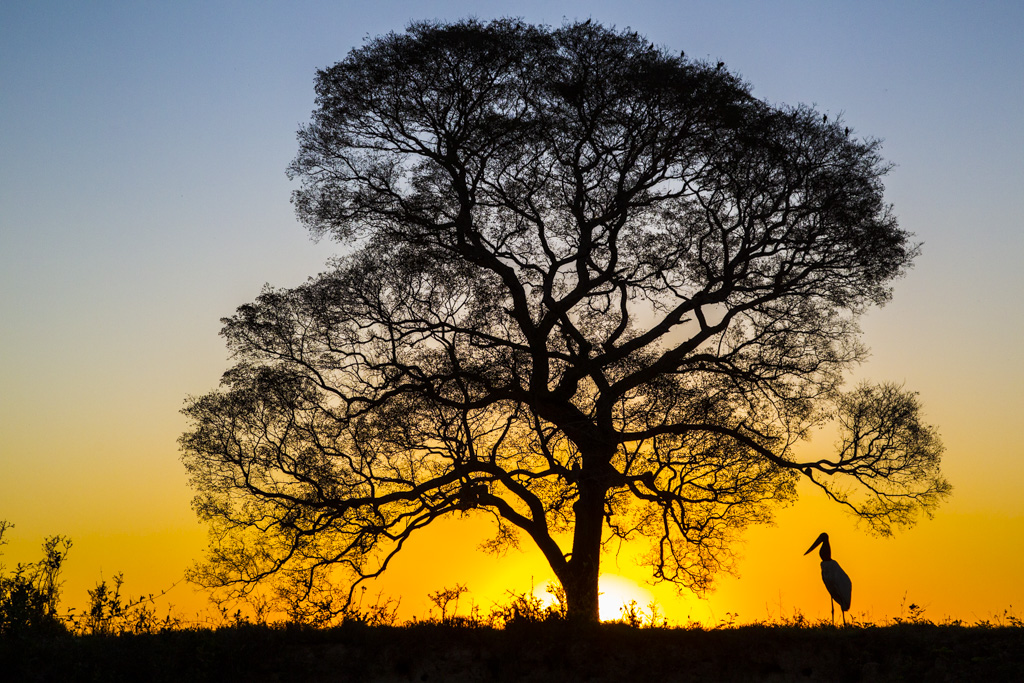
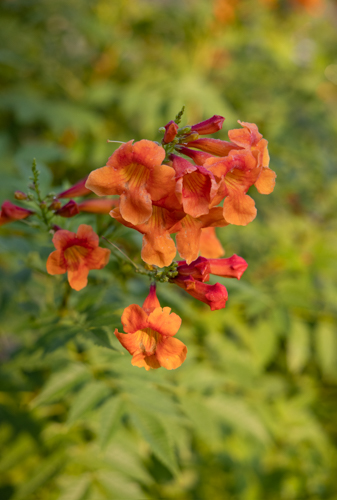
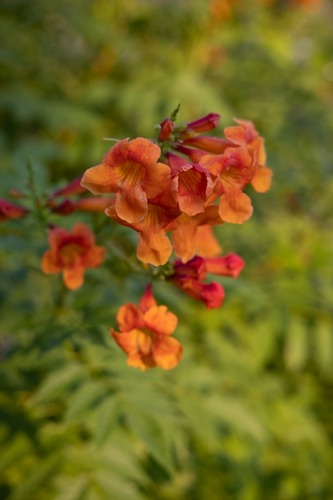
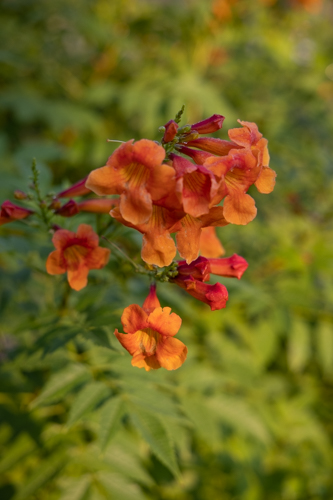
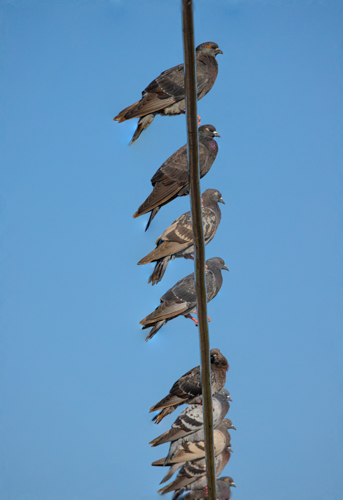
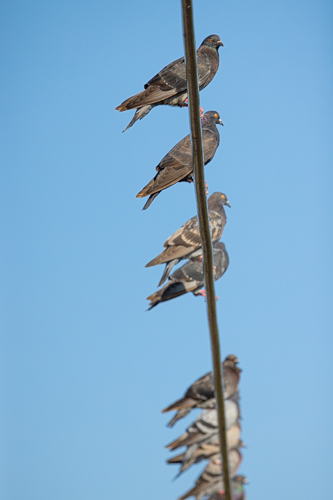
Use 1-point AF when there’s one specific point of focus. Conjunction of Saturn and Jupiter. 
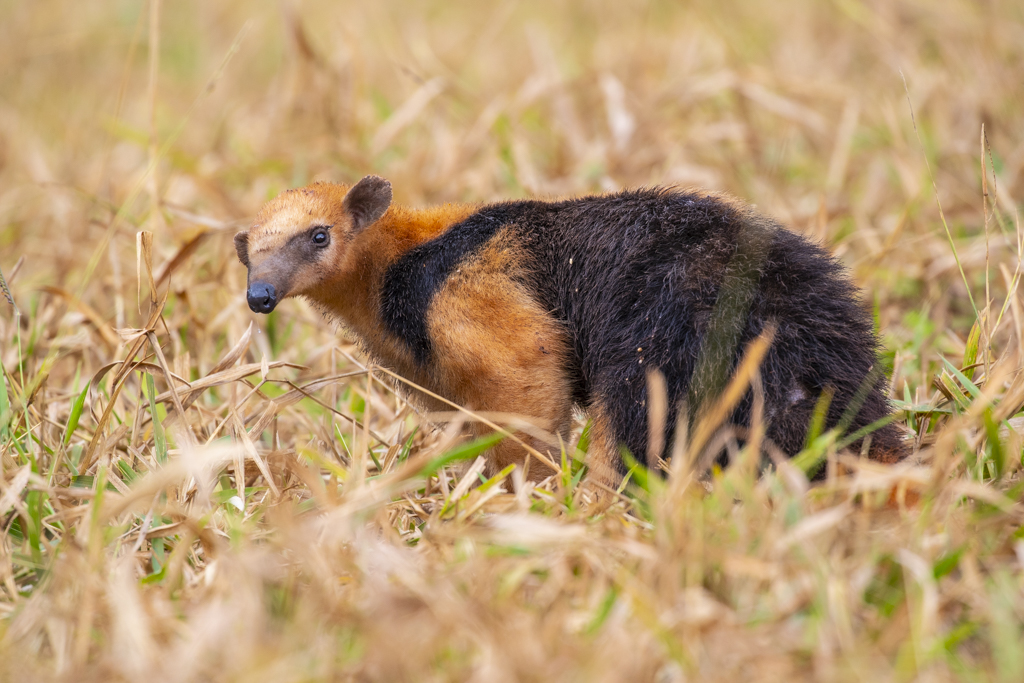
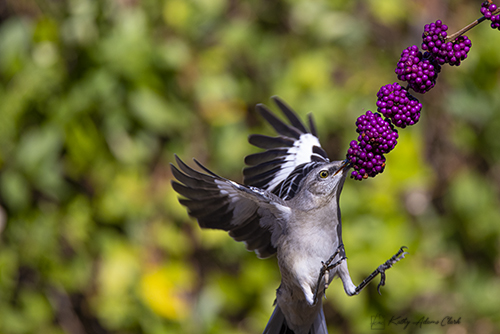
1-point AF is great when you want to focus on the body of the skipper versus the wings. 
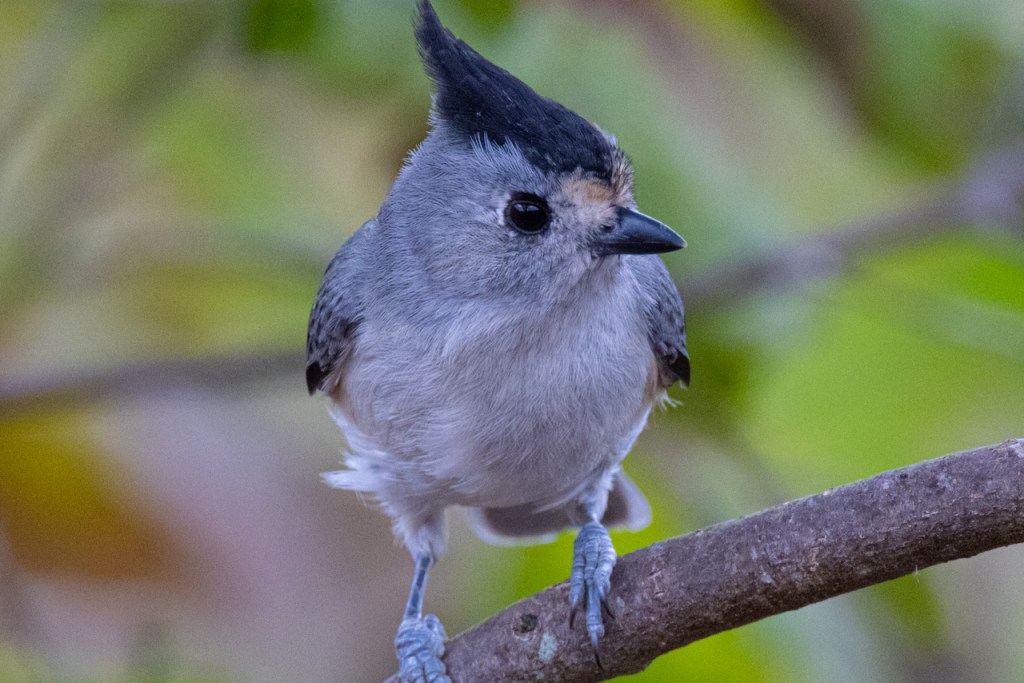
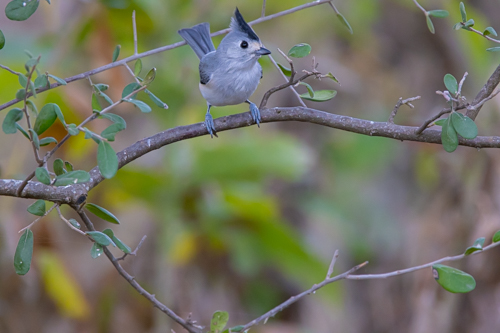
1-point AF is perfect for selecting the focus point for artistic reasons. 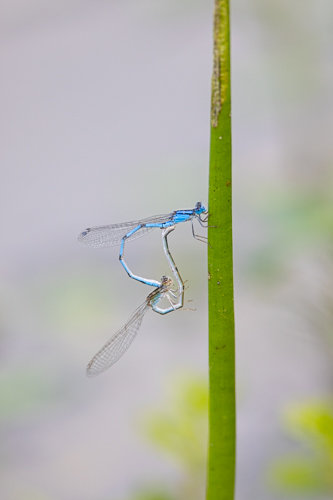
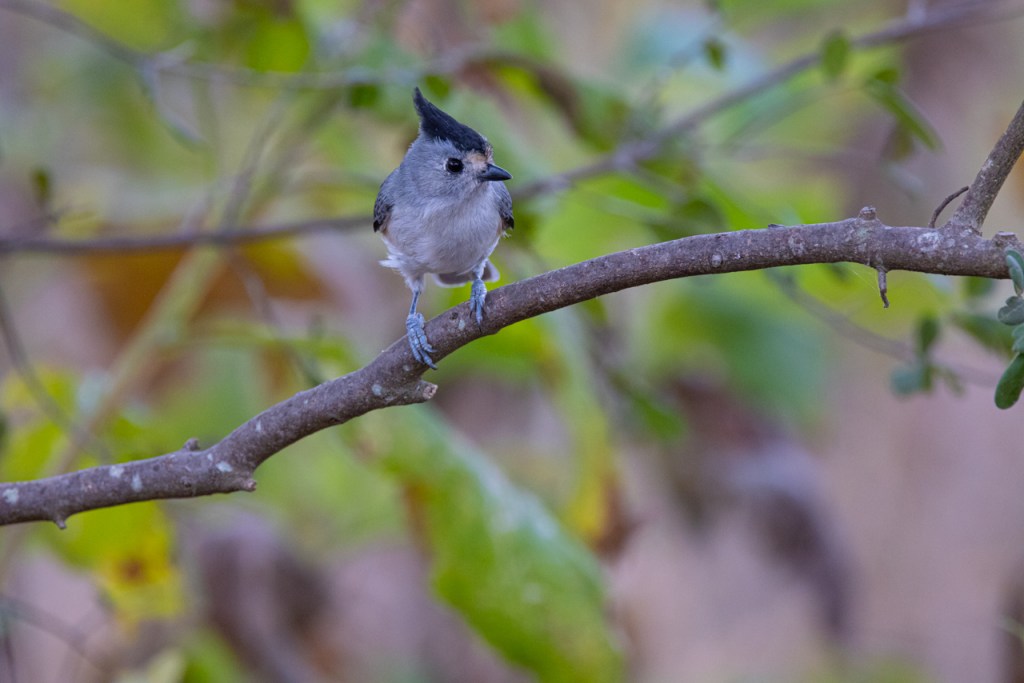
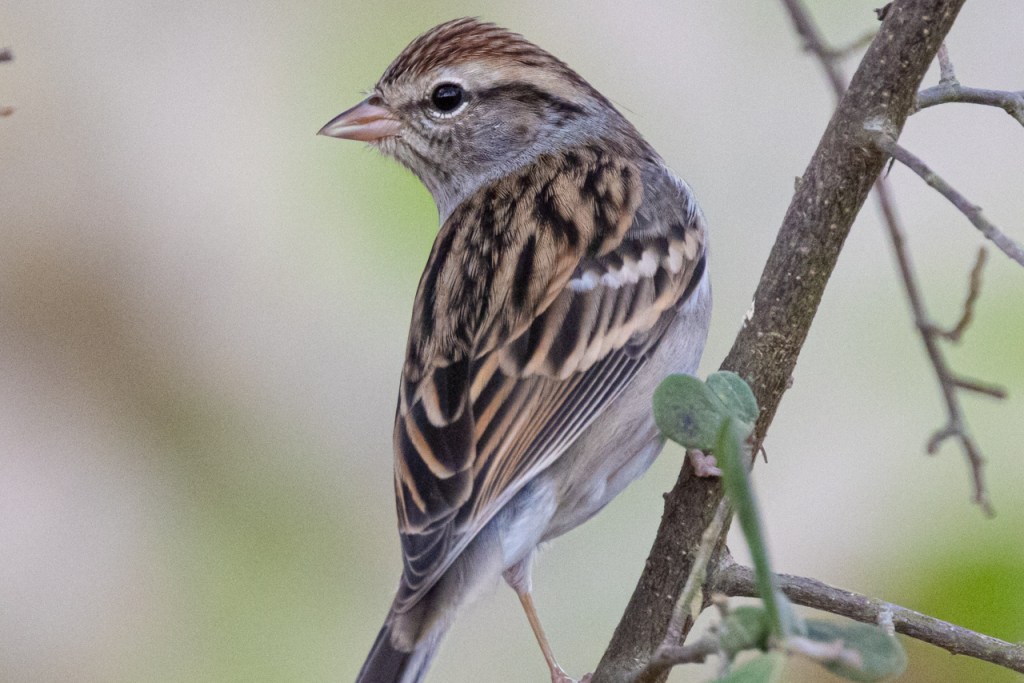
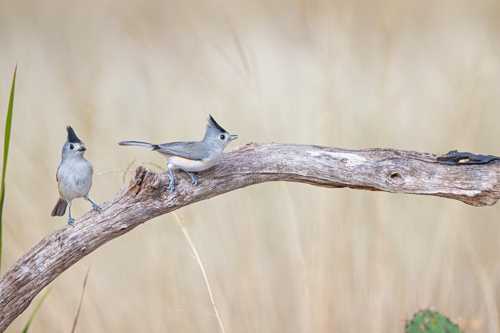
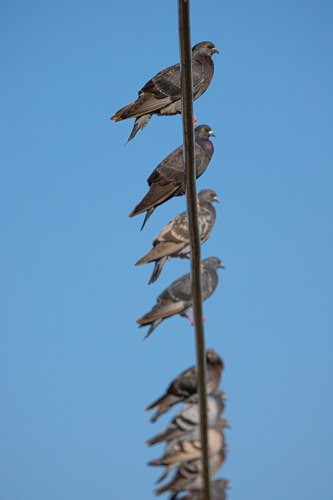
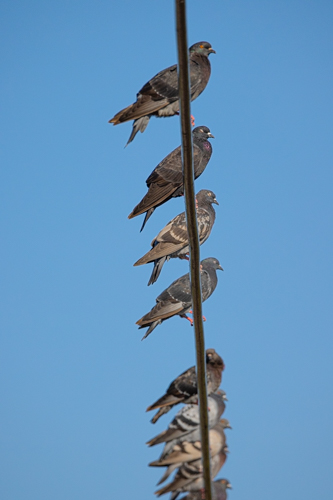
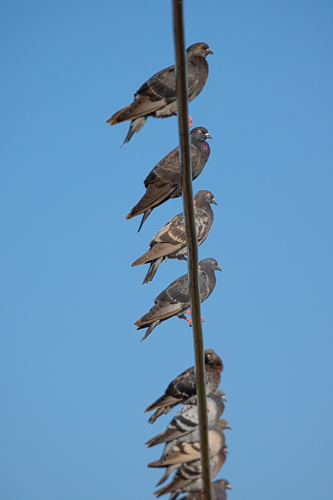
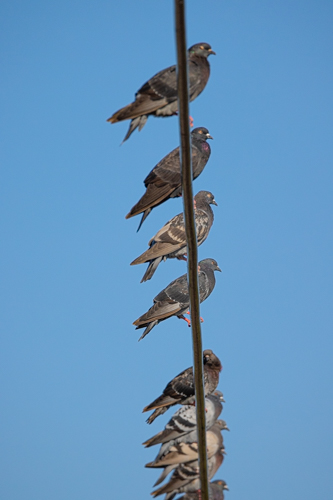
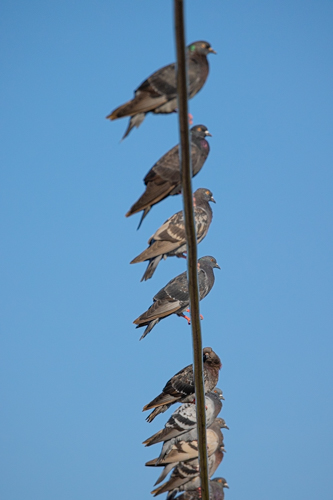
1-AF Point helped the camera focus on these tiny familiar bluets.
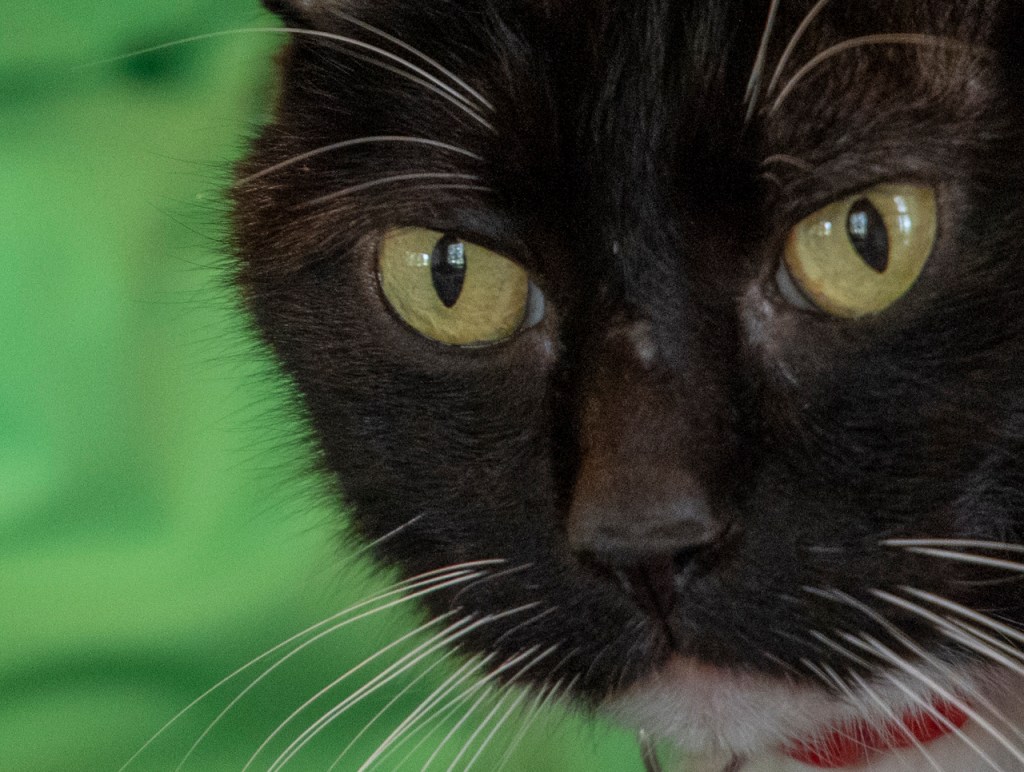
Eye tracking is amazing. We’ve had this technology on cheap point-and-shoot cameras for years and even on cellphone cameras. The engineers at Canon have really hit a homerun with Animal Eye tracking. I hear Olympus has done well in this arena, too.

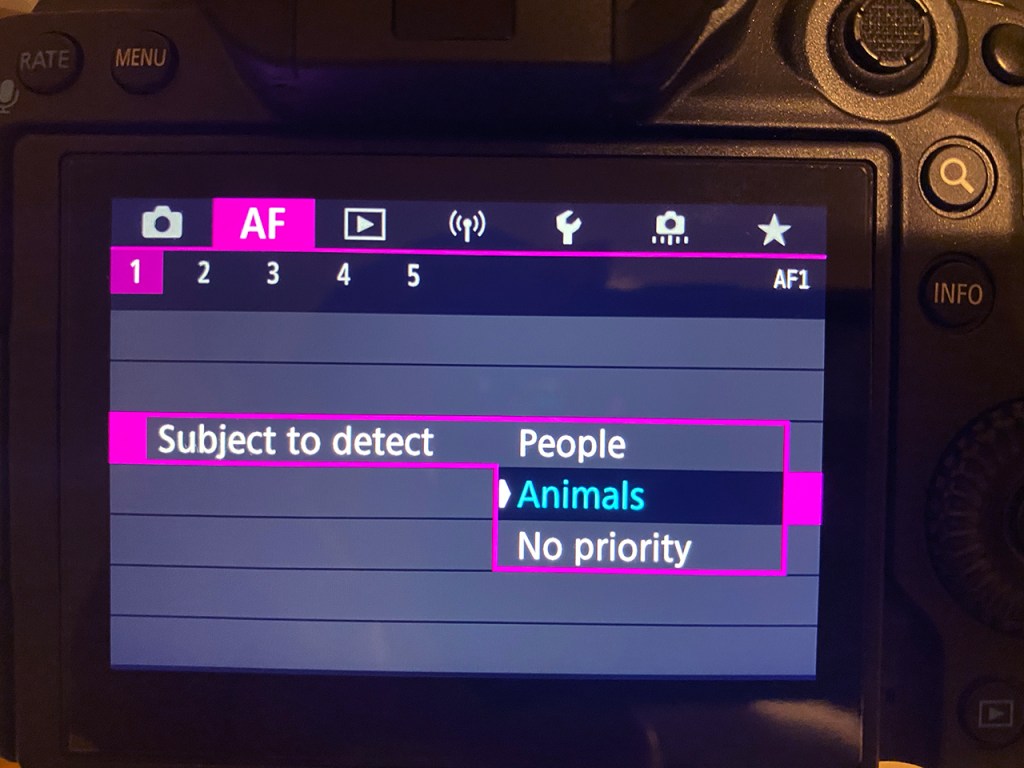
Use your Menu setting to tell the camera to look for human eyes or animals eyes, by the way. Canon puts this in the pink menus.

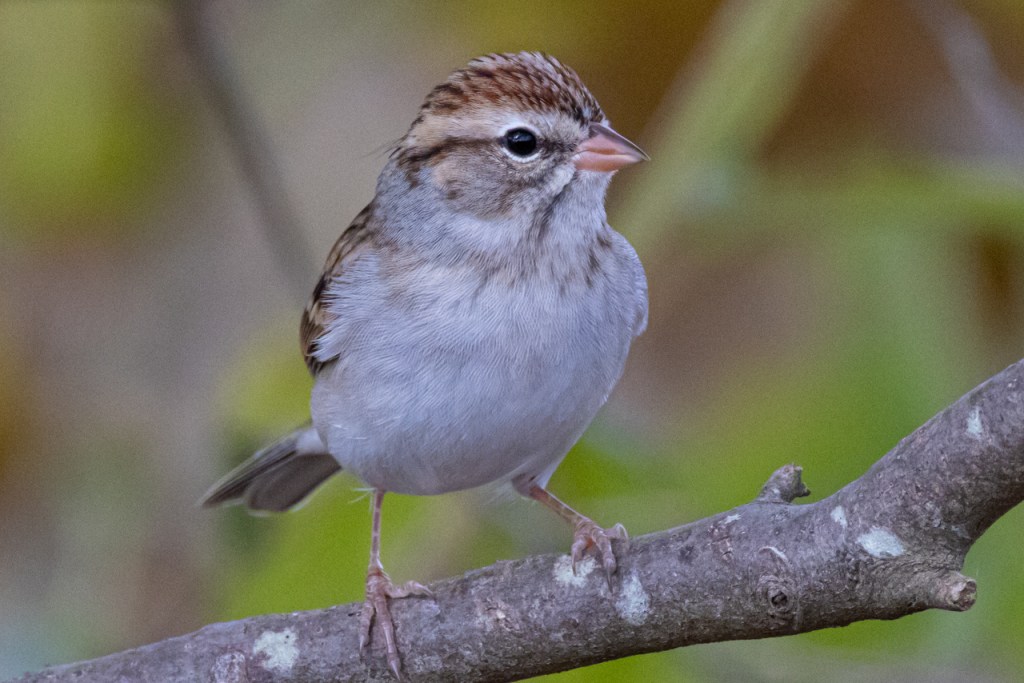
Animal Eye AF worked well on this small Savannah sparrow 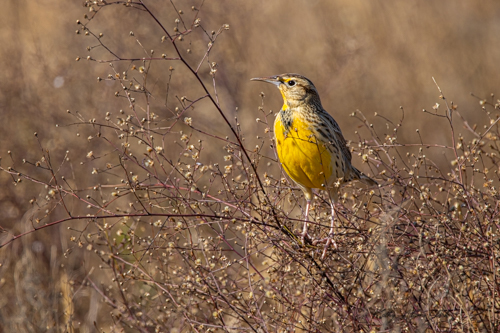
Animal Eye AF helped me keep the face of the eastern meadowlark in focus no matter which way it turned. 
Animal Eye AF kept the peregrine falcon in focus. 
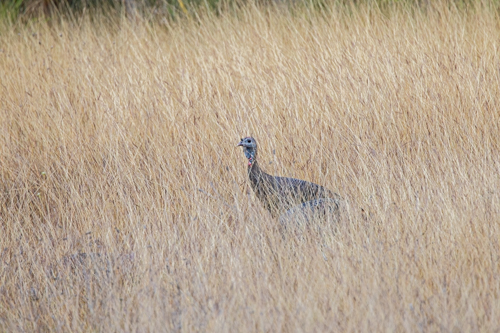
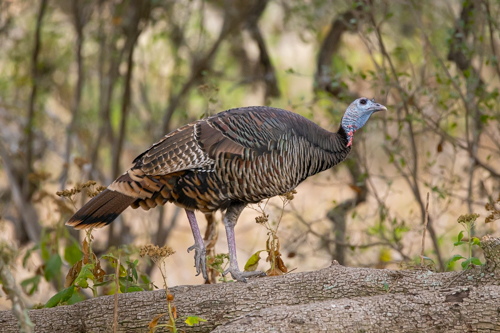
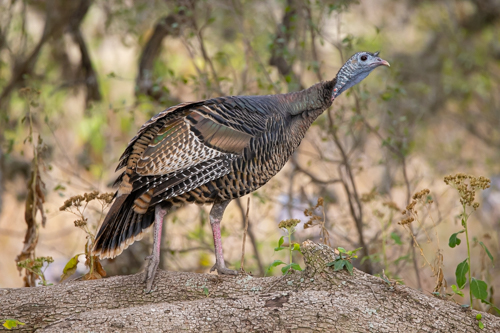
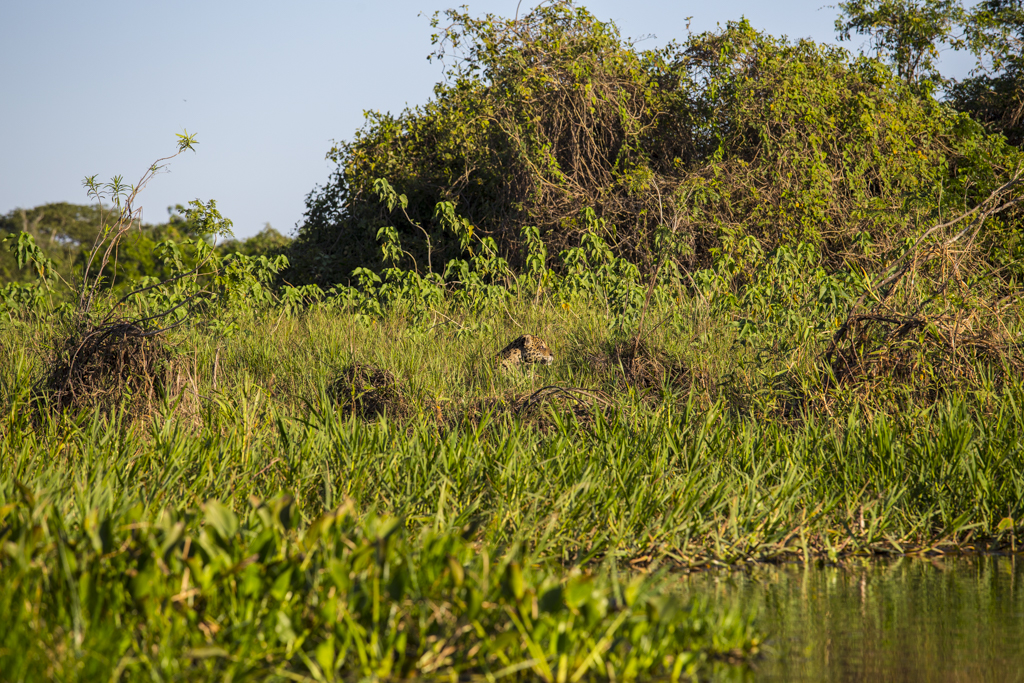
Animal Eye AF found the turkey in the grass and kept the focus point on the turkey. 
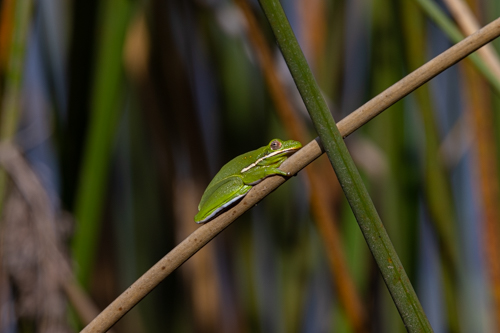
I was amazed that the Animal Eye AF found the tiny eye of the green treefrog. 
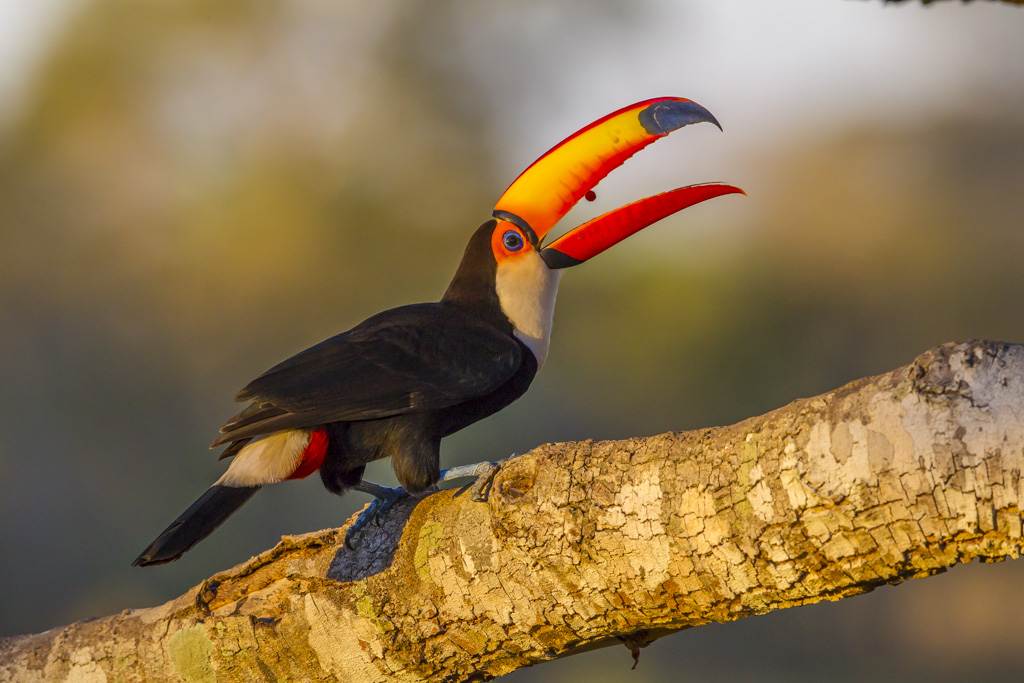
A clear and defined eye helps Animal Eye AF do its job.
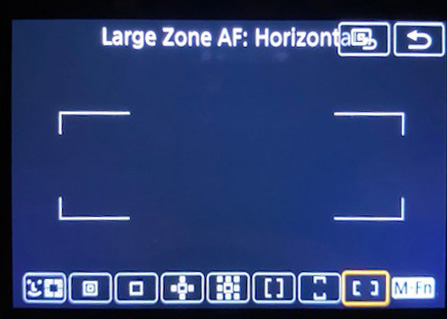
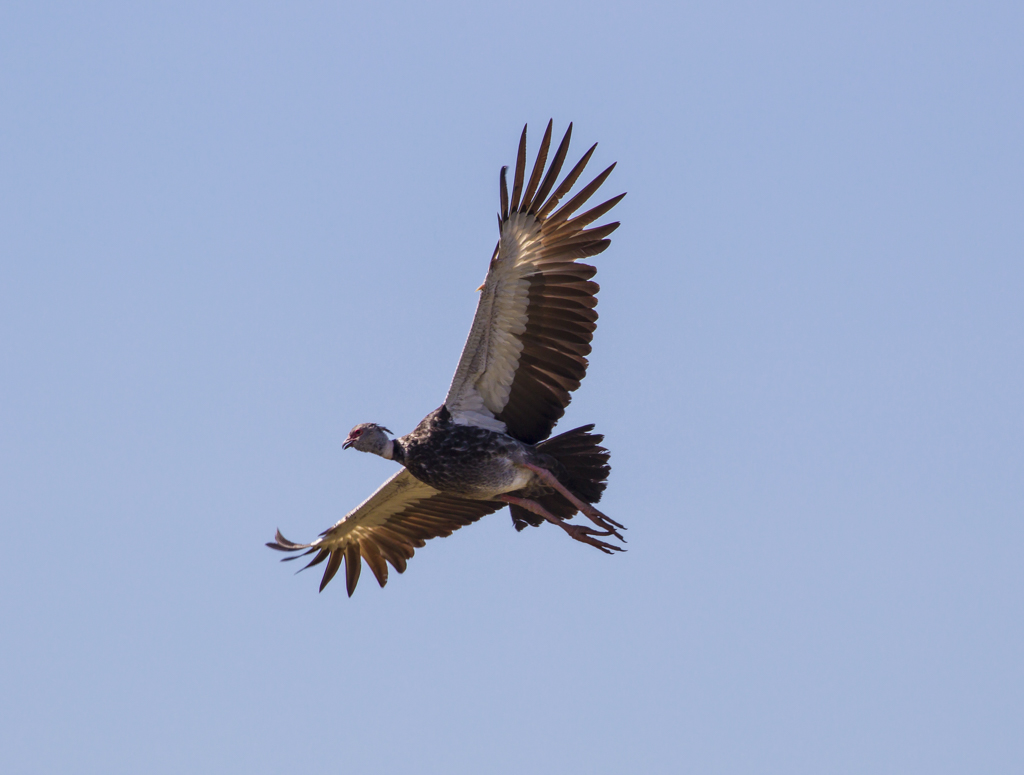
Large Zone AF: Horizontal has been great for flying birds.

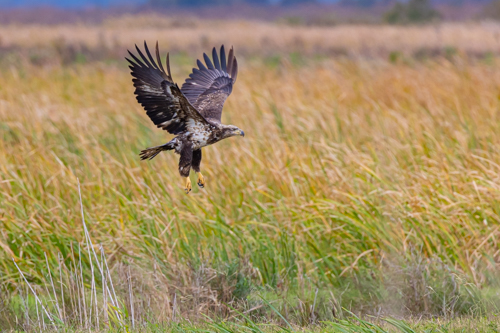
The Large Zone AF focused well on this bald eagle overhead. 
This lesser black-backed gull was out in the marsh stretching. The Large Zone AF stayed with it as it preened and moved. 
Cattle egret feeding on a mouse. Large Zone AF stayed with the aciton. 
I switched to Large Zone AF: Horizontal for this flying northern shoveler.
I’ve worked with Canon R5 for several months under a variety of different situations. I’m changing Focus Methods now depending on the circumstances. My old skill at moving one focus point around on my DSLR has now morphed into changing my Focus Method.
- Approaching a bird with a defined eye in clutter — switch to Animal Eye AF
- Approaching a duck that’s about to take off — switch to Large Zone AF
- Trying to photograph a small bird in the brush — switch to 1-point AF
- Flying hawk overhead — switch to a small cluster
These focus options give us lots more tools in the toolbox. Take some time to practice and develop your skills.
Questions? Feel free to post below. Thanks for reading.